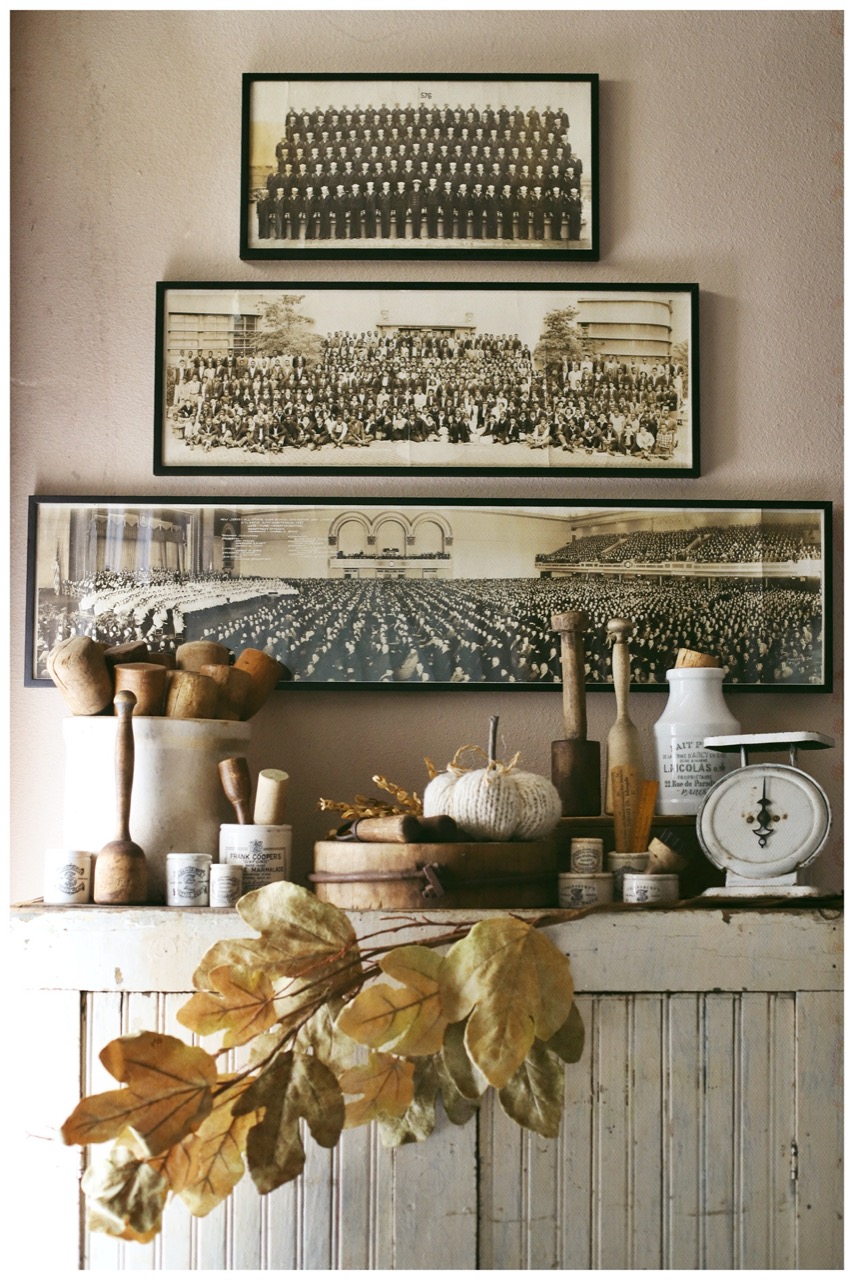
Vintage posters, clothing, and other textiles, letters or documents, all make great keepsakes when framed but come with some hurdles that have to be overcome. One of these is the possibility of the item having frayed or tattered edges. An aged look can add to the appeal of your display and can be a testament to how special it is to you. However, the look you’re going for may be to focus more on the piece and less on its flaws, so you’d like to conceal its imperfections.
The good news is that both approaches are doable! And you know what we always say here: do whatever you like best. There are no right answers to this sort of thing, that’s what makes it custom framing! So depending on your preferences and your end goal, the technique for framing those imperfect pieces is slightly different. We’ll take you through your options
Keep in mind before you begin any framing project, if you are framing any article that is thicker than normal artwork, our metal frames can accommodate up to ¼” while our wood frames can accommodate up to ⅛”.
If You Want Your Art Looking As New As Possible

If you have a piece of art that has tatters or fraying that is confined to the outer edges and you want it to look unblemished, the quarter-inch overlap our frames provide should take care of masking them. As long as your measurements are correct and covering up that portion of your piece won’t detract from it, you should be good.
That said, if you have some deeper creases there are ways to minimize them but it will take a little work. Steaming or ironing may be the way to go, so check out our post on framing posters where we give some tips and tricks. Or, for creases and tears that can’t be fixed, adding a mat may be the way to go. You will naturally lose some of the piece being displayed, of course, but it may still be enough to work. Measure the exact area you want to be displayed, and then make those the numbers you enter on the “Width” and “Height” of your “Art Size.” The opening of the matboard will be cut around the numbers you enter, and the frame itself will be made larger to accommodate any extra space needed for the mat.
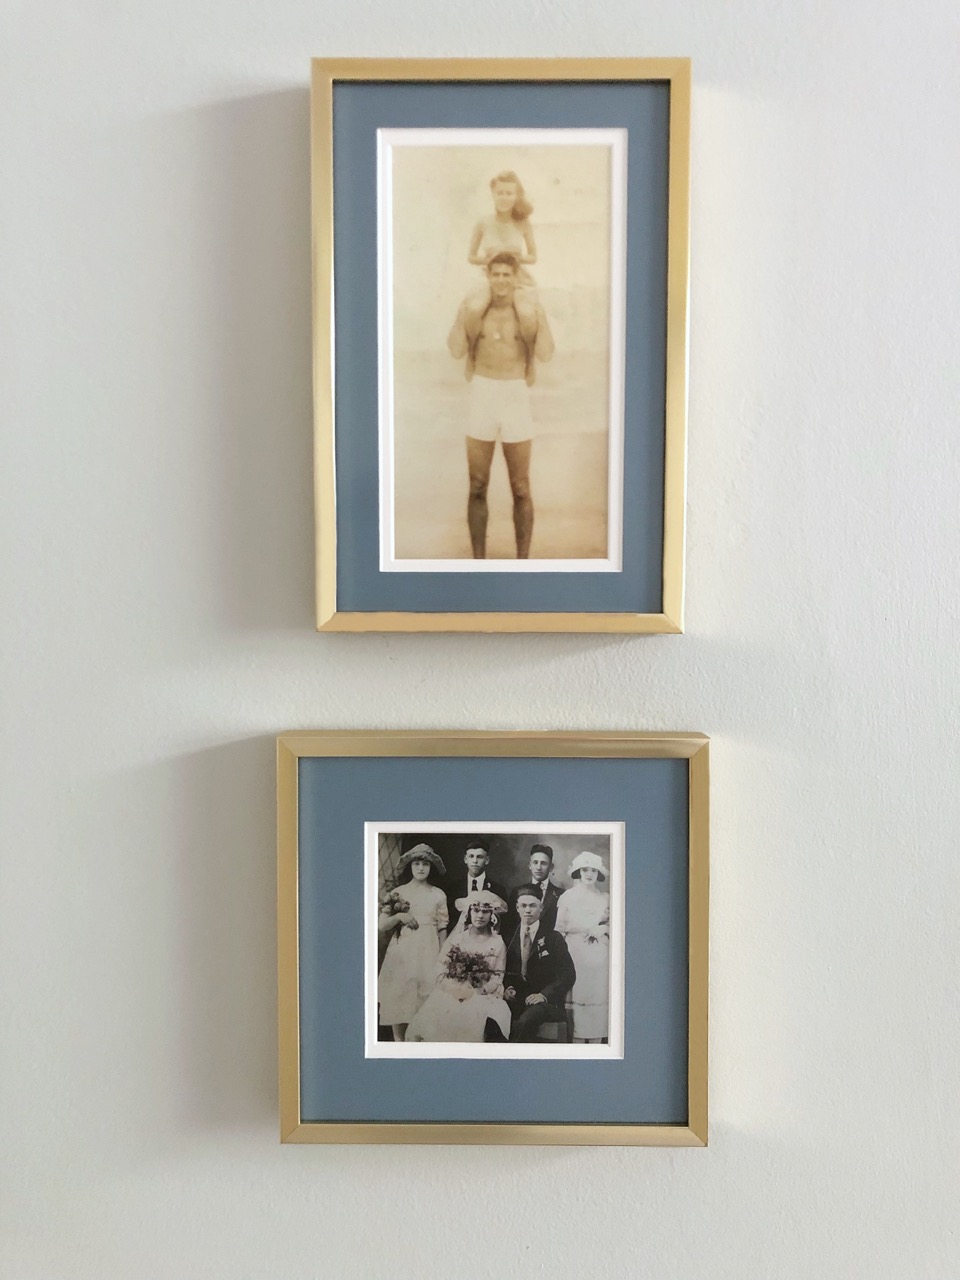
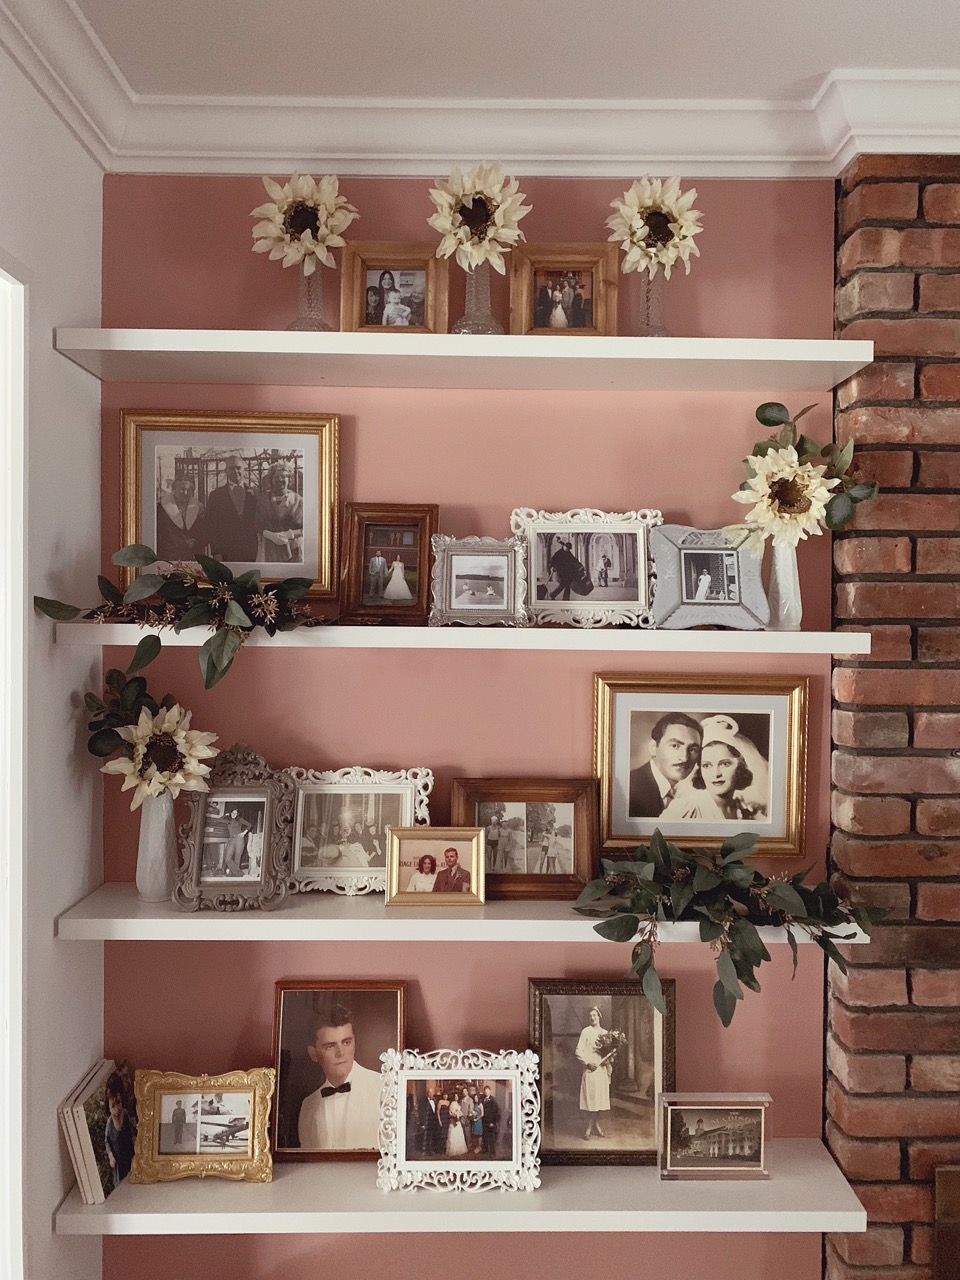
For example, a handwritten note from your six-year-old or a black and white photo of your grandparents’ wedding can be “cropped” using these techniques while the focal point is preserved and gets the attention it deserves.
If You Want To Show Off Your Art’s Years

There is something to be said for preserving old memories just as we find them, blemishes and all! And this option has a few different pathways you could go down — more than if you want the edges masked, at least. How you want to show off all the imperfections is up to you.
The easiest way to do this is to frame your piece just the way it is! Measure around the edges of your piece that you want showing (remember that ¼” will be covered all the way around) and viola, you’re done.
However, if you don’t want the overlap to effect showing off your edges, you could use the H-Mount method which will “float” your art in the center of your frame. You will need some framer’s tape to accomplish this. You can head over to our Accessories to purchase some or use your own. Just make sure it’s acid-free to protect your artwork and keep it looking good for years to come.
A couple of other things to keep in mind: our foamcore is white, and you might prefer to use one of the 75 colors of matting we offer instead. Not only are you sure to find a hue that will compliment your decor, it can also add visual appeal to your display. Be assured that whether you use our white or colored matboards you are receiving acid-free foamcore backing that will also protect your artwork.
To order a separate piece of matboard with no opening go to our “Matboard” page and make the inside dimensions 0″ X 0″. The outside dimensions should be equal to the “Art Size” on your frame. You want it to fit, after all!
There’s also the issue of how much backing (or matting) you want to be exposed. On our home page, we allow you to choose this too. But in the method outlined above, you’d have to do just a tad of math. It’s simple, though. No long division or anything. 😉
So, if your piece of art is 8″ X 10″ (including any tattered or flawed areas that you want to exhibit) and you like the way two inches of matboard looks surrounding it, double that two-inch number to four and adjust your “Art Size” to 12″ X 14.” This same principle could be applied to any number (a 5” X 6” with one inch of matboard would become 7” X 8”, a 6” X 8” with three inches of matboard would become 12” X 14.”)
If you need help with anything, even the math, don’t be afraid to reach out to our support team, we are always here to help.
There’s Never a Wrong Way To Frame Something*

*Okay, that may not be entirely true, but what we mean is we believe that custom framing should be truly that…your style, your preferences, your choices.
If you have a piece of art that has been aged by Father Time — exposed to UV lighting, stored improperly, or accidentally damaged — there’s probably a good reason why you still have it. It has meaning for you. So why not give it a nice new home in a frame that it deserves after all that it’s been through? Again, you could camouflage its flaws and make it look years younger, or you could show off its longevity with pride. Up to you! Just remember a few basic principles we’ve gone over and you should be good to go.
- Measurements are important! Depending on which route you go, from our ¼” normal framing process to mounting on matboard, make sure you understand exactly what you want to be exposed and that you’ve ordered everything in the right size.
- There is no wrong way to frame your treasured pieces. Do what you like best and works for you.
- We are here to help. We have tons of tutorials and posts that can give you inspiration and answers. And if you still have questions, we are an email or phone call away.
- We LOVE to see your masterpieces, so don’t forget to share them with us after they have arrived and been placed in their new home!!!

