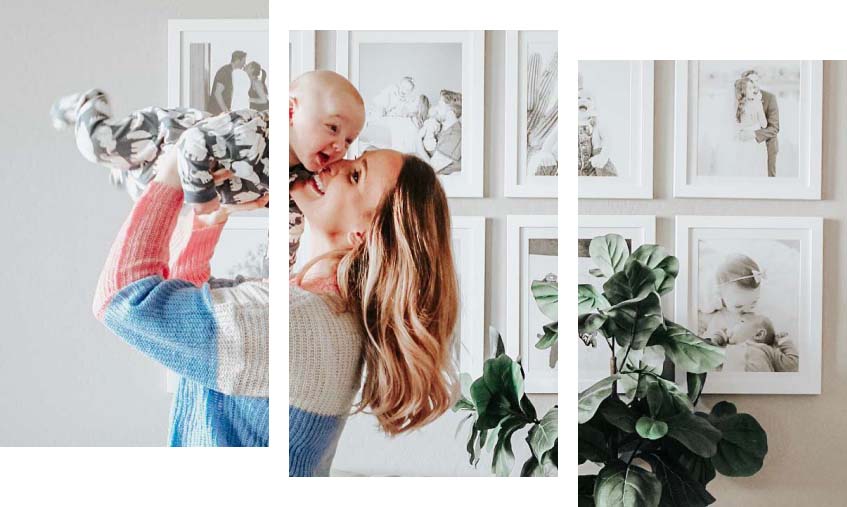
Whether it’s the heat, those pesky mosquitoes, or safety concerns, you might be spending more time indoors than usual these days. However, that doesn’t mean you still can’t make wonderful memories with your loved ones. Just don’t forget to take photographs to make these moments last a little longer, and use our tips for the best indoor photography.
Maybe being housebound a little more these days has also inspired you to start a new home decor project, like a gallery wall, tabletop display, or even just updating your family photos. So we have some tips and tricks to turn those photographs into eye-catching scenery! There are tons of new ideas you and your family can try that can make you realize that a whole world of exploration can sometimes lie within the walls of your home. Will it take some extra creativity? Sure! But that’s the best part — having fun, creating memories with those you love the most, and enjoying your new surroundings!
However, remember what we always say — there are no rules! If you like something that either isn’t on this list or contradicts it, then go for it. These are simply recommendations, and the most important thing to us is that you are happy with the end result — whatever that may be.
So, if you are looking for ways to make your indoor photography that much better, take a look at the suggestions we have for you! You don’t have to travel far to get professional-looking, impressive photographic results, even if you are just using your cellphone photos!
1. “Open” Your Space
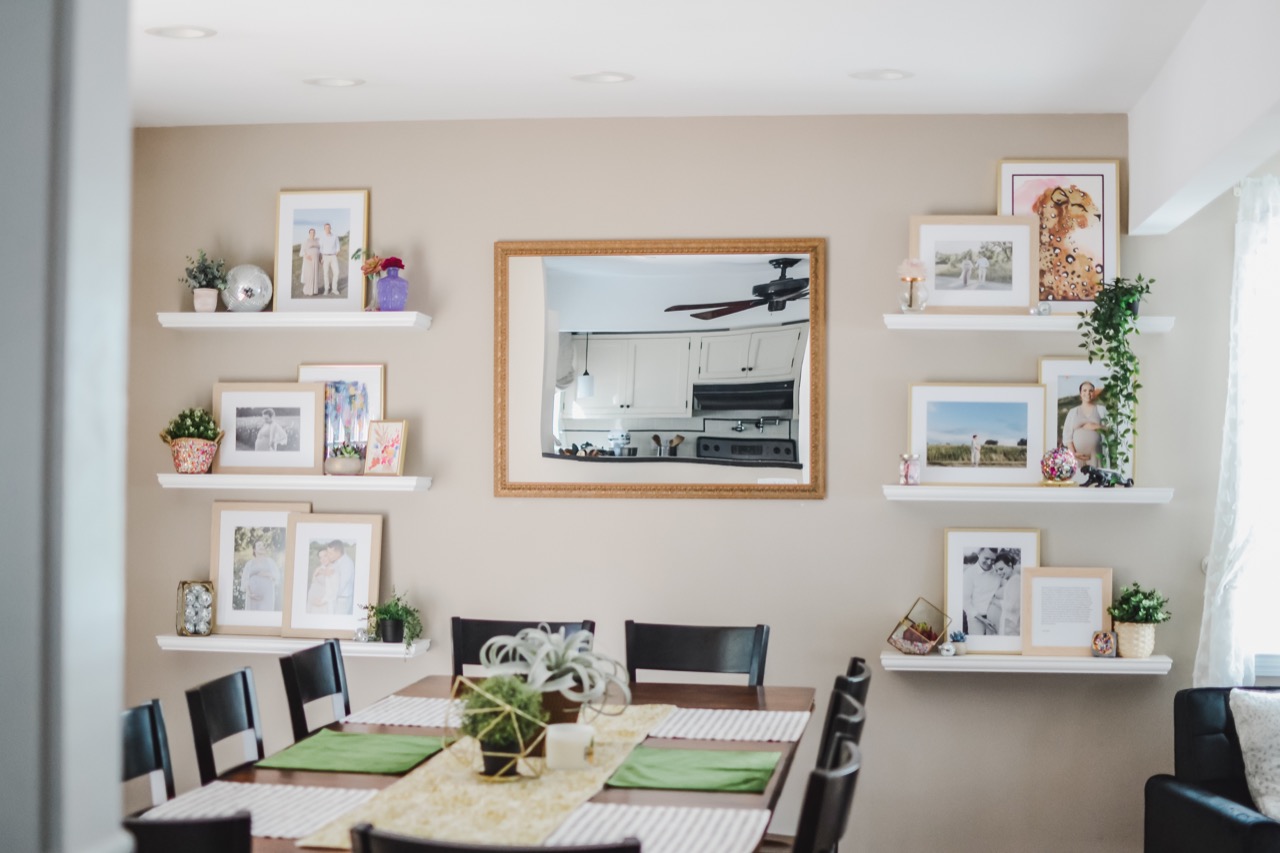
Mirror, mirror, on the wall….how can you make my decorating better? Mirrors are not just for checking your hair and making sure there are no stains on your clothes before taking your photos, but they can add to the overall appeal of your displays.
If you are trying to make the space you are in appear bigger, using mirrors is a great way to do just that! They instantly create the illusion of depth and space. Wherever you are placing the mirror, the opposite wall will be reflected, making the area just feel bigger!
Try using mirrors in your photography too as a reflection of people. You can create a surreal photo by using one or more mirrors to get different angles of your model’s face or body. Some photographers work hard to edit a cool effect onto their photos, but you can achieve that look just by angling your mirror the right way. Have fun experimenting with this technique.
Another way mirrors can be used in photography is as a light source. Placing a mirror near the window can reflect the light, bringing more natural light into your photo. The mirror can also create a glare in your photo that might look like you’ve added a filter or a lens flare. This can be a nice touch to a simple photo.
Mirrors aren’t the only way to make your shots look “open”; doors and windows can also have this effect! Natural light from windows helps with making the room bright and airy, connecting it to what is beyond the walls of your home, and an open door (whether between rooms or to the outside) will help extend the area to create a more spacious look. This makes photos feel less confined and gives your home — again —that big sense of openness.
2. Lighting, Lighting, Lighting
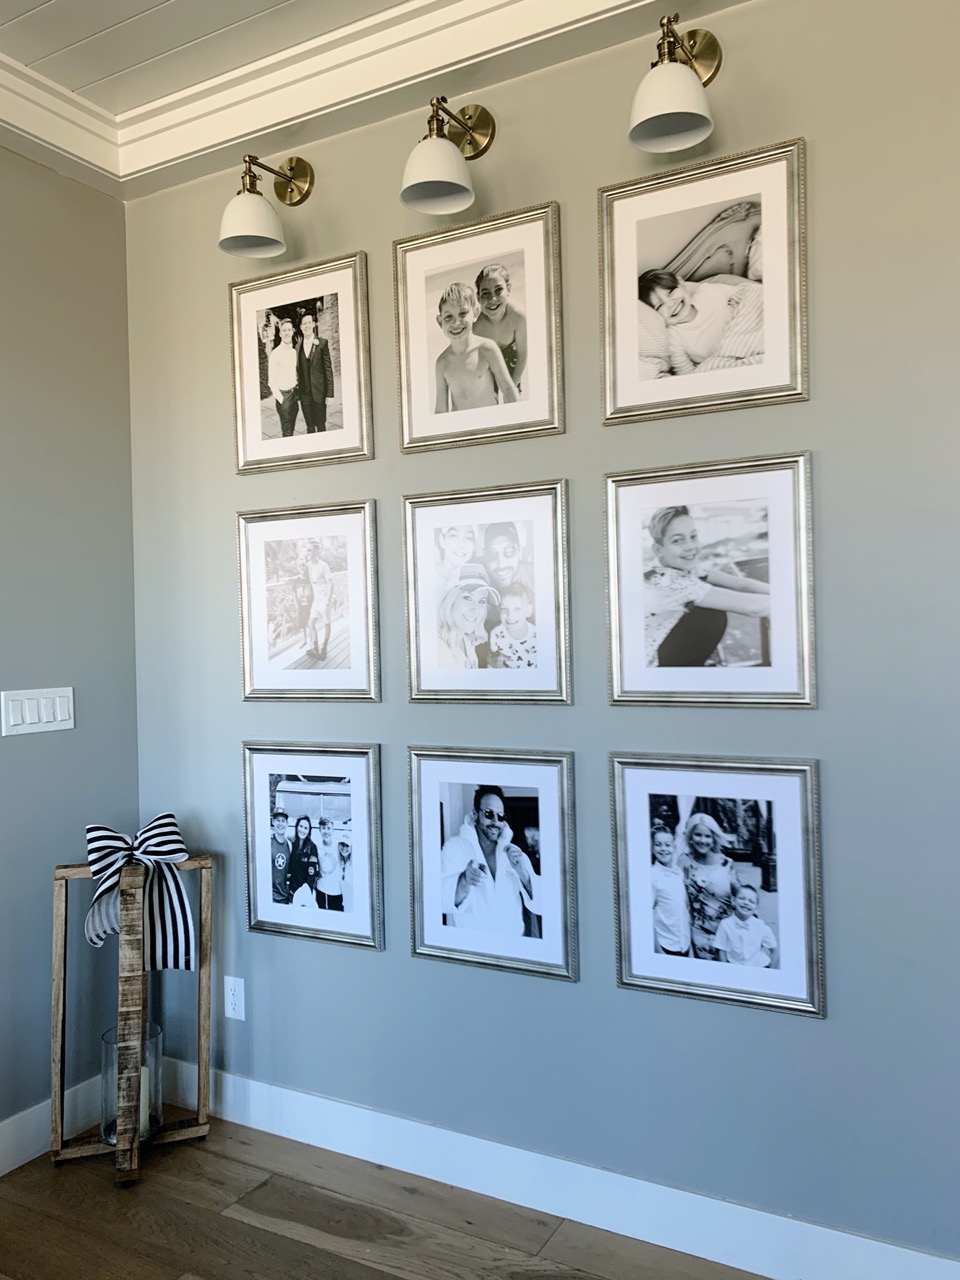
Speaking of lighting, it’s one of the most important parts of photography. With little lighting, there probably won’t be much to photograph — or just a lot of shadows. Unless a dark photo with heavy shadows is the look you are going for (we’re not trying to dictate your project) you’re going to need some good lighting!
We’ve already discussed natural lighting from windows and doors as a key element to opening up your space, but artificial light can also have a big impact. Strategically placed lamps, studio lights, LED lights, and other lighting fixtures can provide some cool effects on your photographs. Again, a little experimentation will help you determine how much extra light you need in order to make your desired effect happen.
The type of lighting you use can help to change the overall appearance of your photo, so if you are looking for something airy and light, try bright white lighting to give your photo a fresh feel. Cool lighting will illuminate your photo while warm lighting will do exactly that, add warmth to your photo. For more information on lighting, check out this article on warm vs cool light.
3. Set Your Scene
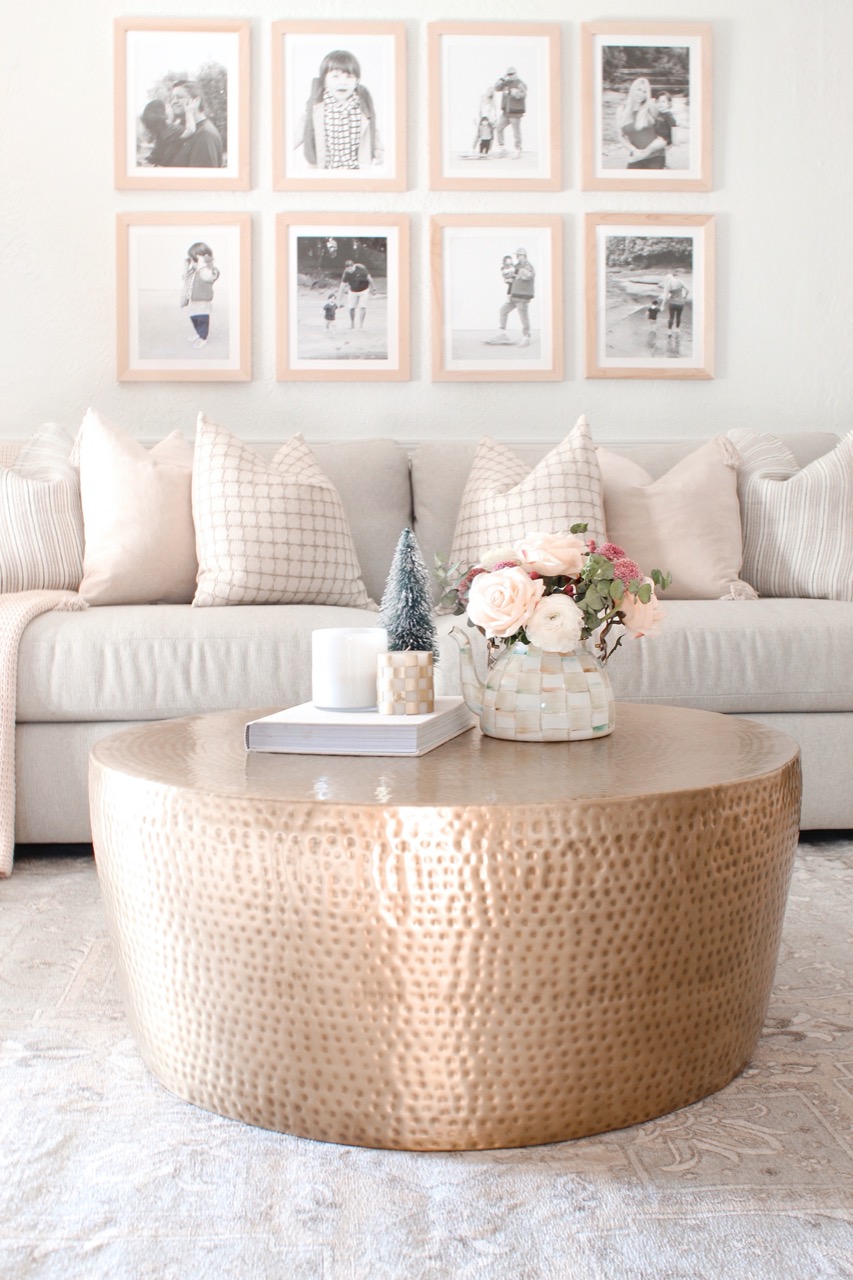
What’s in the background of your photos can be just as important as the subject of your photos, so take a little time to notice what is lurking behind your subject before you snap away. That beautiful family portrait can be ruined if there’s a mess in the background. Spontaneous photos are great, but they’re usually not the ones you decide to frame and display. For posed portraits, take a moment to find a setting that won’t distract from your subject.
You know what they say, a picture is worth a thousand words. So let your photo do the talking. And a few well-placed items can enhance your photos. If you have a newborn, a menagerie of stuffed animals, their name spelled out in blocks, or their favorite blankie is all you need. Your daughter practicing at the piano. Your son reading his comic books. For a picture that captures what makes them uniquely them, include things that make them…them!
A gallery wall is one of our favorite ways to decorate, and it allows you to have both individuals as well as family photos all in one place. However, taking a family photo can be tricky, so we recommend investing in a small tripod or selfie stick; however, the internet has lots of DIY ideas if you need to quickly support your camera or iPhone. Then set your timer and you’re good to go! (Tripods are also great if you don’t have a steady hand and you are trying to get a level picture.)
4. Get Creative
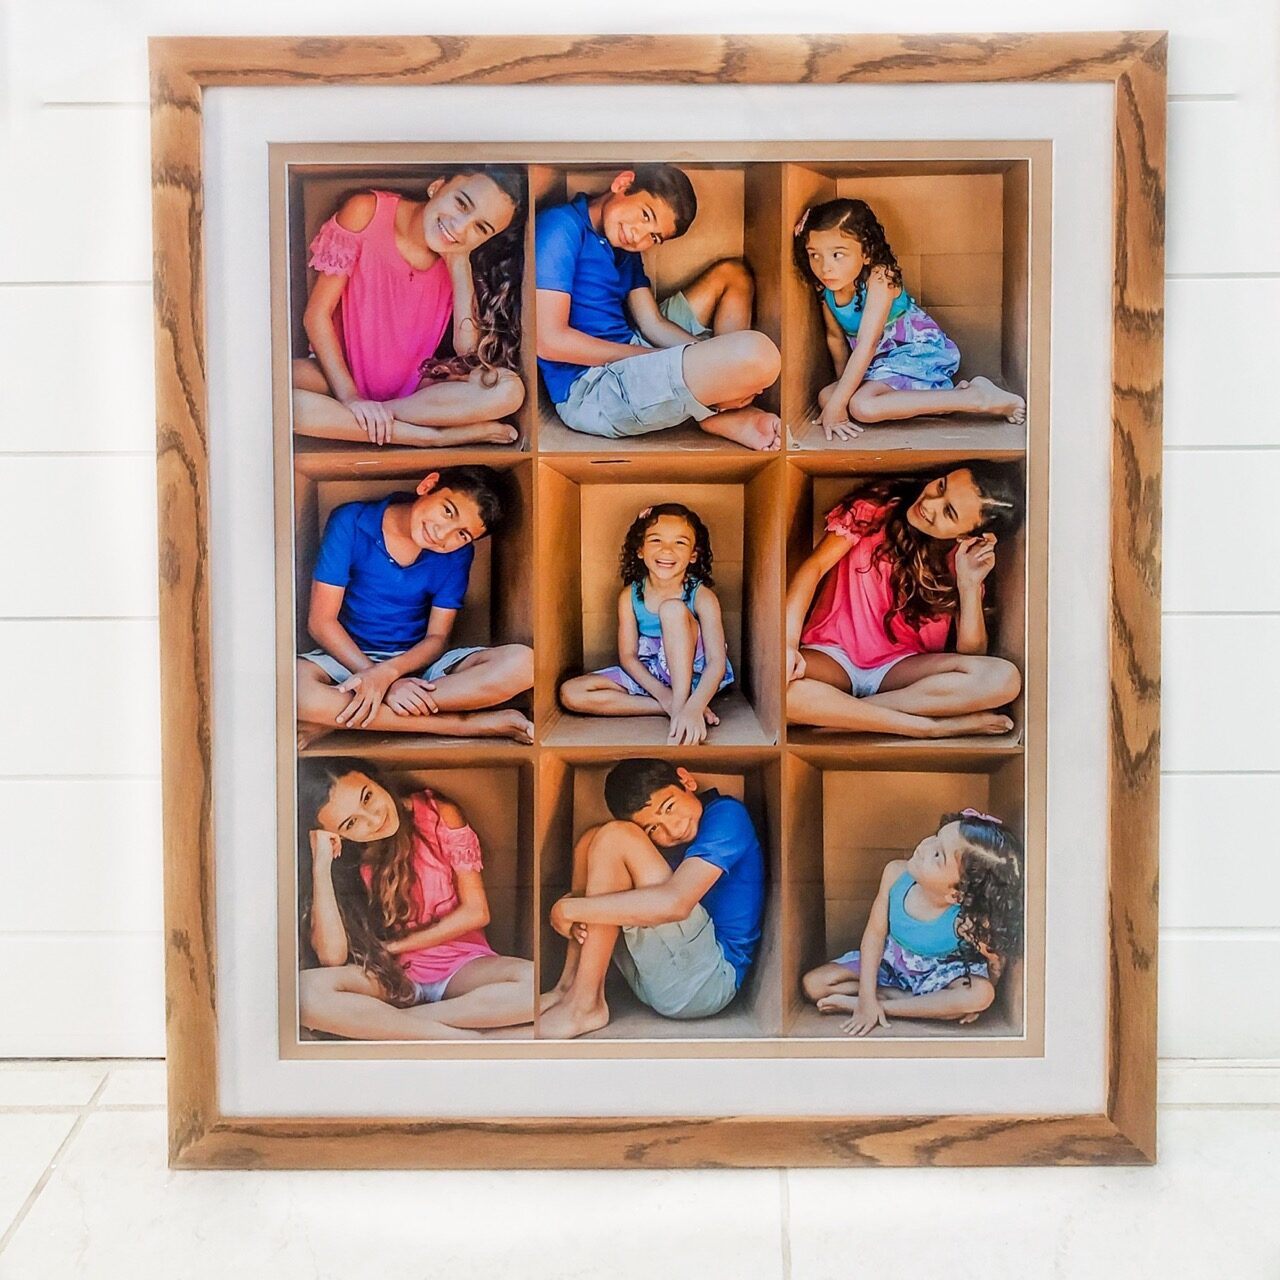
You’re not confined to just your four walls when it comes to indoor photography. Move your things around to change your space up, look online for colored backdrops or even a green screen to make it look like you are somewhere else, or use what you have like curtains, bedsheets, and other fabric materials. Photography is all about creativity, so really try your hand at how creative you can get! We have tons of creative photo ideas on our Learning Center and while some of them have to do with photos outside, you can always adjust the idea to take them inside!
5. Check Your Camera’s Settings

Whether you are shooting on a camera or a cellphone, you will want to check your camera’s setting to be sure that they will capture in the best way possible. You will need to check things such as your shutter speed, aperture, white balance, and ISO. We talked about the importance of lighting in a previous section, but if you find yourself struggling to get the lighting perfect, or as bright as you want it, try boosting the exposure on your camera by adjusting the ISO.
If you are shooting with your cellphone, we suggest turning off the HDR. HDR is essentially something on your phone’s camera that takes a certain photo with a bunch of different exposures. This allows for great, high-contrast images. This is great with high-detailed images but is less effective in low light with moving objects. For the less-trained eye, though, the result can always seem off. Add in the factor of moving objects hampering its outcome, and it’s best to click it off for most photos. Of course, if that’s what you’re going for, then go for it! We don’t want to knock anyone’s creative vision, so take these recommendations with a grain of salt, if need be.
6. Edit Your Photos
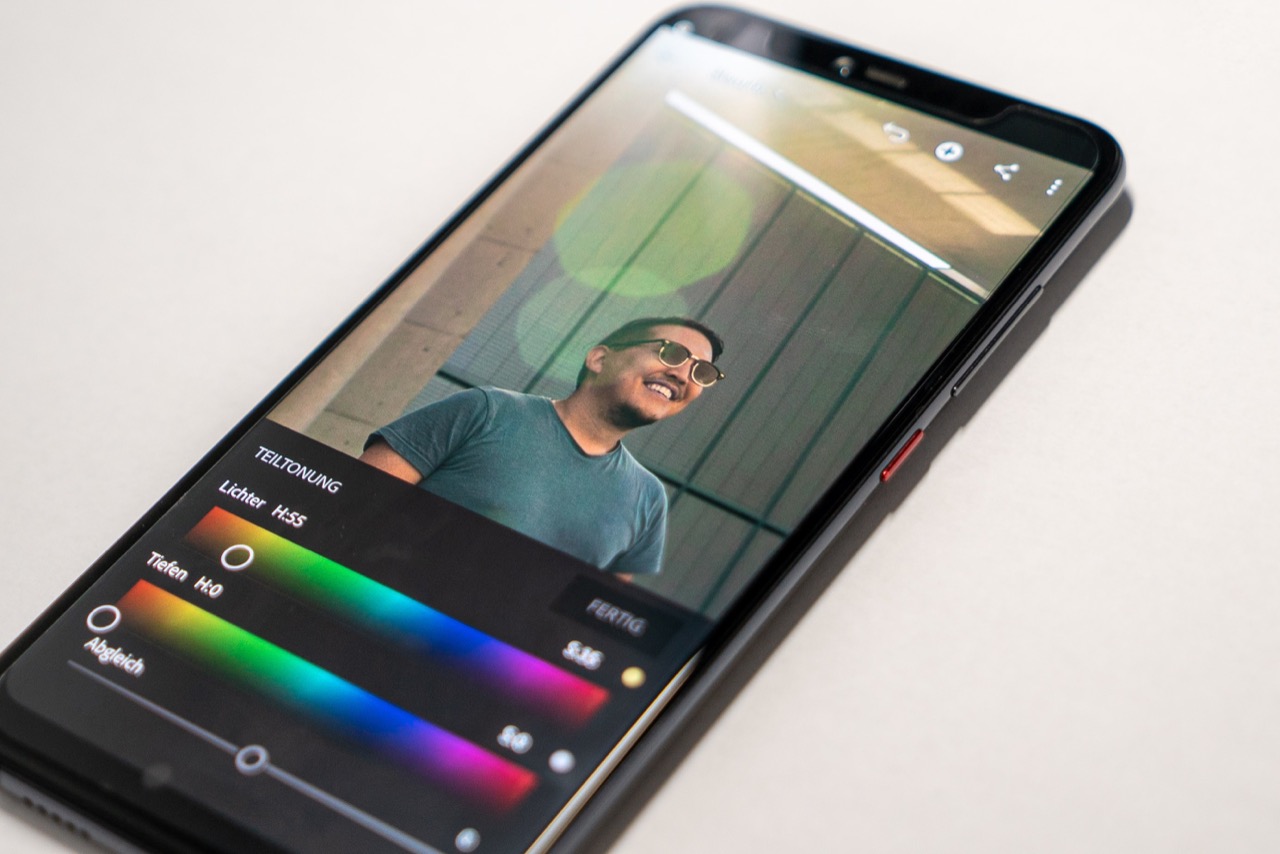
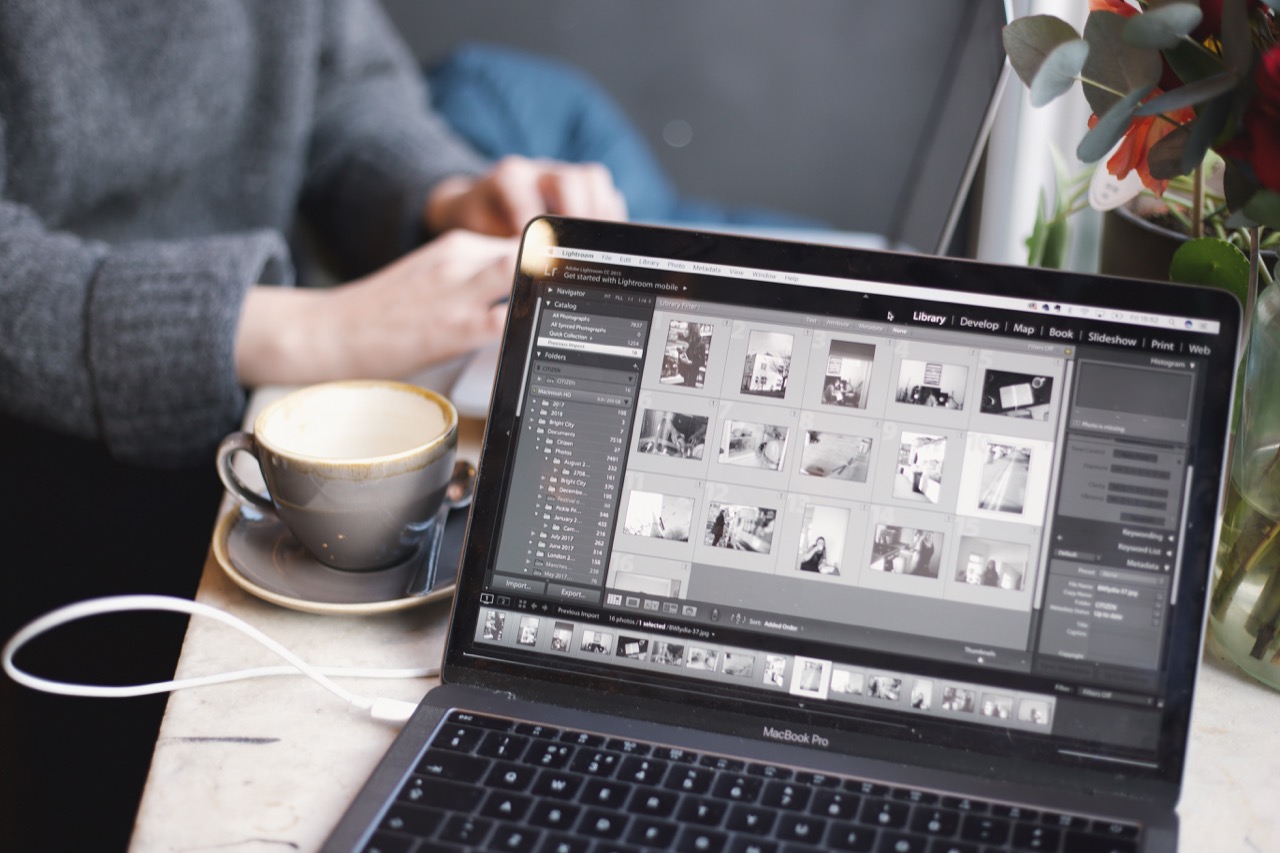
There’s no shame in using a photo editing app to perfect your photo. Sometimes there’s an object in the background that you forgot to move or you want to add in a light glare for extra effect, you can remove, add, and change things up all in a photo editing app.
There are a million of choices when it comes to photo editing apps and it all depends on your budget and what you plan to use the app for. So lets narrow it down to three — the best one, the most cost-effective, and a free one to start you somewhere.
What’s The Best?
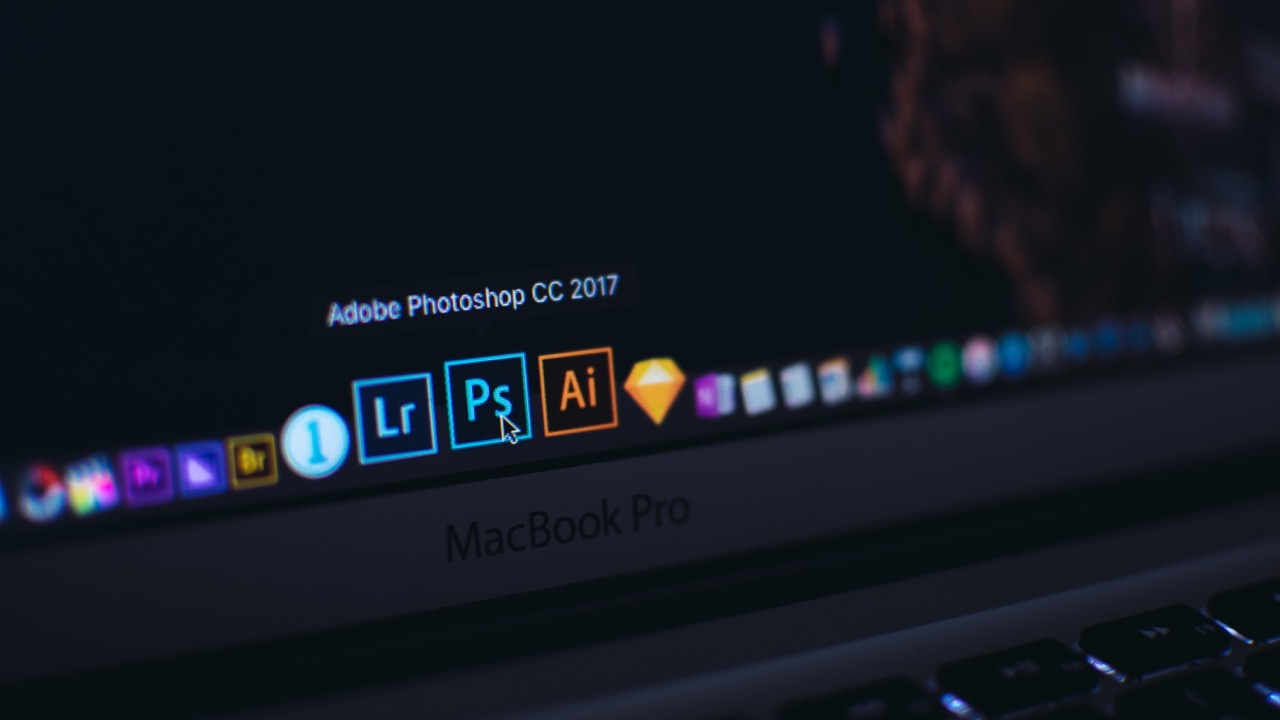
This is an easy one to answer: what’s the best photo editing software on the market, regardless of price or whatnot? Photoshop. Made by Adobe, you can do just about anything on this program: edit lighting and shadows, add in details, remove details. You name it.
While there is a free trial for it, there’s one factor that might be holding you back from using it — the money. There was once a one-time payment for photoshop that got you pretty much everything, and you only needed to pay once. That said, those days are gone, and the most affordable subscription option is $9.99/mo. That’s not too bad, granted, and probably costs less than most streaming services you subscribe to.
Still, it’s good to keep in mind. If it is in your price range, and are willing to put forth the money, Adobe Photoshop is definitely your best option.
What’s One That’s Cost Effective
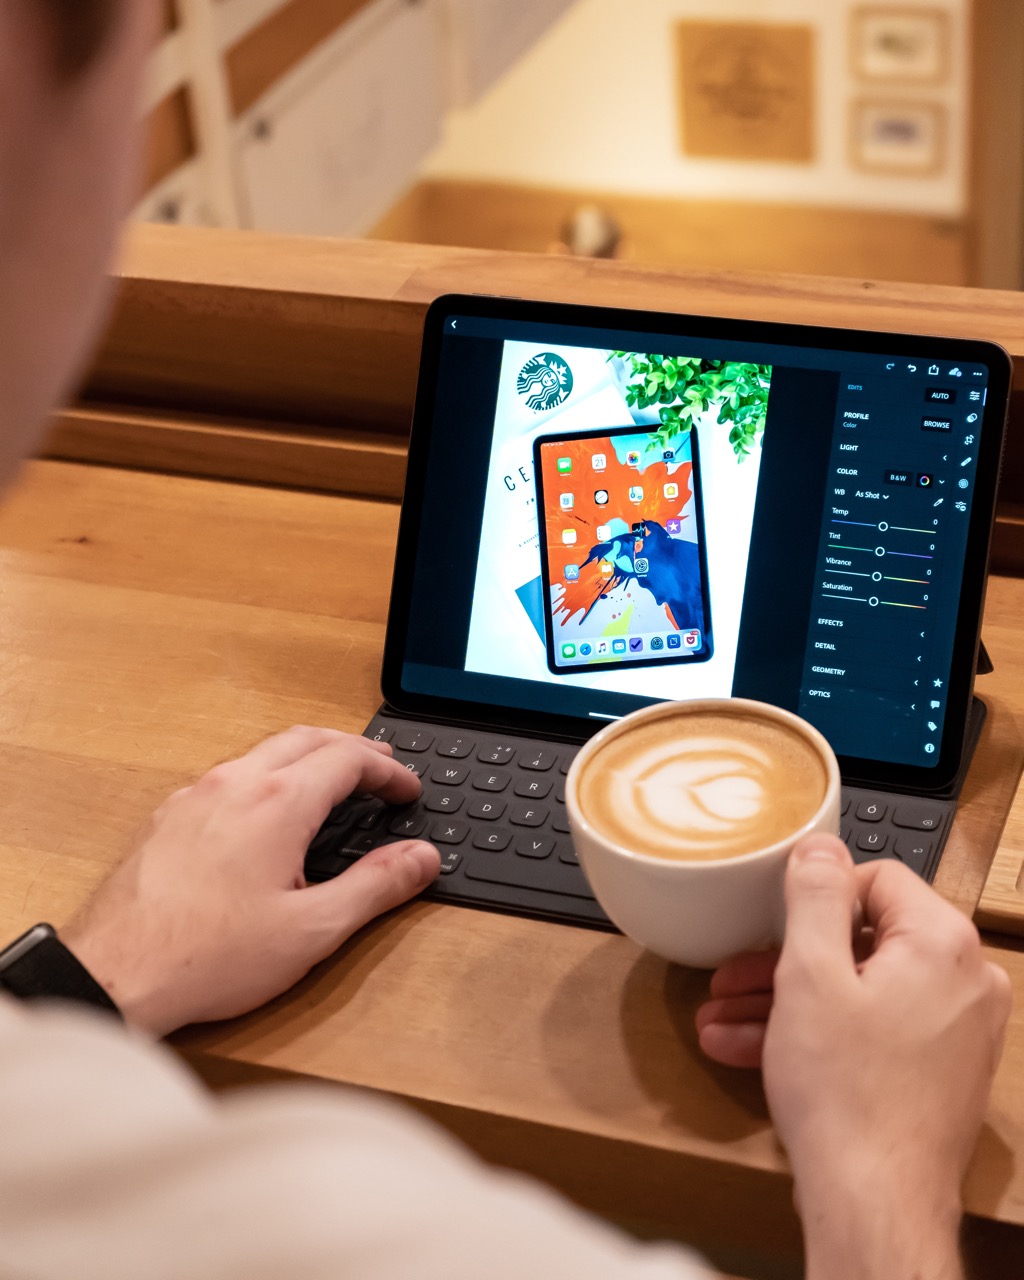
What if you’re looking for the best quality for the least amount of money? For that, we would go with Luminar. It’s a great tool that can both be used as standalone software, or as an extra plug-in device for Photoshop.
Sure, Luminar likely will cost more upfront than Photoshop does per month. But because it’s a one-time fee, the pile-up cost of Photoshop will, undoubtedly, be more. One payment, too, can authorize up to 2 computers. So it’s possible to use it on multiple devices, or maybe share it with your friend if they need it!
This is a great way to edit the backgrounds of photos, in particular, as the site advertises that you can change the mood of the photos you upload. And the software even suggests the best templates for each photo, which is pretty cool!
What’s Free?
Let’s say you have no money, but need to get some photo editing done. It’s okay! We’ve all been there, and have been trying to pinch every last penny possible. If this is the case, we recommend GNU Image Manipulation Program (GIMP). You’re able to manipulate photos, create original art, and make some great logos as well. It’s available on Linux, Mac, and Windows, too, so you should be able to get a version that works for you.
Of course, there are tons more than just these three, so take a look at our top 12 best photo editing apps which will give you a more in-depth look at the best options for any hobbyists, pros, or anyone in between, you’re sure to find exactly what you’re looking for there!
There’s No Place Like Home
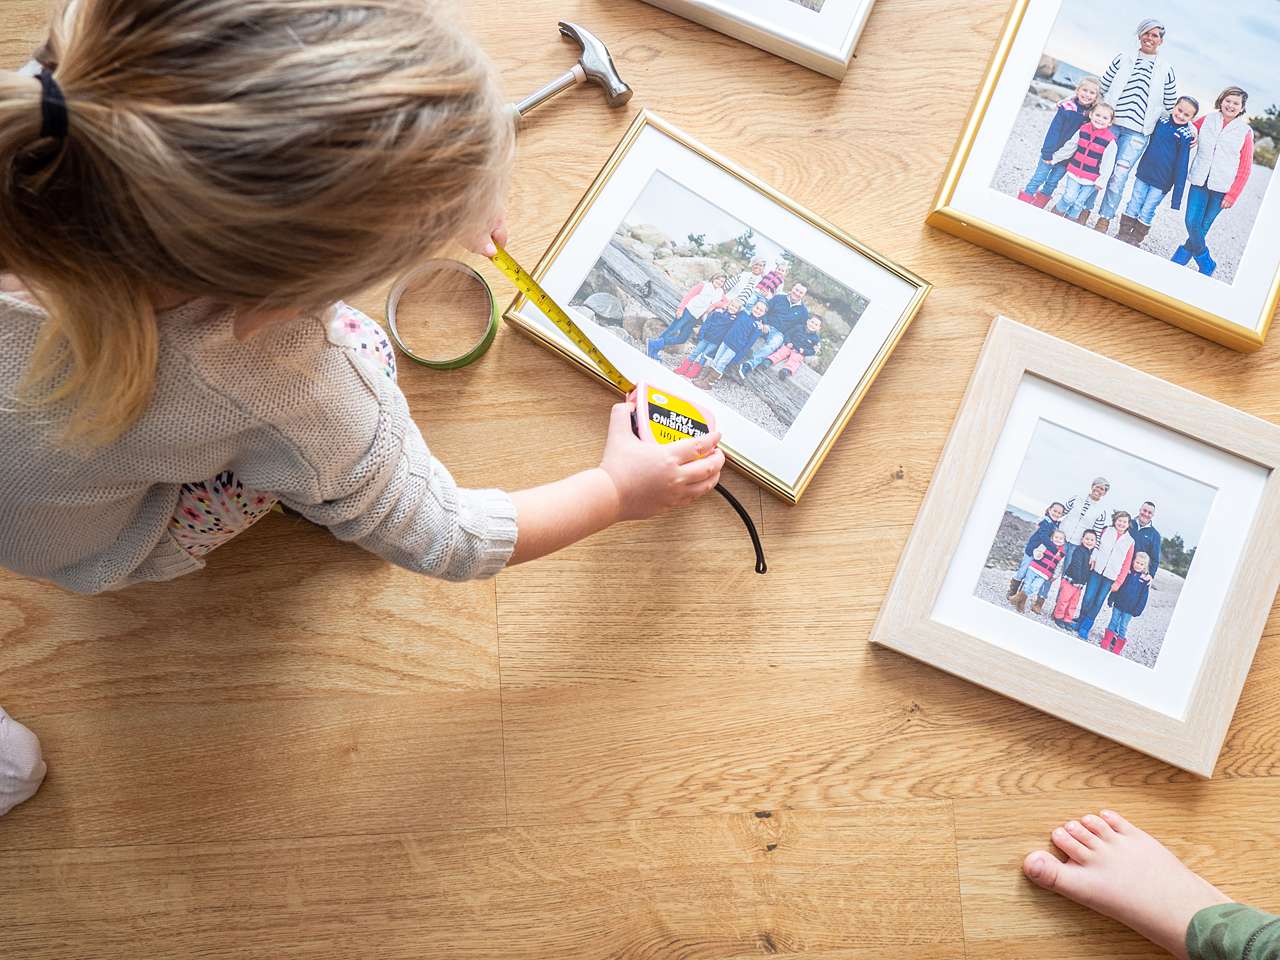
It’s true what they say — there’s no place like home! We create so many memories in our home, whether it’s family game night, sitting by the fire drinking hot cocoa, or even trying out a new recipe together. So if you’re not venturing far these days, keep those memories alive by capturing an indoor photo and framing it for your walls. Whether it’s a planned photoshoot or a quick cellphone picture, you may just find you’ve taken some photos that deserve to be framed and displayed! We cant wait to see what you come up with! Make sure to subscribe to our email list — your photo might even be featured.

