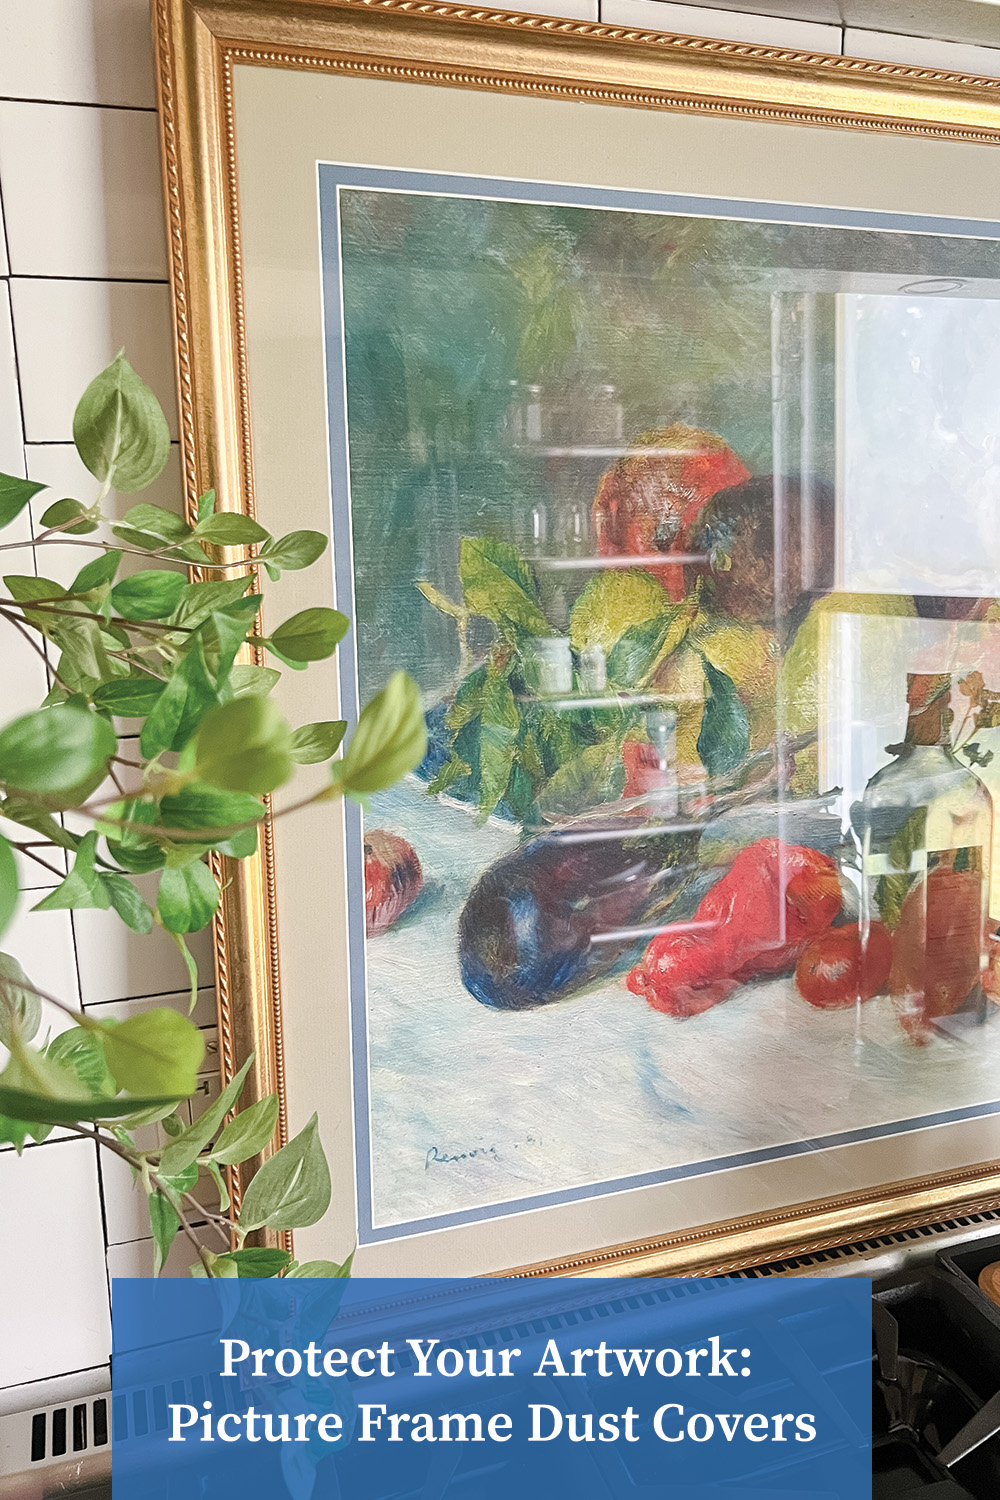
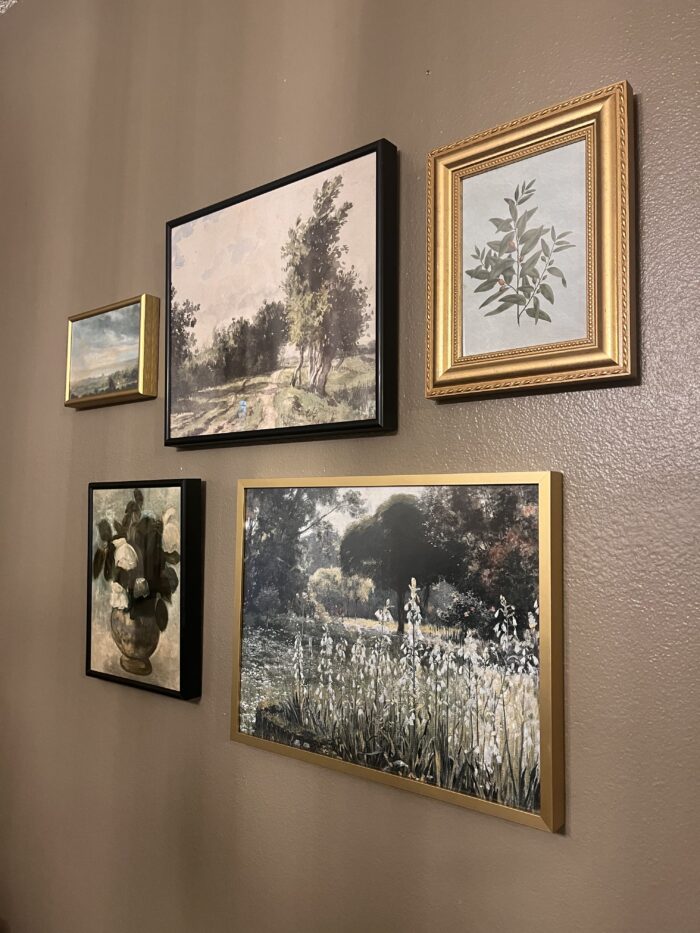
As an artist, art enthusiast, or someone who just enjoys a good gallery wall, you know it’s important to keep your artwork and photos protected from dust, dirt, and other environmental factors or debris. This is where a picture frame dust cover comes in! While we’ve gone over how to keep your picture frames clean, we haven’t discussed the additional option of adding a frame dust cover (aka “dust seal”) to your custom frames.
Keep reading to learn what a picture frame dust cover is, weigh the pros and cons of using one, and we’ll provide you with a step-by-step guide on how to make and install your own to safeguard your artwork and photos!
🖼️ Please Note: The use of acid-free matboards, and UV protective covers is usually enough to protect most photos and prints. Adding a dust cover to Frame It Easy frames can add just a 🤏 touch more protection and is not required at all!
What Is A Picture Frame Dust Cover?
So, What is a framing dust cover? You may be thinking it’s super fancy or complicated, it’s simply a protective layer that’s placed at the back of a framed work to protect from dust, insects, and other environmental contaminants from entering the frame.
In short, it acts as an extra layer of protection, a barrier of sorts, to protect and ensure that the artwork inside stays clean and preserved for years to come.
Picture Frame Dust Cover: The Pros VS The Cons
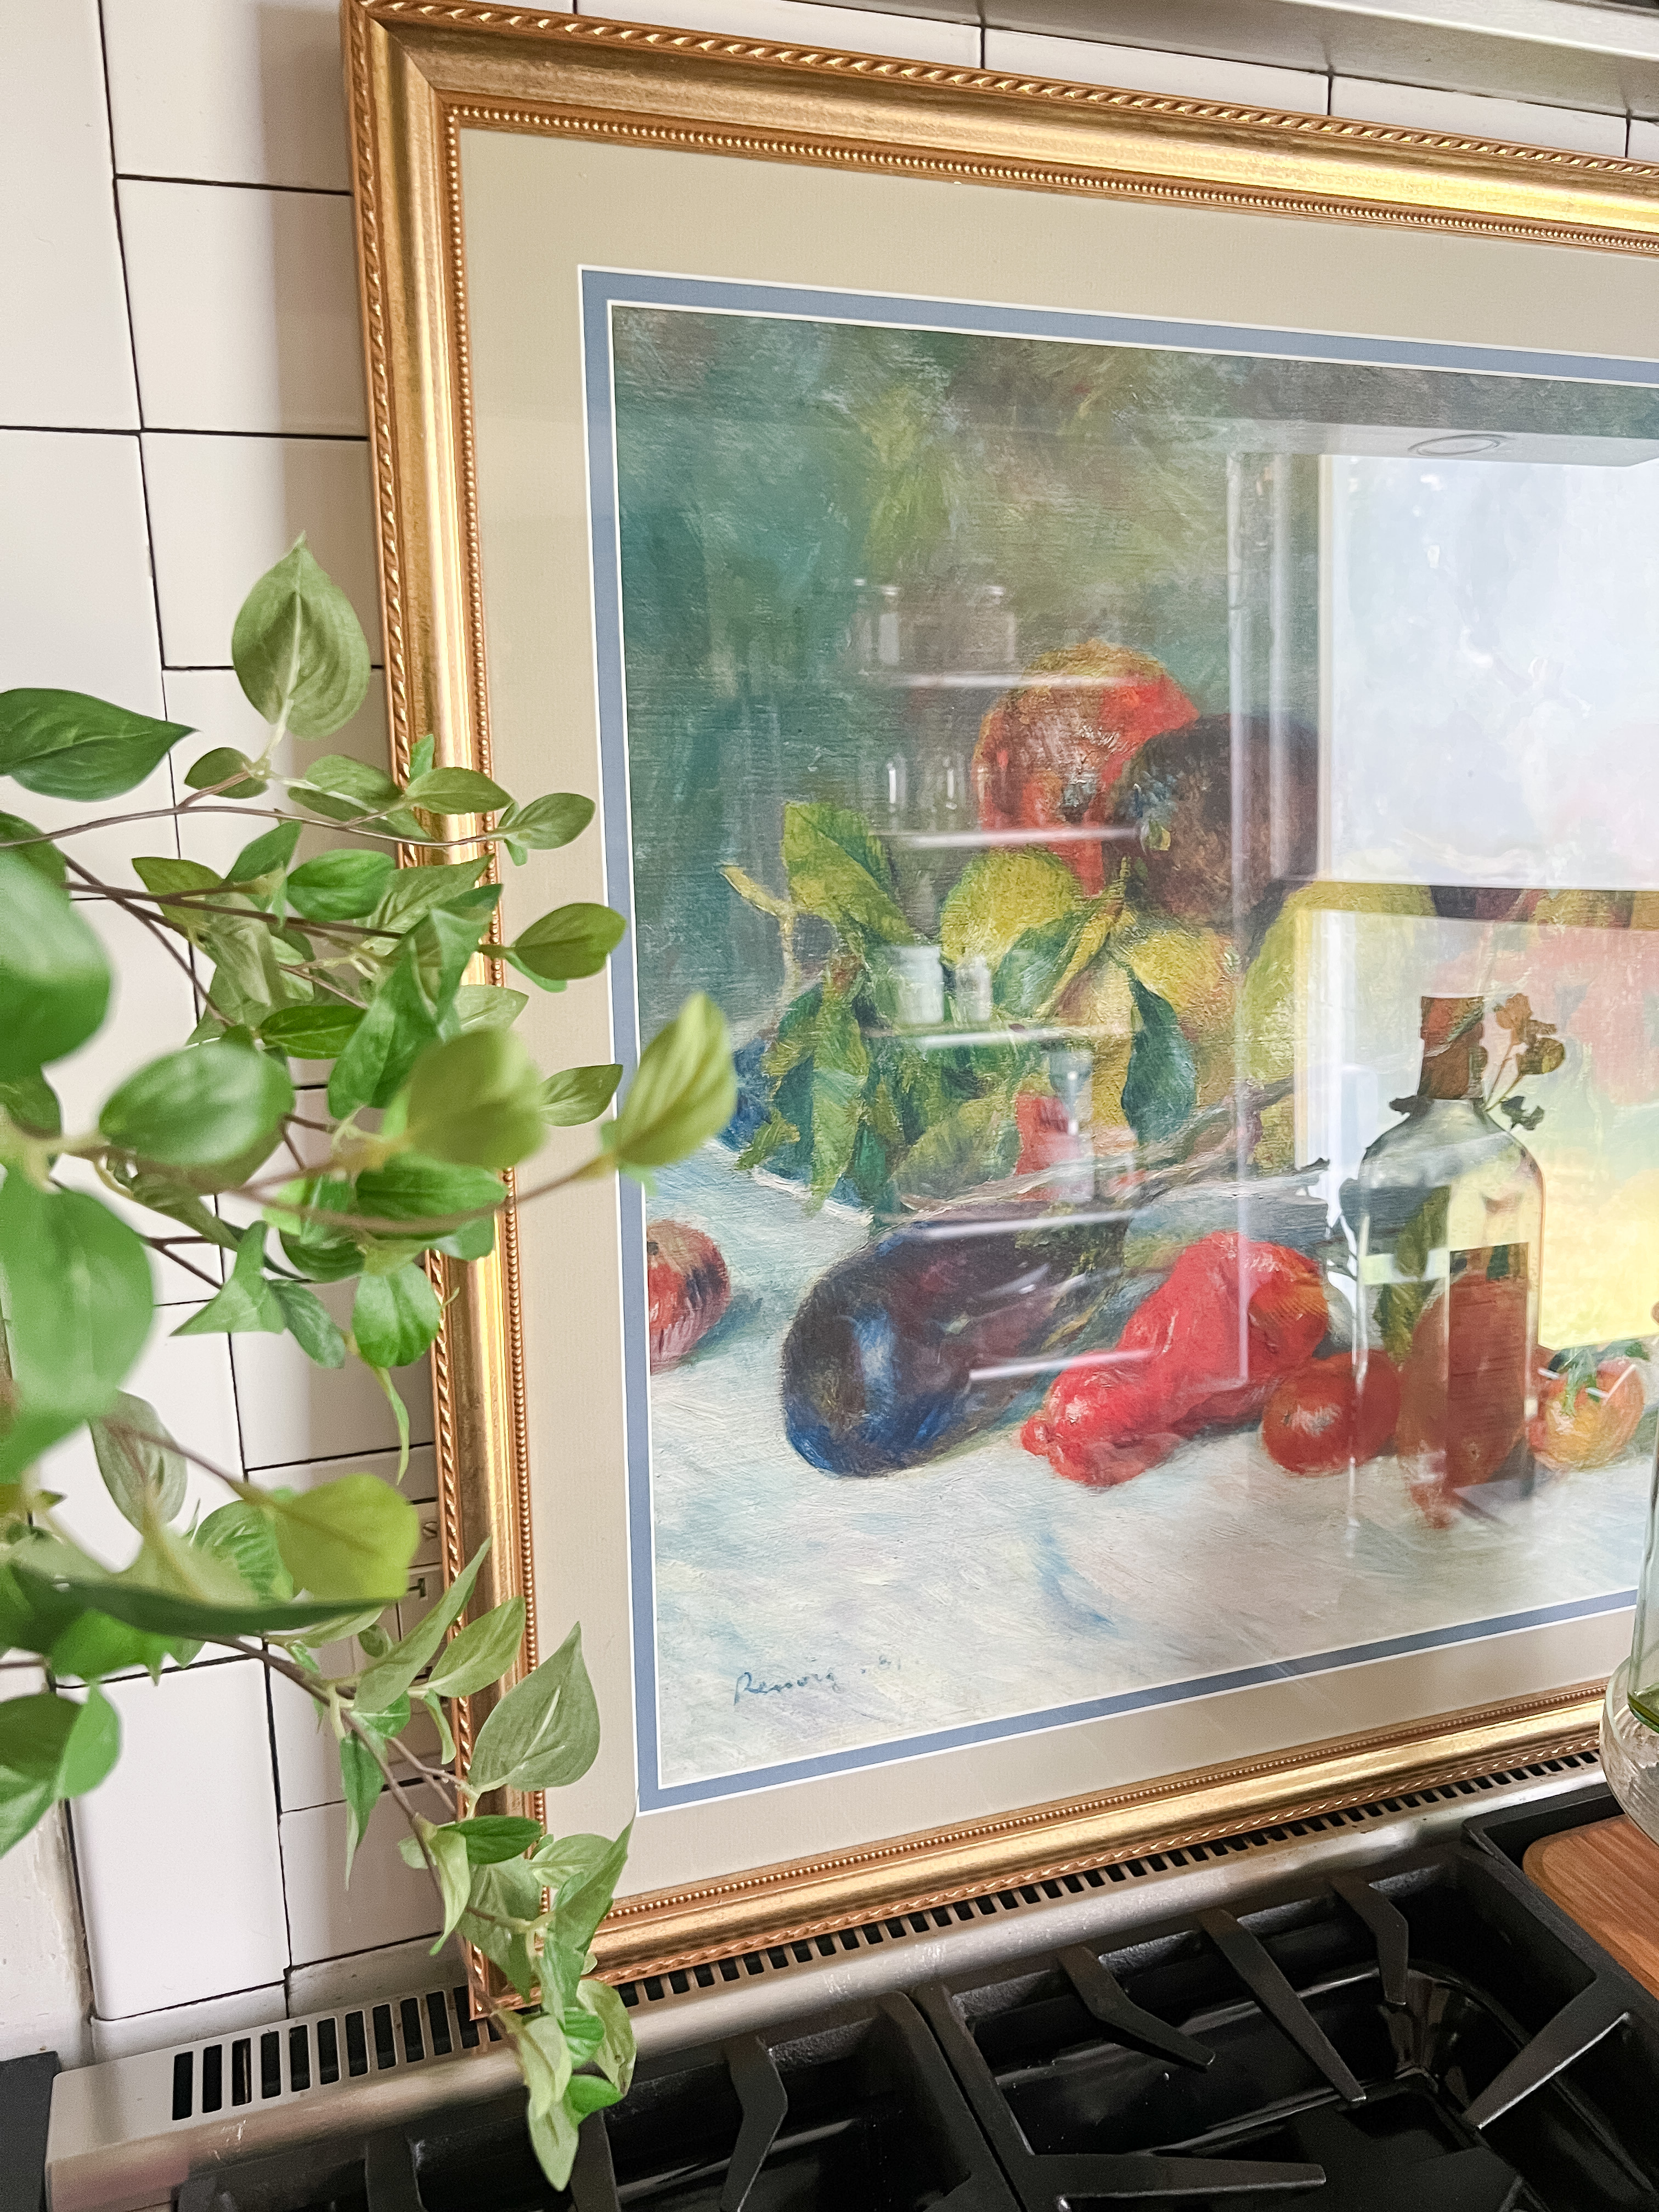
Like most anything, picture frame dust covers have their advantages and disadvantages.
Let’s explore both sides and figure out if a dust cover is right for your project:
The Pros
- 💧 Stabilizes Humidity – Helps keep moisture out (especially with wood frames!); no one likes a moldy picture, right? 🤢 Gross.
- 🪳 Bug Be Gone – Deter insects from entering your frame and nesting on your artwork, which can lead to irreversible damage, also gross!
- 💨 Dust & Debris – The primary benefit here is shielding from the inevitable dust particles that can accumulate over time, potentially causing damage.
- ✨ Preservation – Overall, dust covers are great for general preservation! If you like to keep things neat and tidy, a dust cover might be right for your framing project.
The Cons
- 🔨 More Maintenance – While frames typically don’t require a ton of maintenance, they do need occasional dusting here and there. Adding a dust cover may require you to check for insect holes, dust, or any wear and tear on your paper cover.
- 💦 Moisture Trap – In some cases, dust covers can trap pre-existing moisture within the frame. (Hello there humid climates like FL, NC, & GA!) 🥵
- 🔄 Pesky Change Out – Want to swap out your artwork? depending on how you’ve installed your dust cover, that could be a bit of a pain.
🔥 Hot Tip: Acid-free materials help protect and preserve artwork, while acid-containing materials can break it down. Keep this in mind while looking for dust cover paper options!
How To Use a Picture Frame Dust Cover To Protect Your Artwork
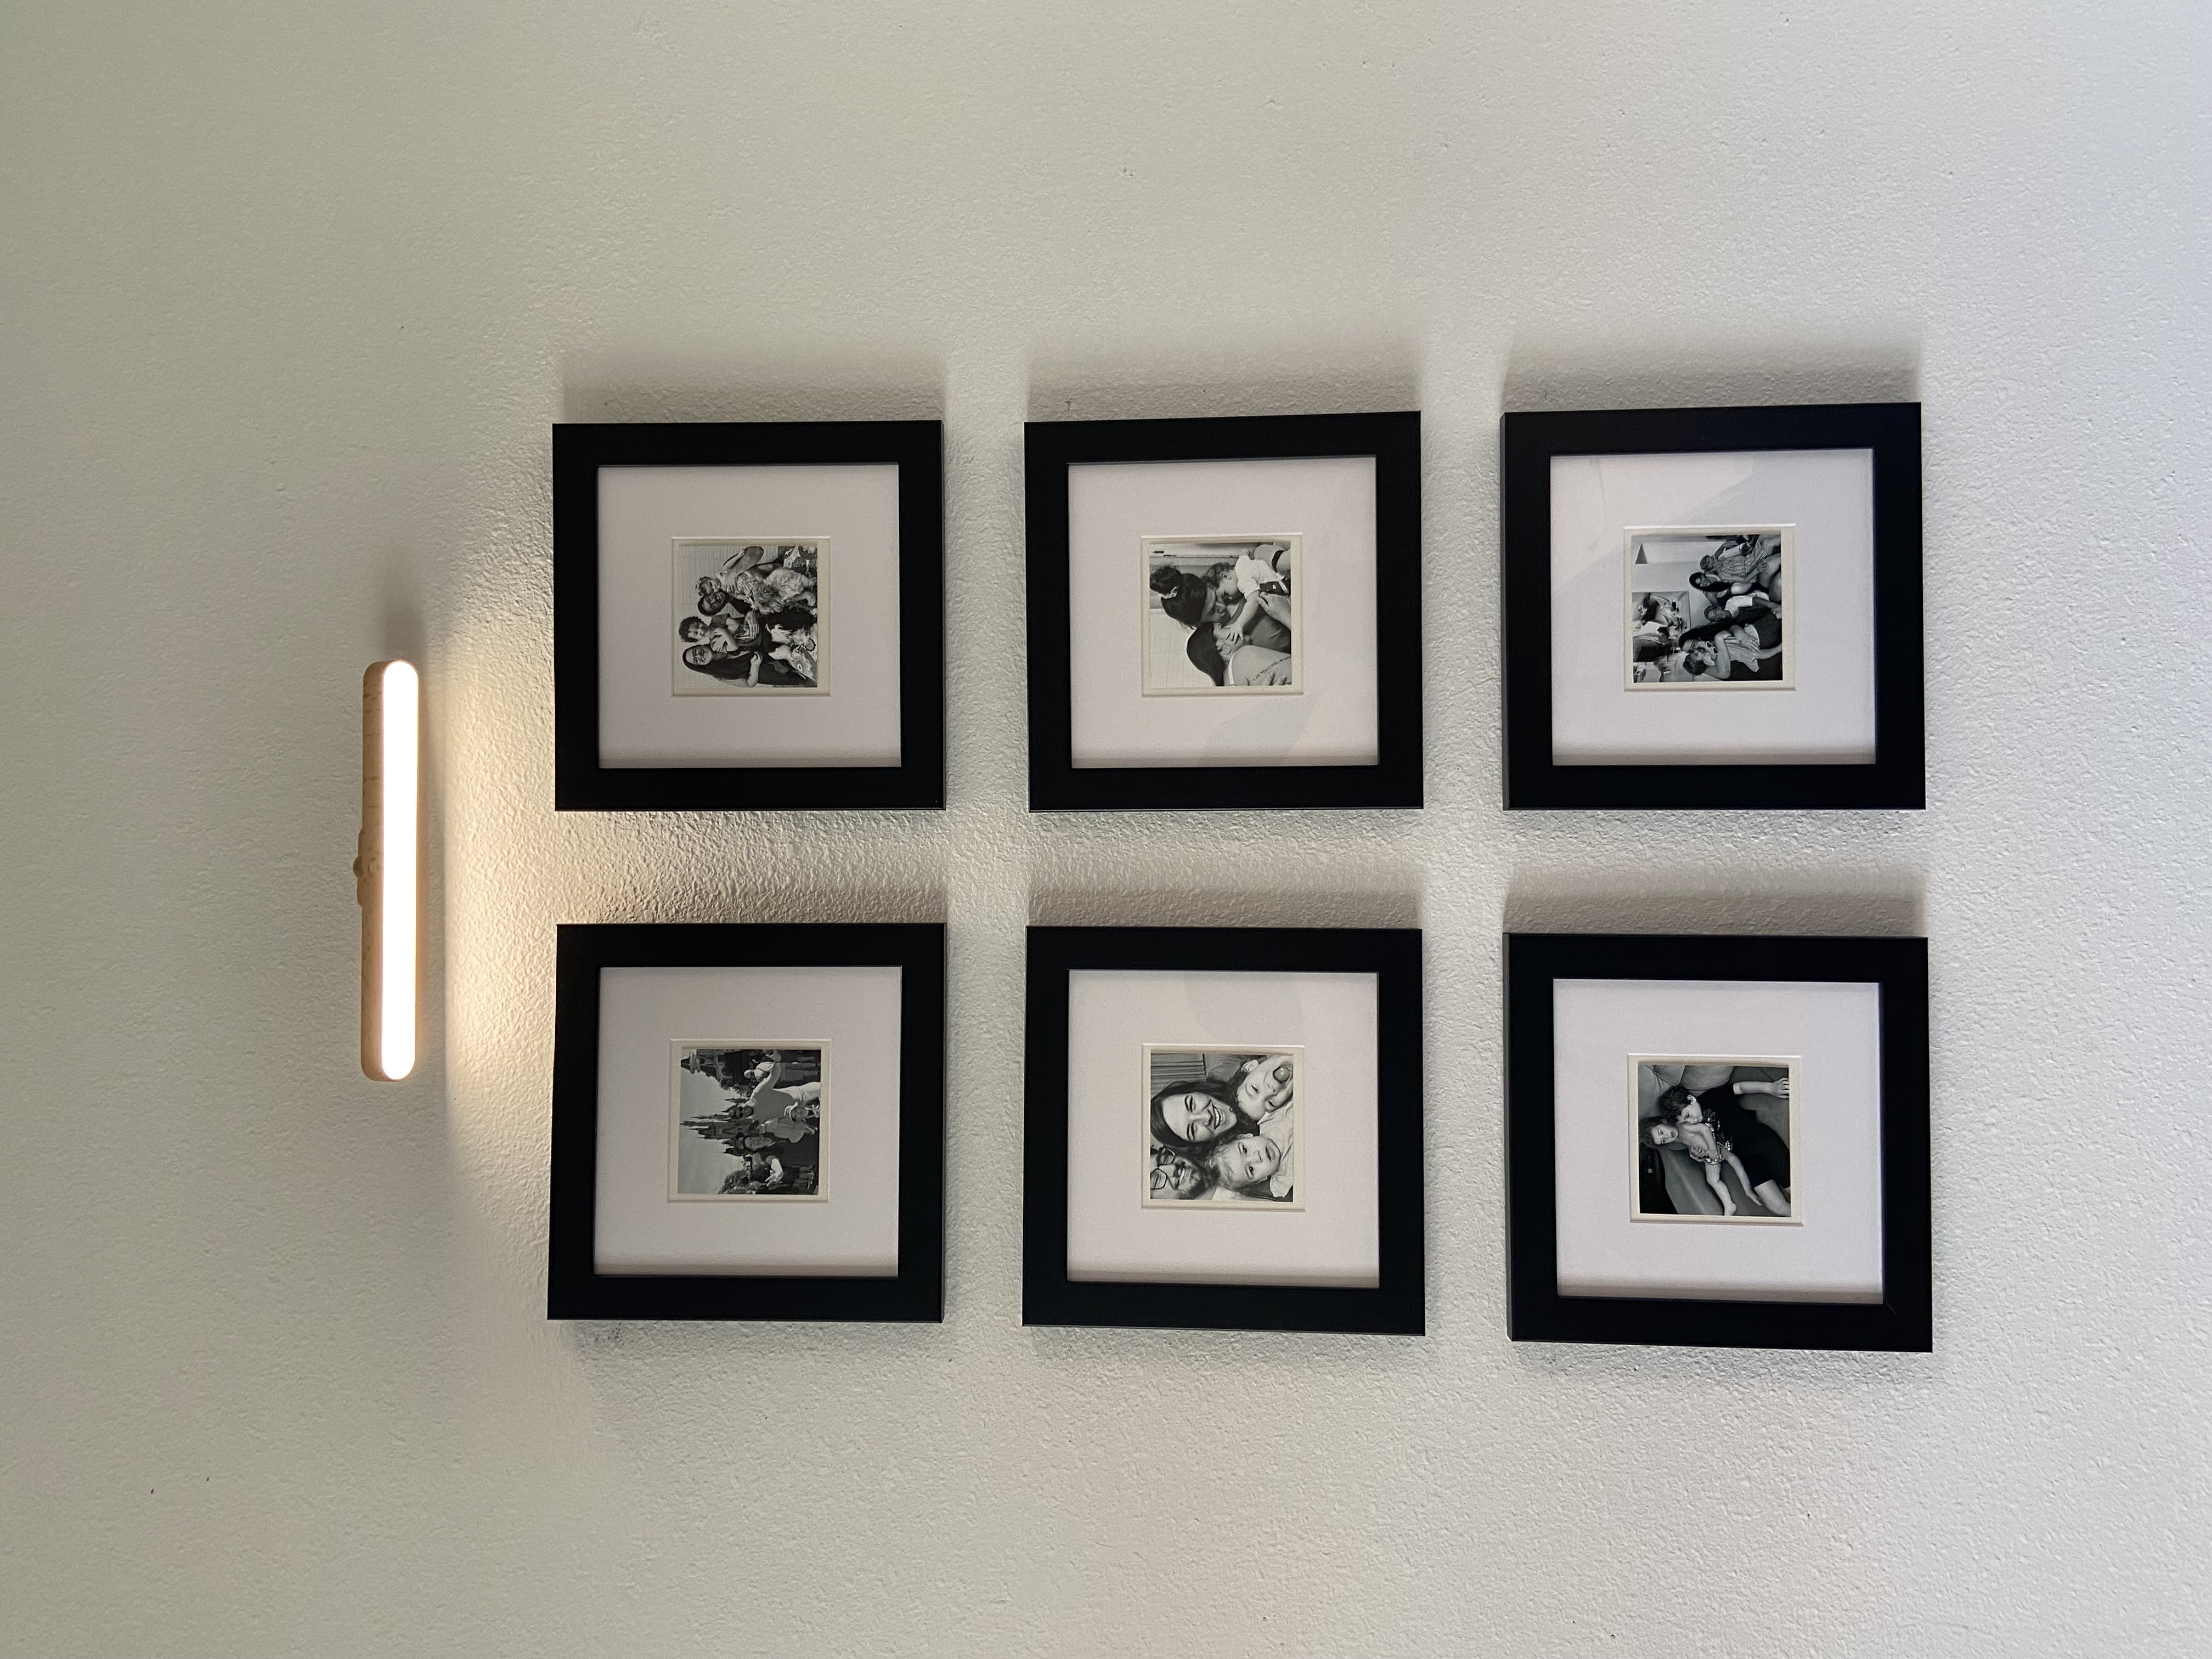
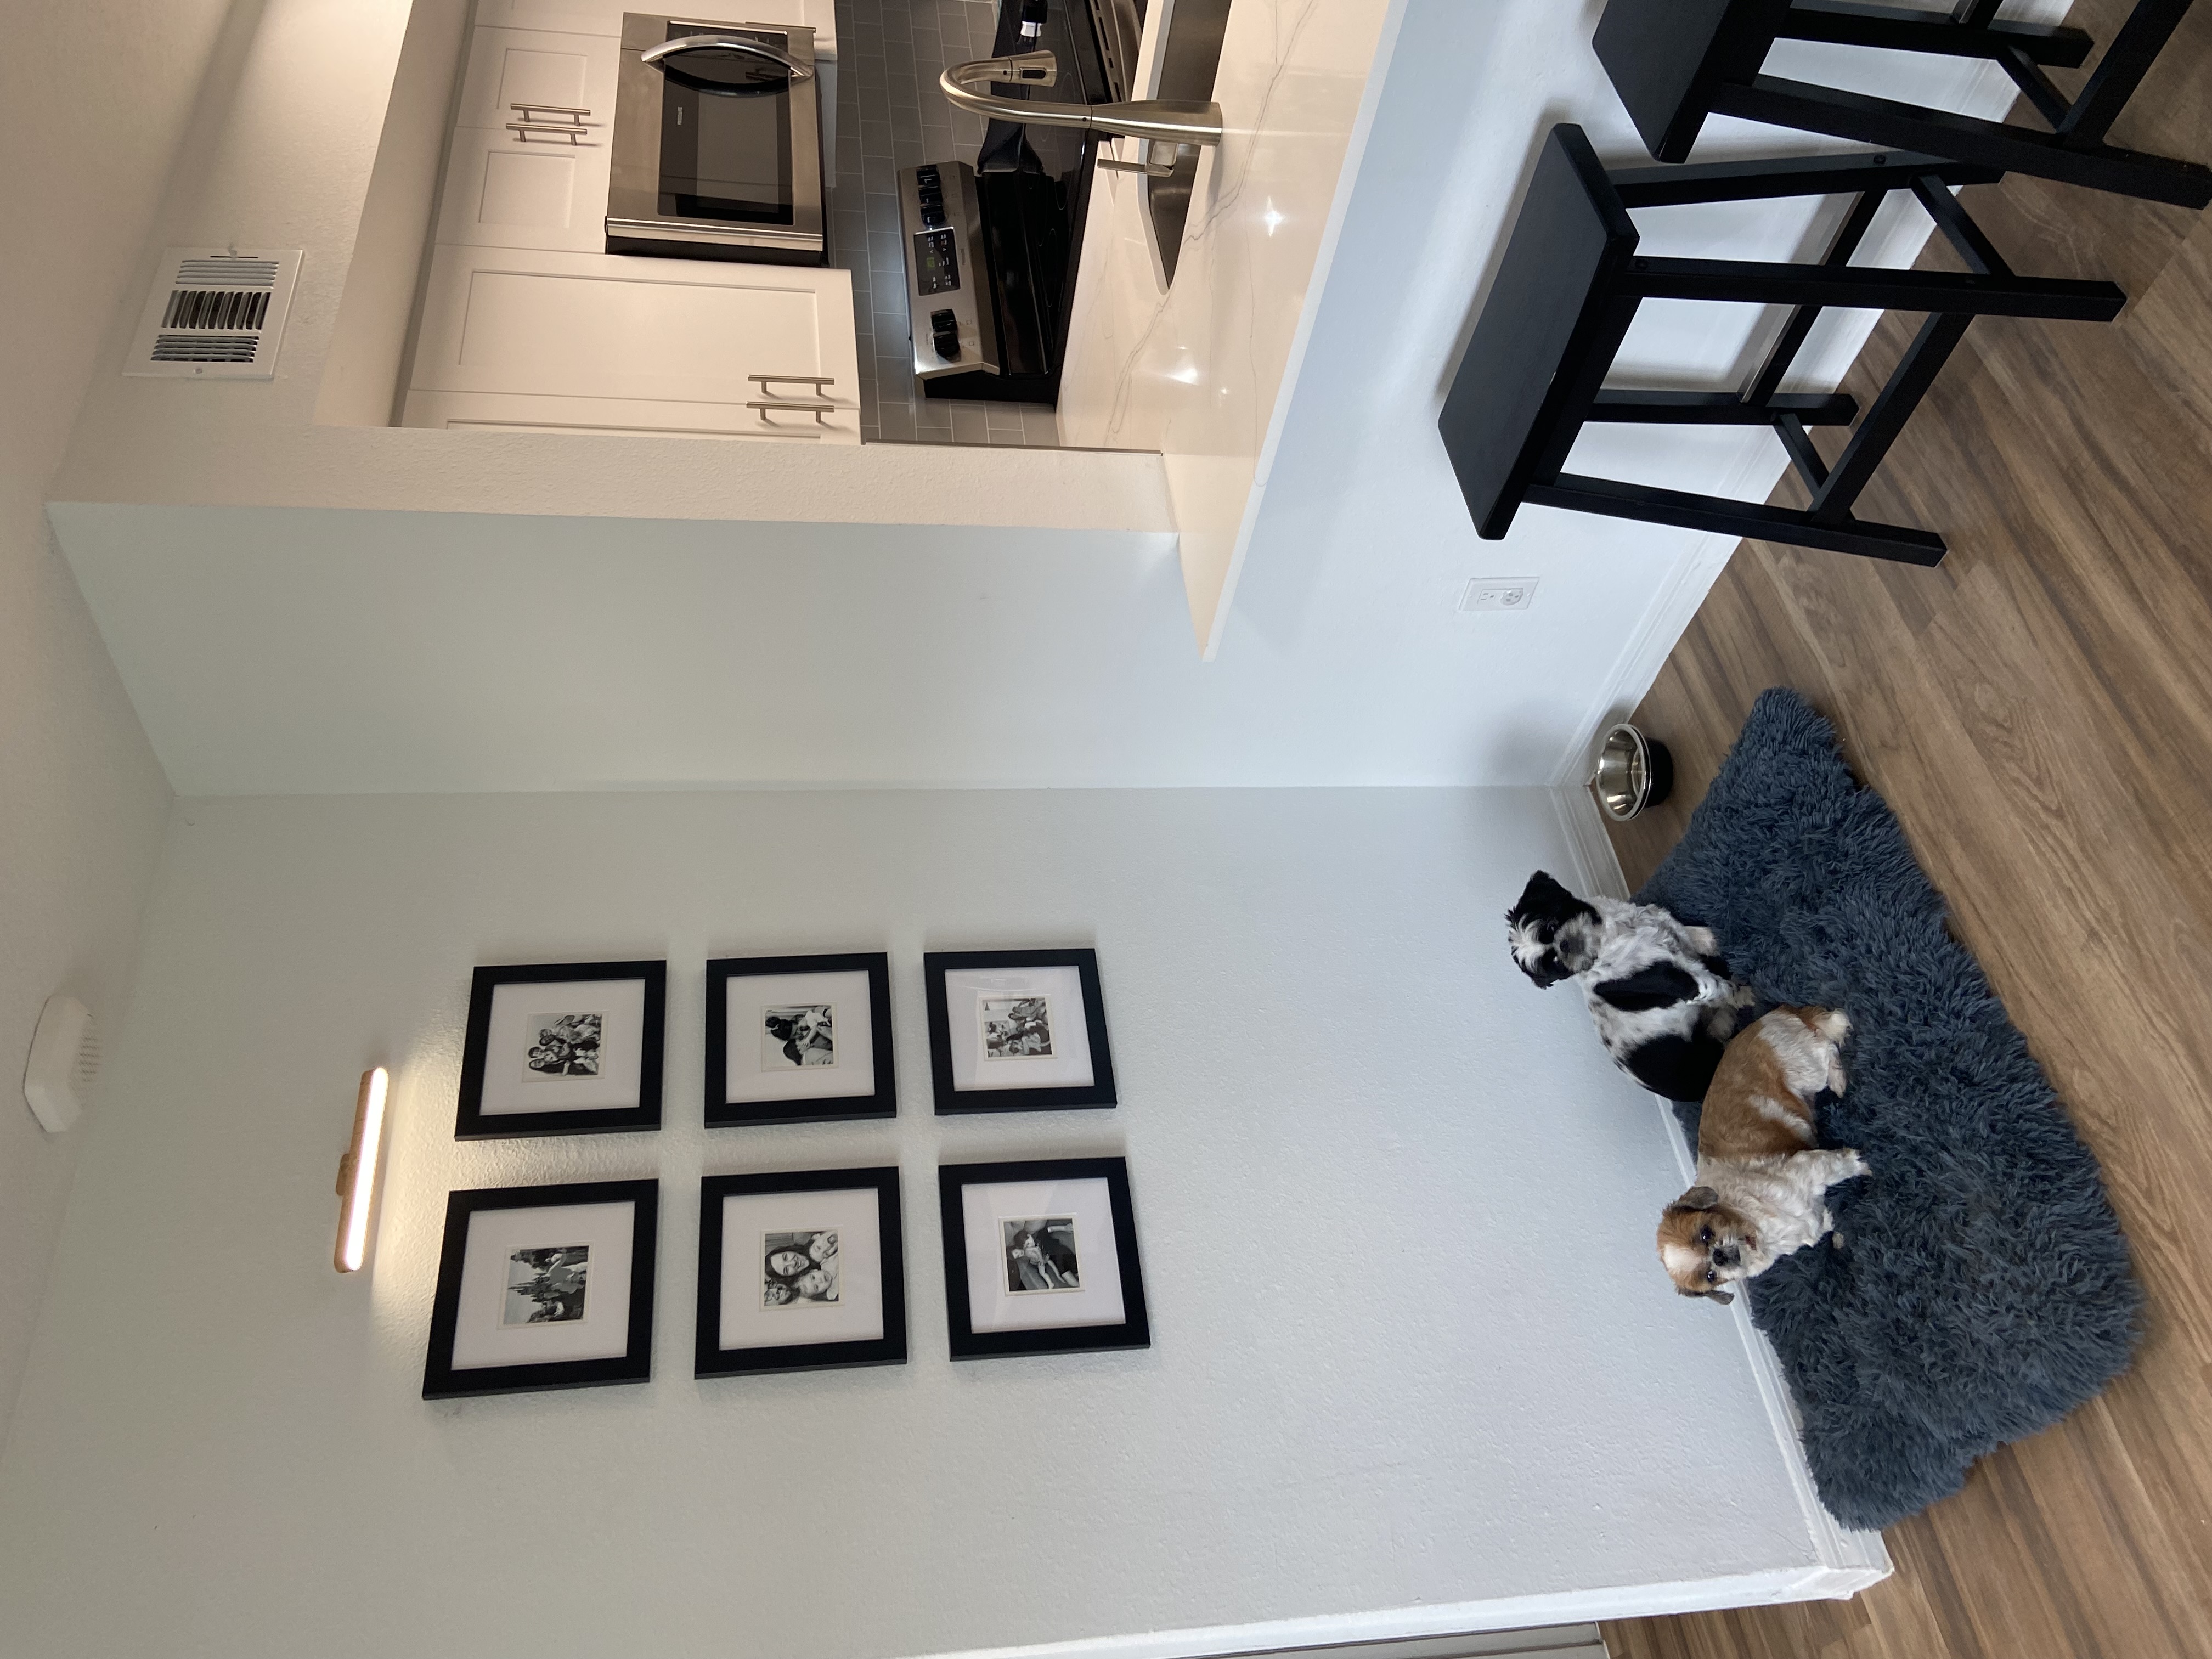
Now that we’ve gone over the advantages and potential drawbacks of installing a picture frame dust cover, let’s dive into how you can add your own and if the need ever arises, how to remove one properly as well!
How To Install A Picture Frame Dust Cover
- Measuring Your Frame – To ensure a proper fit, measure the inside dimensions of your frame. Then add roughly 1/2″ (depending on frame thickness). Alternatively, lay your frame on top of your backing paper of choice (brown kraft paper is common) and trace around your frame. This leaves an extra margin to secure it to the back of your frame.
- Line & Cut – After mapping out your dimensions on your backing paper. cut out your frame shape. Don’t worry about having perfect lines, they’ll be covered!
- Attach – Place the cut-out dust cover over the back of your frame. Secure it in place with tape, staples, or push tacks, ensuring a tight seal.
🔥 Hot Tip: While kraft paper is good in a pinch – if you can find an acid-free backing paper in your local craft store or online, we highly recommend using this instead!
How To Remove A Picture Frame Dust Cover
In some instances, you may want to or need to remove your dust cover. Follow these steps for a successful removal:
- Peel Back – Gently peel back the corners of the dust cover, being extra careful not to damage the frame or artwork. If staples were used to secure the dust cover, grab a staple remover or flathead screwdriver to gently pry the staples out.
- Leftovers – Be sure to remove any leftover adhesive or fasteners that secured the cover to the frame.
- Clean Up – Clean the frame and artwork, re-frame & replace with a new dust cover if desired. Check out more Tips and Tricks for Keeping Your Frames Clean!
🔥 Hot Tip: Smudged your frame glazing? No worries! Grab a microfiber cloth & wipe away. Resist the urge to use a paper towel or tissue, as you can leave scratches behind!
Final Thoughts
Picture frame dust covers can be an affordable and practical solution for adding that extra bit of protection to your frame to ensure your artwork inside is free from dust, insects, and other potential hazards. While they have their pros and cons, the choice is up to you if they’re right for your framing project!
Keep in mind that the use of acid-free matboads, and UV protective covers is usually enough to protect most photos and prints – and here at Frame It Easy all of our frames use both! Adding a dust cover to Frame It Easy frames can add a tad more protection and is not a requirement! 👍
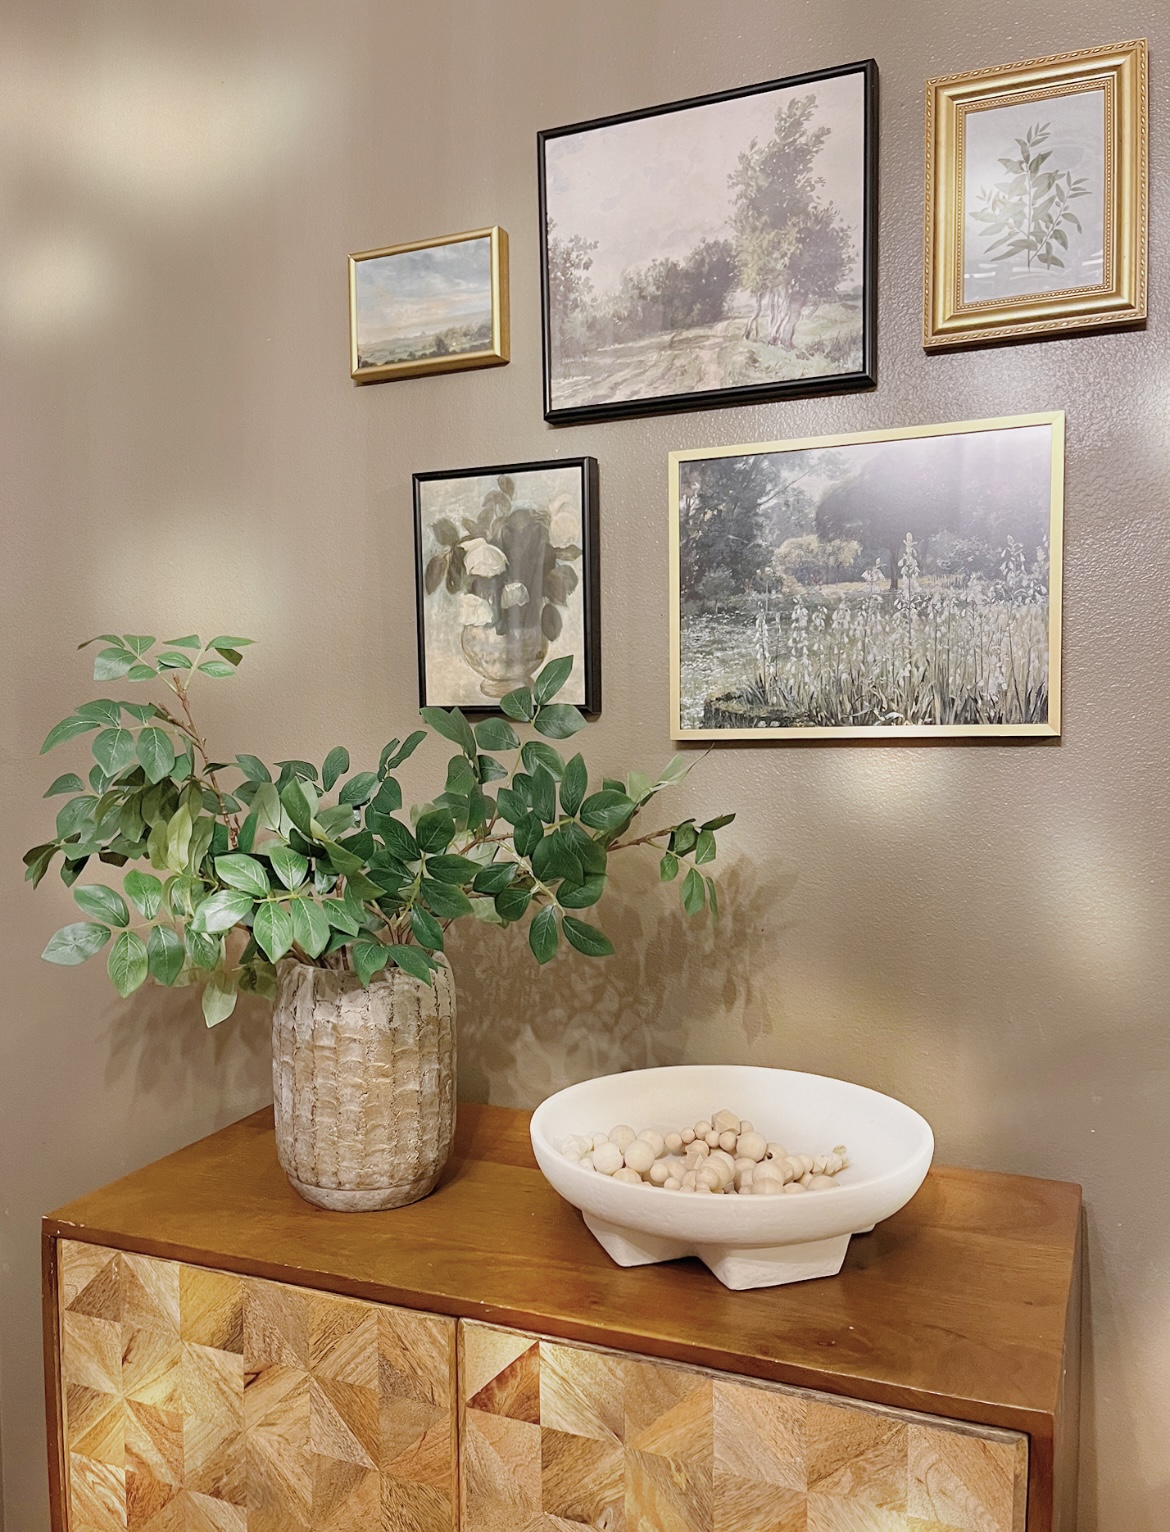
Show off your framed artwork, photos, & other items! – Inspire others by sharing your photos, tell us your story! If we share it, you’ll receive a coupon for 15% off your next order!
Be sure to follow us on our socials for more daily inspiration – check out our Shopify app to start selling your own framed prints!
