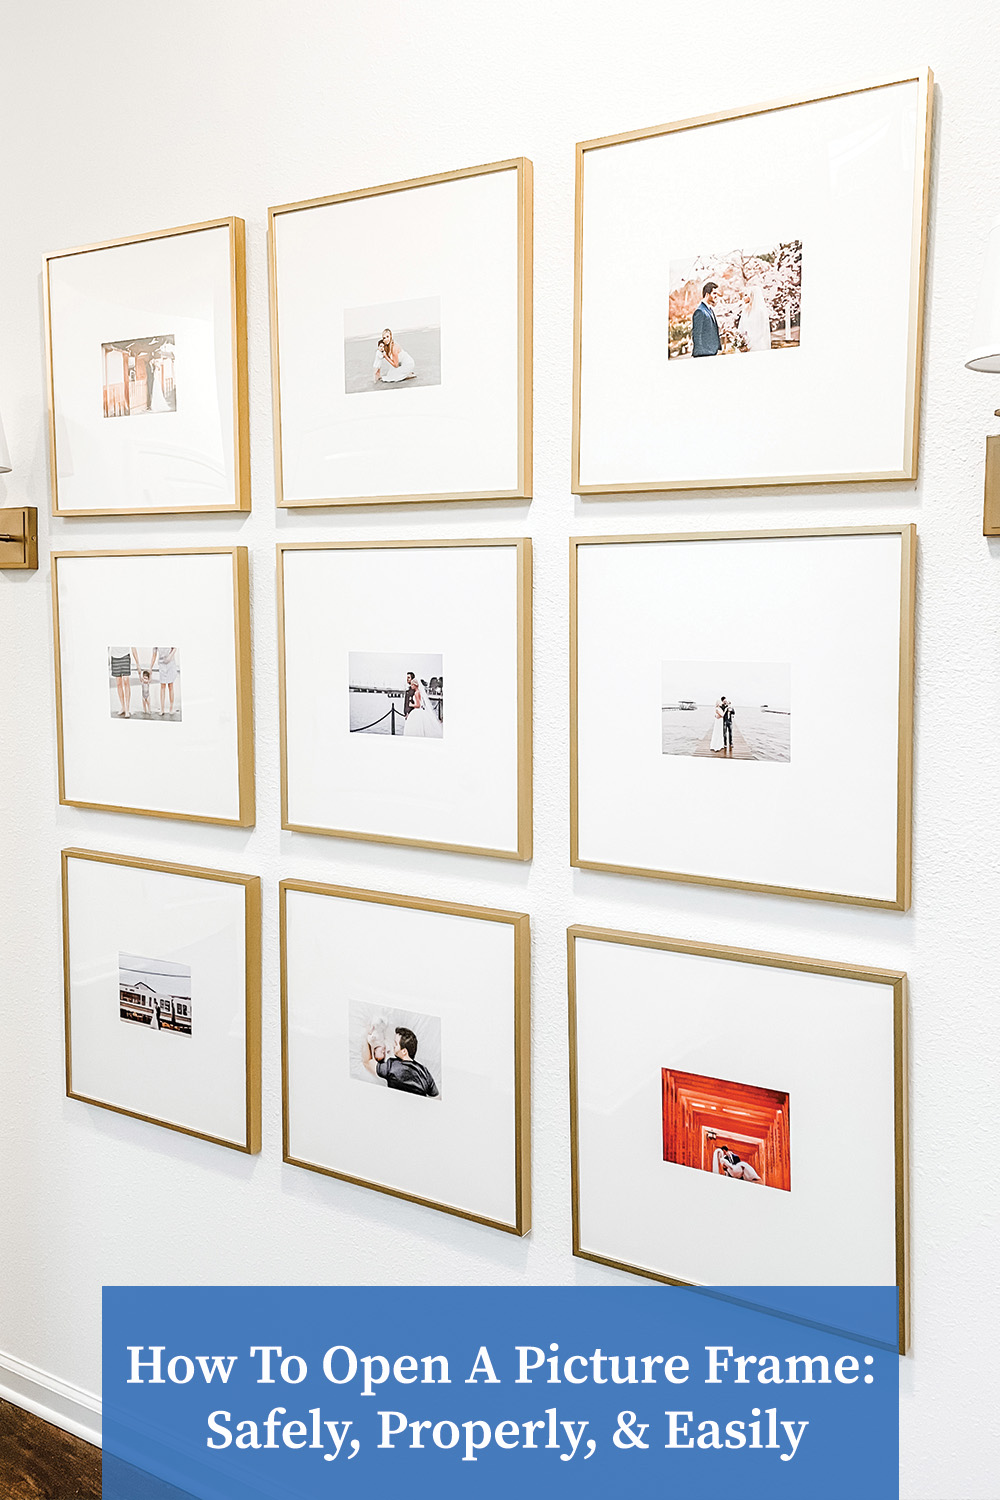
We already know that picture frames are a beautiful way (we think THE BEST way 😉) to display your cherished memories, artwork, and photos. However, opening an already pristine and unsmudged frame can seem like an intimidating task, especially if you’re unfamiliar with the parts of a frame! No need to worry – we’ve got your guide on how to open a picture frame!
You may have asked…
- How do you take the back out of a frame?
- How do you open a frame with metal tabs?
- How to take apart a picture frame?
In this guide, we’ll walk you through the steps to safely and properly open both our wood and metal Frame It Easy style frames, ensuring that your precious artwork & photos inside remain unharmed.
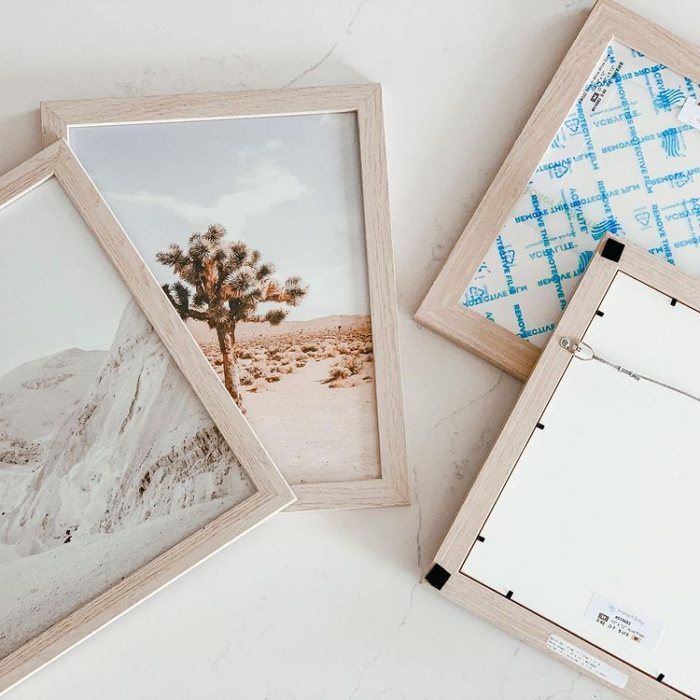
Want To Open Your Frame?
Before we dive right in, It’s important that we note if you’re looking to change out your artwork and you plan on using a frame where we’ve printed your artwork for you – It will be securely mounted to your foamcore. While you won’t be able to take your old photo out, you can always lay a new one on top. (We recommend adding in a separation layer of acid-free paper for some protection!)
That being said if you’re using a frame with no printed artwork previously added by our frame assembly team, you’re good to go! However, mishandling a frame can result in damage to artwork, breakage in the acrylic cover, or if you’re really going crazy – injury to yourself! 😭
By following our outlined steps in this guide, you’ll be able to confidently open your frame without any trouble.
🖼️ Please Note: We love a good redesign and art swap every once in a while, but be sure not to overdo it! While our frames are built to last, changing out your artwork excessively will wear down flexitabs and strip screws over time. (We recommend grabbing more frames if you change art often!)
How To Open A Picture Frame: Wood Frame
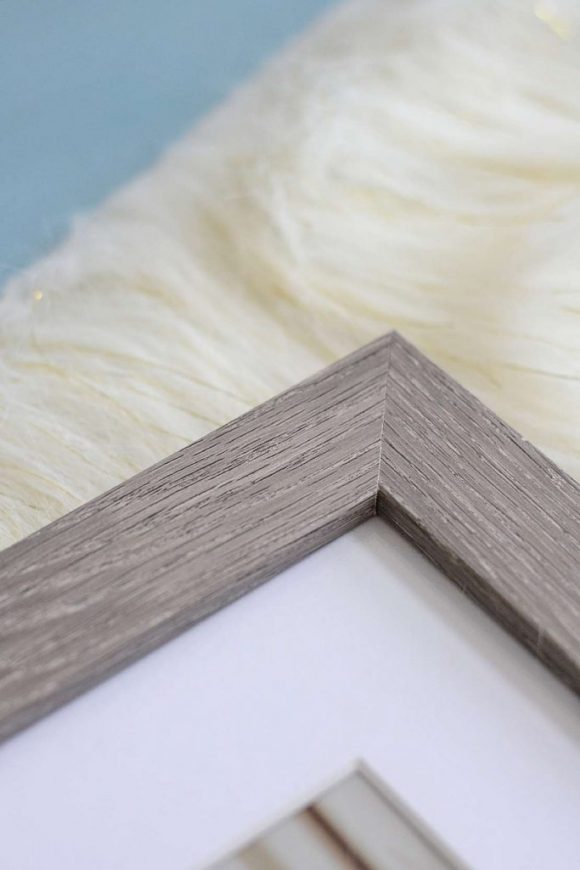
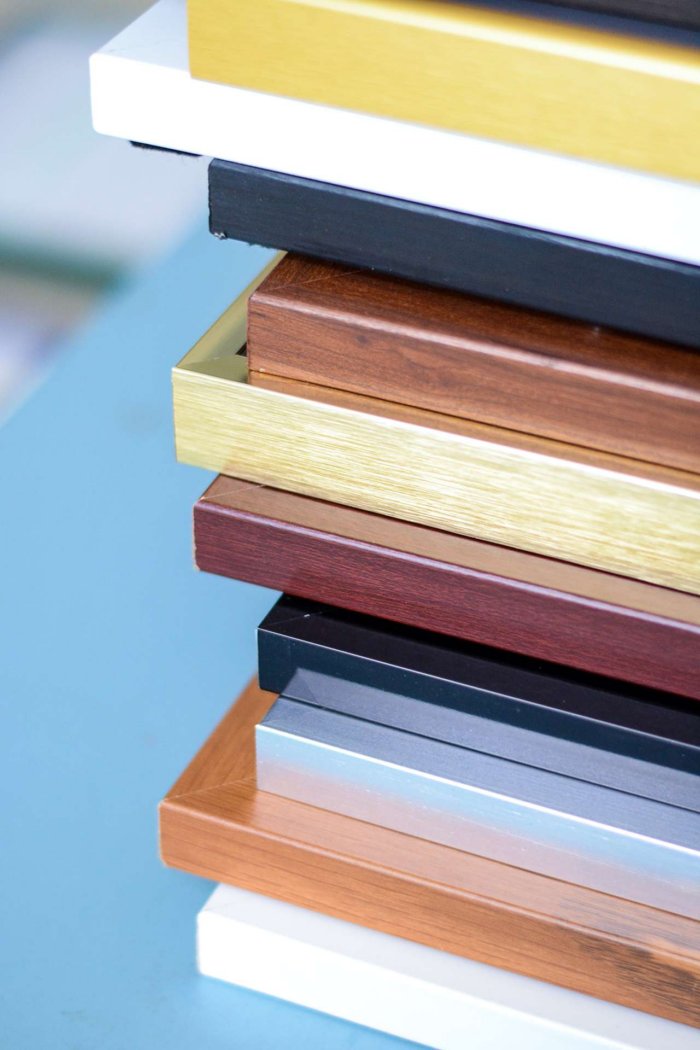
Our wood frames are a popular choice for their classic and elegant appeal. They transition well from vintage style to modern spaces with our different color choices. The backing components and hanging hardware are a bit different from our metal frames, (we’ll go over that later!) so let’s break it down for ya!
The Parts of Wood Picture Frames
How to open a picture frame? We’ll first need to flip that bad boy over! 🔄
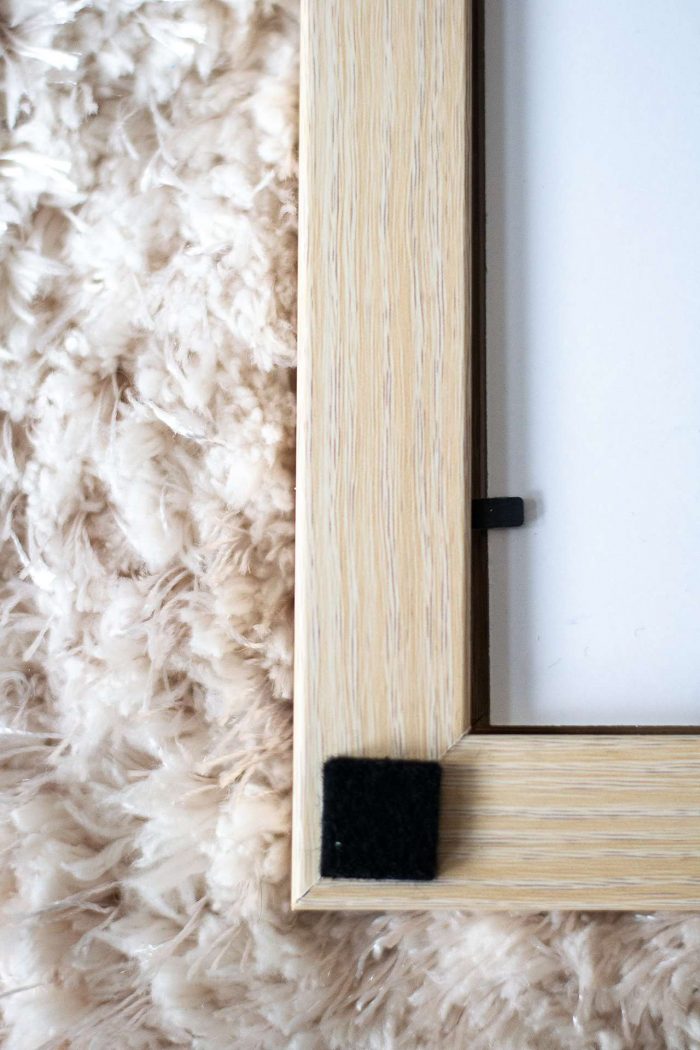
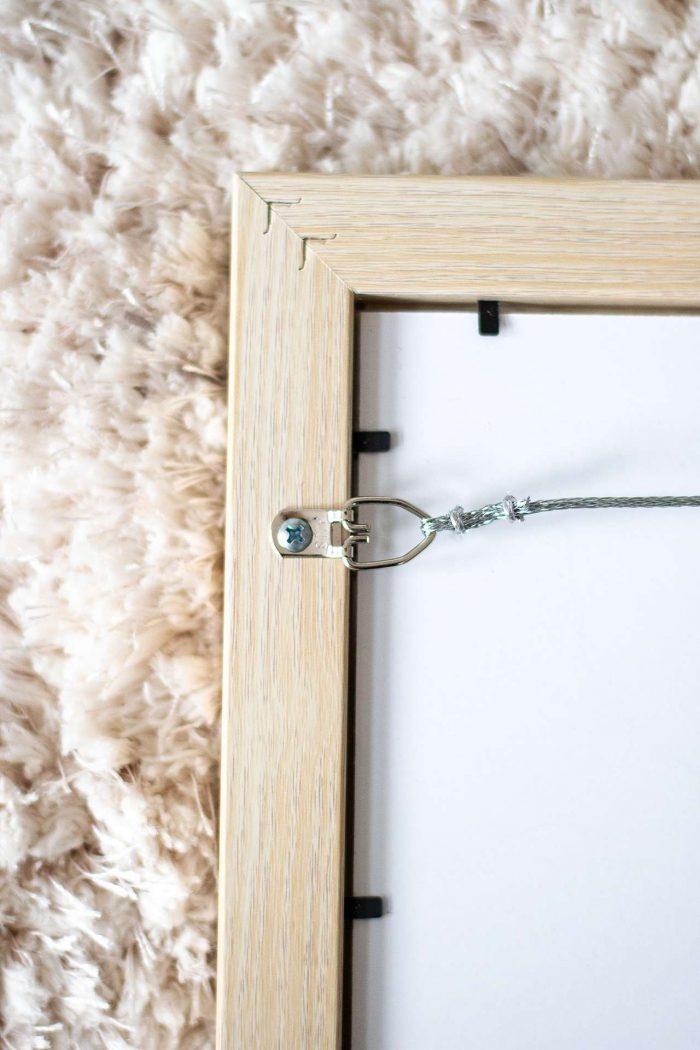
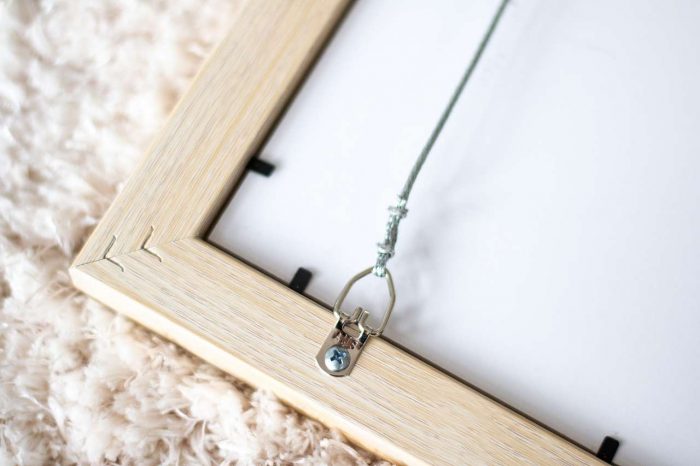
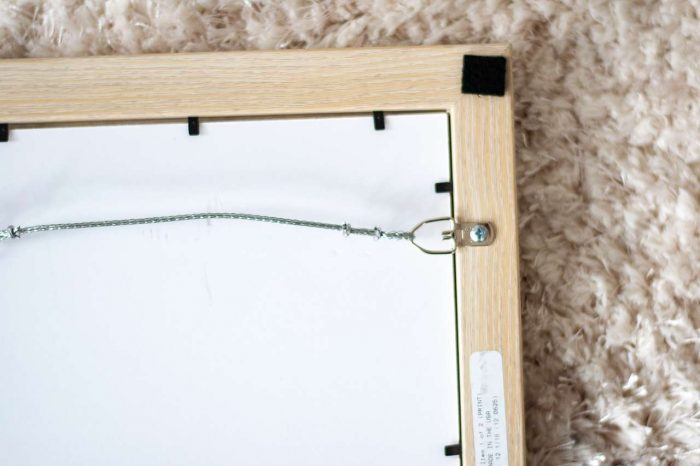
You’ll find the following on the back of our wood frames:
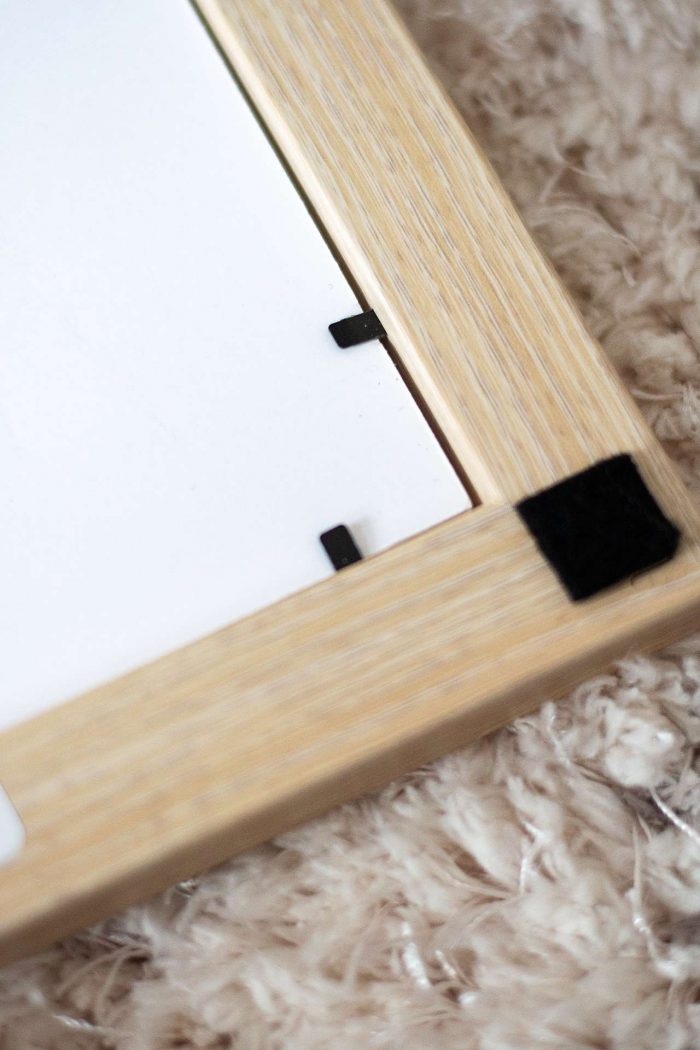
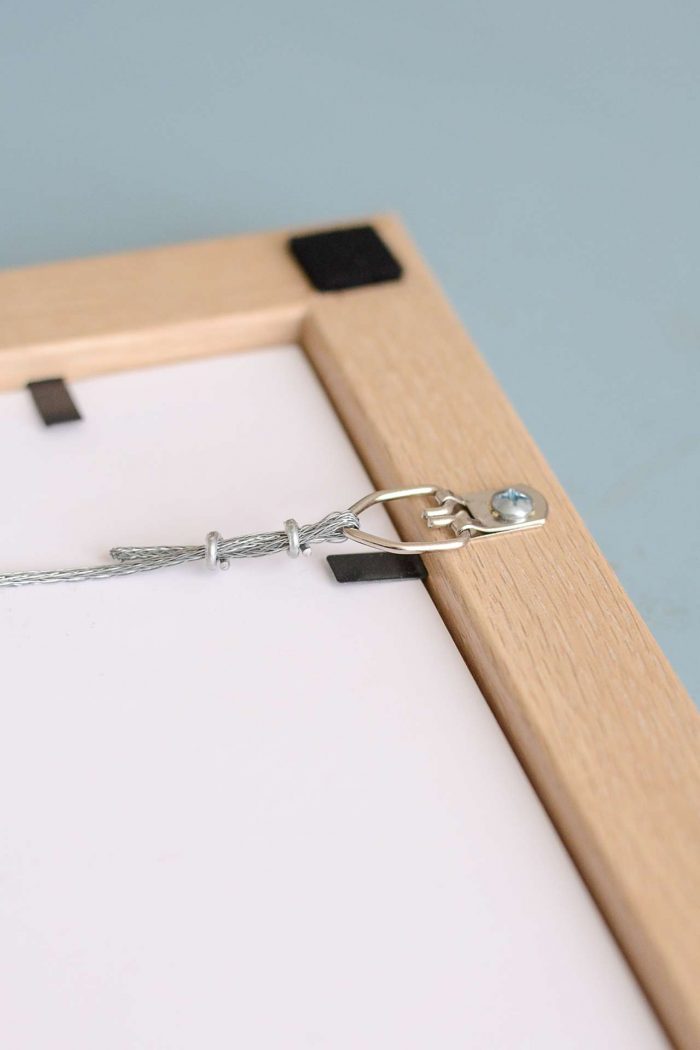
- Felt Pads – For our wood frame corners to protect your wall.
- Flexipoint Tabs – Included on the back of our wood frames and are meant to be bent back to remove the backing from your frame, and then pushed back into place again once everything is placed in properly.
- D-Rings – These come pre-fastened to our wood frames, and are screwed directly into the frame profile. These are for the hanging wire to secure onto.
- Hanging Wire – Used for both wood & metal frames. The hanging wire comes pre-attached to the D-Rings, with one side untethered so you can easily remove the backing of your frame and place your artwork into it.
What You Need To Open Your Wood Frame
Let’s be clear here, you won’t really need anything to open our wood frames, but these few items are good to have on hand:
- A Microfiber Cloth – for cleaning off any smudges you may get on the cover
- A Small Flathead Screwdriver Or Butter Knife – for the cuties with the nails 💅 we cannot afford to break those beauties! 😘 Used to lift the flexipoint tabs.
How To Open A Wood Frame: Step 1 Prepare The Frame
Now that you’ve gathered your materials and are familiar with the frame’s parts, let’s dig in!
- Lay your frame face up on a clean, flat, and stable surface.
- Put on clean gloves or use a microfiber cloth to prevent leaving smudges or fingerprints on the cover, wipe any away before you flip your frame to its back.
- If your frame has a hanging wire installed, unwrap one side and move it and the D-rings outward facing away from the edge.
How To Open A Wood Frame: Step 2 Opening The Frame
- Using your fingers, a flathead screwdriver, or butter knife, slip under the flexipoint tabs and push them up and away from the backing.
- Once you’ve successfully opened all of the tabs, slowly take out the cover, matting, artwork, and backing all in one piece if you can.
- Carefully separate each component, ensuring you have a firm grip.
And there you have it – you’ve successfully opened your wood frame! Need help putting it all back together? Follow along with our video below:
🍌 Free Fruit Art Prints!🫐
🍏 Download Free Fruit Art Here! 🍒
Subscribe to our mailing list for exclusive goodies, fun quizzes, framing tips and tricks, and so much more!
How To Open A Picture Frame: Metal Frame
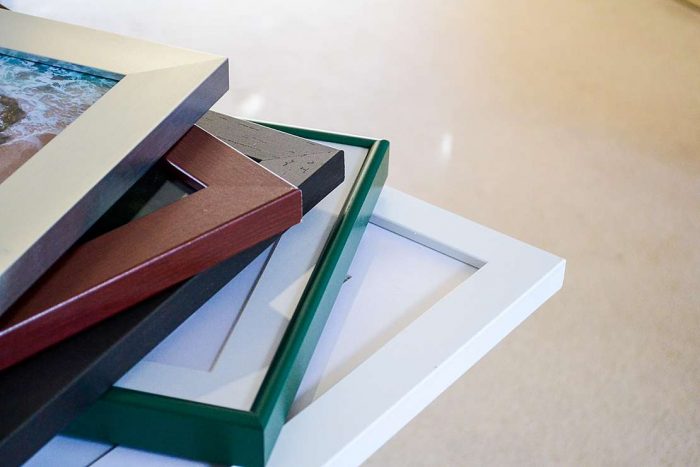
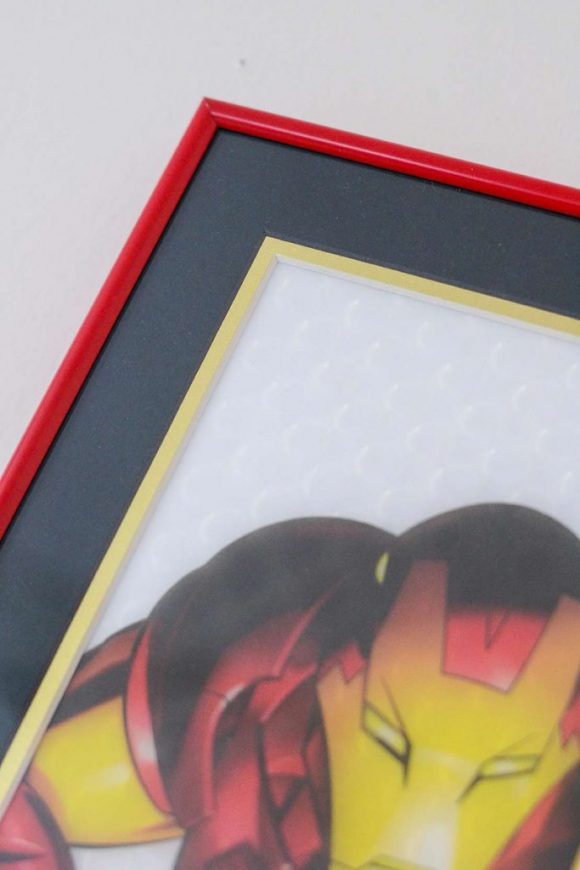
Our metal frames are known for their sleek and contemporary look. Style them with any interior and they’ll be sure to make your walls pop! As we mentioned before, the backing components for metal and wood frames are a tad different, so let’s show you what we’re working with!
The Parts of a Metal Picture Frame
Go ahead and flip your metal frame over and let’s go over the components!
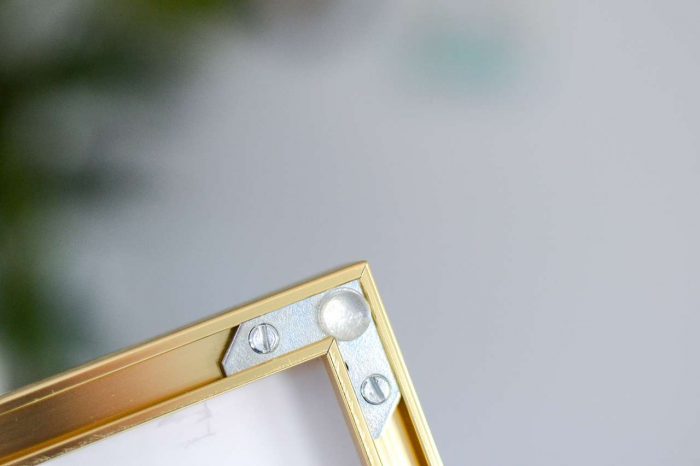
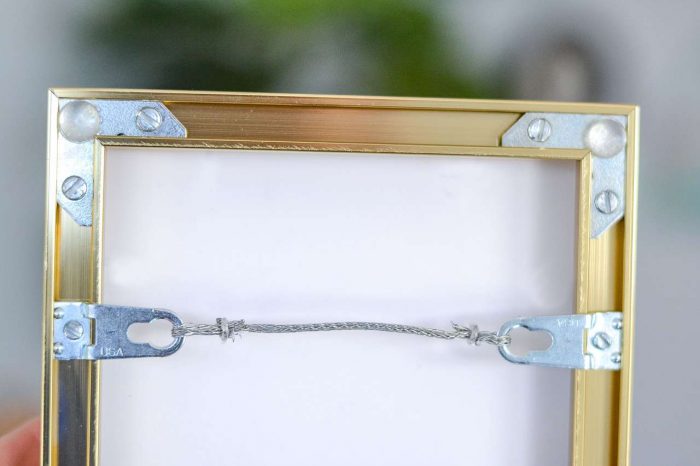
- Euro Hangers – These keep the hanging wire in place. They fasten to the back of the frame, the hanging wire should be strung tight through each side to ensure an even display. Also, make sure the Euro Hangers are placed evenly on both sides of the frame.
- Hanging Wire – Used for both wood & metal frames. The hanging wire comes pre-attached to the Euro Hangers if we’ve printed art for you, with one side untethered so you can easily remove the bottom railing of your frame and place your artwork into it.
- Spring Clips – These make sure there is no space for your backing and artwork to move in the frame. Without them, there would be a slight bit of wiggle room for the frame’s contents to move around, and that’s no bueno. Simply place some pressure on the spring clips into the back of the frame to flatten them out. (Be careful as if you let go, they could spring out! 🦘)
- Bumpers – Much like the wood frame felt pads, these protect your wall. Add these bumpers on the back corners of the metal frame. (Note: sometimes these might be white foam squares instead of clear circles, but both are used the same way and serve the same purpose.)
What You Need To Open Your Metal Frame
- A Microfiber Cloth – For cleaning off any smudges you may get on the cover.
- A Flathead screwdriver or power drill – Used for removing the screws to slide the frame railing off in order to insert your art.
How To Open A Metal Frame: Step 1 Prepare The Frame
Now that you’ve gathered your materials and are familiar with the frame’s parts, let’s get to it!
- Lay your frame face up on a clean, flat, and stable surface.
- Put on clean gloves or use a microfiber cloth to prevent leaving smudges or fingerprints on the cover, wipe any away before you flip your frame to its back.
- If your frame has a hanging wire installed, unwrap one side and move it outward facing away from the frame.
How To Open A Metal Frame: Step 2 Opening The Frame
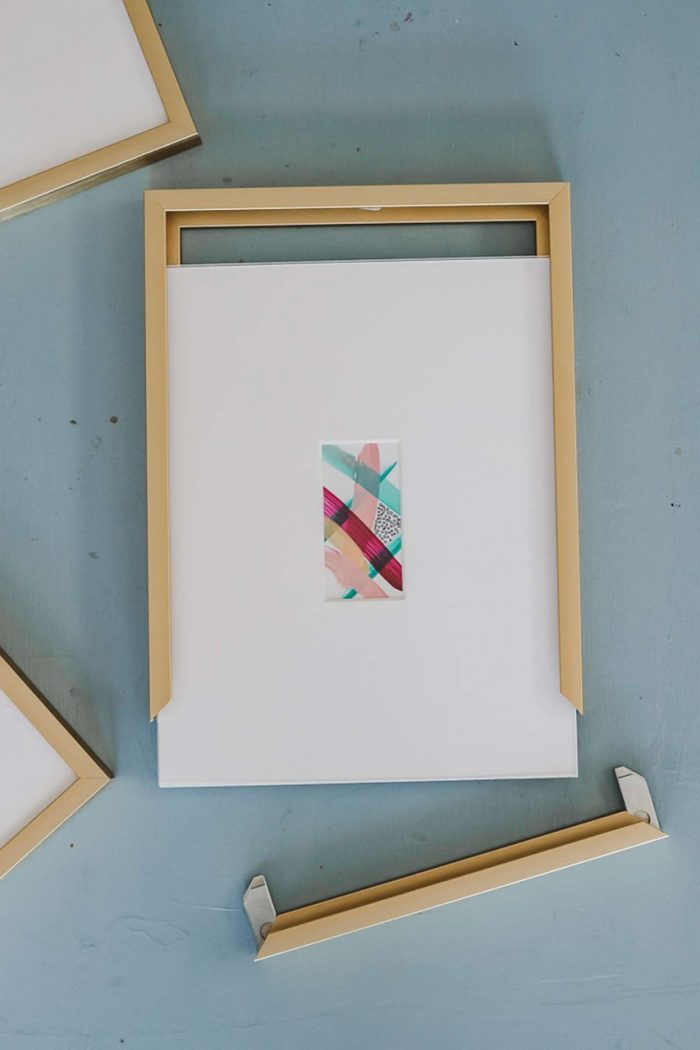
- Grab your screwdriver and begin to unscrew the bottom left-most screw and bottom right-most screw on your frame brackets (this should only take one full turn!)
- Carefully slide out the bottom frame railing.
- Slowly slide out the cover, matting, artwork, and backing all in one piece if you can.
- Gently separate each component, ensuring you have a firm grip.
That’s it! – You’ve successfully opened your metal frame! Need help putting it all back together? Follow along with our video below:
Final Thoughts
Opening a picture frame doesn’t have to be a challenging (or risky) endeavor! By following the steps outlined above, you can confidently and safely open your wood and metal frames to change out artwork or add in new elements! It requires a delicate touch to avoid any mishaps, so always take your time and exercise caution.
🤔 Remember: Even though our frames are well-built and sturdy – be sure to handle them with care!
If you encounter any issues, feel free to hit up our customer service team for help!
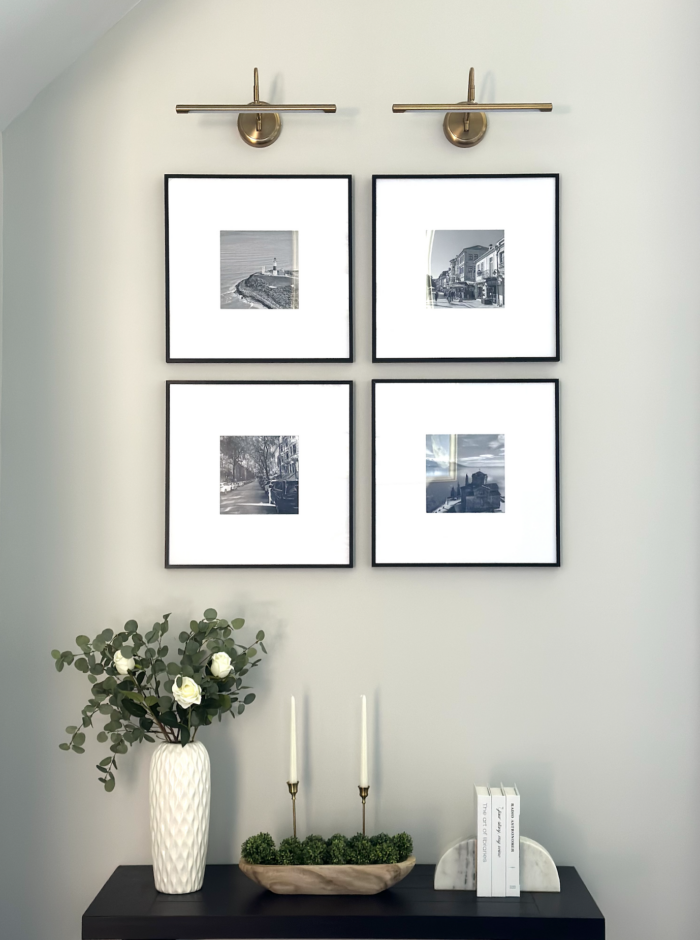
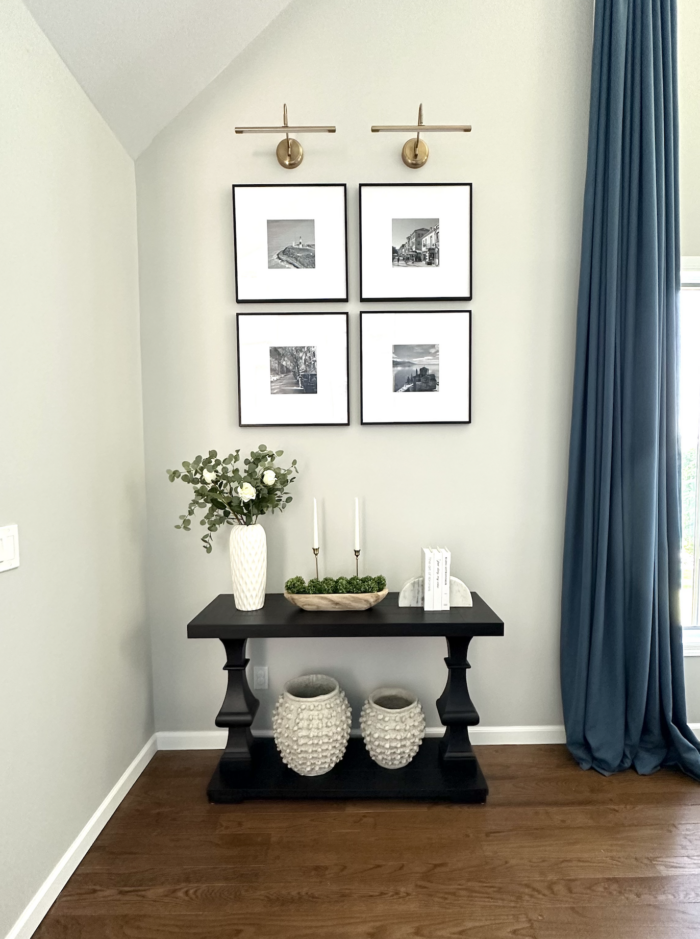
Show off your framed artwork, photos, & other items! – Inspire others by sharing your photos, tell us your story! If we share it, you’ll receive a coupon for 15% off your next order!
Be sure to follow us on our socials for more daily inspiration – check out our Shopify app to start selling your own framed prints!
