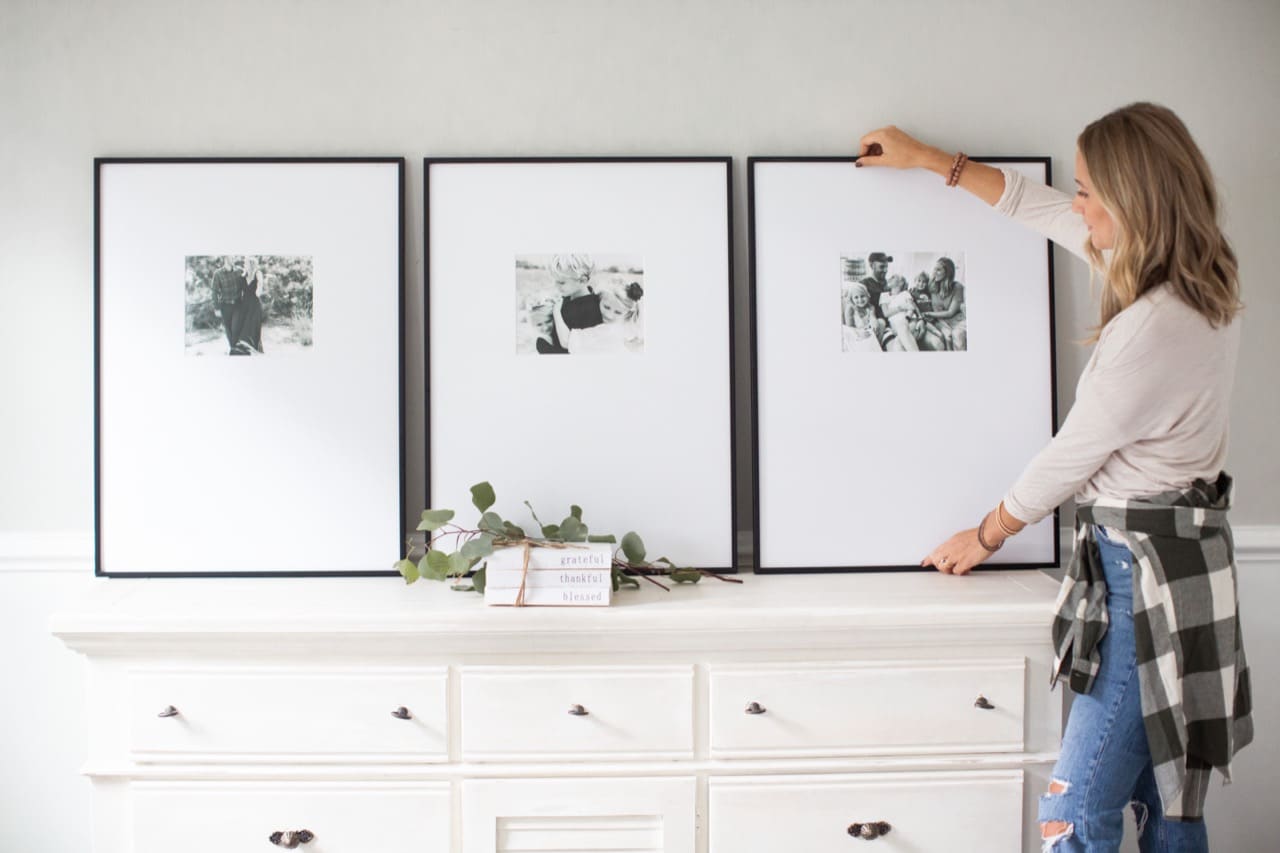
We’ve talked about this a bunch — you always want to make the opening the same size as your art. This way, the edges will hold your art in place, and you won’t need to worry about mounting it to the back of the frame.
Rules, though, are occasionally meant to be broken. Sometimes, you just want to put art in a frame that’s too big — making an effect that looks like your piece is, well, floating! When you do this, it’s called making a floating frame. This is a great way to show off the whole of your art while creating an effect that can become the focal point of your wall decor.
How do you do this on our site, though? And what pieces of art would be best to float? Let’s take a look.
Old Art

Time ages most things; art is no exception. If you’ve exposed anything to the elements enough, it will fade — or, depending on the material it’s made of, tatter. Some people, though, want to show off the tattered edges of their fabric pieces. In cases such as this, a floating frame would be perfect for your project.
Just keep in mind: Our wood frames can accommodate art up to 1/8″ thick, and our metal frames can accommodate art up to 1/4″ thick. Most pieces of fabric are within those limits, but that’s just something to consider before placing your order. We definitely want to make sure your art fits in the frame when you receive it.
Of course, if you have a newer piece of art that you want to float, do that, too! This option isn’t limited to older pieces; we’ve just noticed a lot of our customers using this method for more aged pieces.
Consider the Color of the Backing

When you float a piece of art, the backing of the frame will be showing, and that’s definitely something you want to keep in mind. Here at Frame it Easy, our backing is a slight off-white. The closest matboard color would likely be “Cloud.” If that’s a color you’re looking for, you should be all set! If it’s not, though, you might want to get matting with no opening.
To do this, just go to the “Matboard” page and go to the “Opening Shape” section. From there, it’s pretty simple: Just select “Blank — No Opening.” You’ll get a solid matboard from there that you can mount your art over. Don’t forget to select what color you want, too! Lastly, for the “Outside Dimensions,” just enter the same numbers as the “Art Size” you enter for your frame.
Some Math Might Be Needed

An issue you might run into is how thick the margins in the frame will be. Let’s say you want to float your art, and you want the margins of the frame — whether they be just the backing or a matboard — to be about two inches. If this is the case, and the overall measurements of your art are 20″ X 24″, you would make your “Art Size” 24″ X 28″.
That’s the basic rule; think about how thick you want the margins on your floating frame to be, double that number, and then add that amount to both the “Width” and “Height” of your “Art Size.”
Also Consider How You Mount Your Art
You buy a frame, at least in part, to preserve your art. Because of this, you would want to make sure that the adhesive you use to mount your art to either the backing or matboard is acid-free. We sell Framer’s Tape on our “Accessories” page.
To mount your art to your matboard, the H-Mount Method will be best for this. It will be able to achieve that “floating” in the center of your frame.
Floating Up Your Frame Game

Sometimes, your small art needs a bigger frame to fully illustrate that your art may not be big in size, but in spirit.
If you used one of our frames to make a floating piece, feel free to tag us on Instagram. We would love to see the great projects you come up with!

