When you are planning to hang picture frames, you want to make sure they look great when hung on your wall. That includes hanging the picture at the right height, hanging (and keeping) it straight on your wall, and how you will space your frames if you are hanging multiple, such as a gallery wall for instance.
Hanging a frame can seem like a daunting task. You want it to turn out perfect and for it to stay perfect for years to come. So you may need a little help to get the hang of things (no pun intended) and lucky for you, we’re here to help! So let’s go over some tips on how to hang a picture like a pro!
Step 1: Plan
Your first step to hanging a picture frame is going to be to create a plan. Are you hanging one frame? Are you hanging multiple frames and creating a gallery wall? Whether it’s one frame or ten, you will need to plan exactly where you are going to hang the frame.
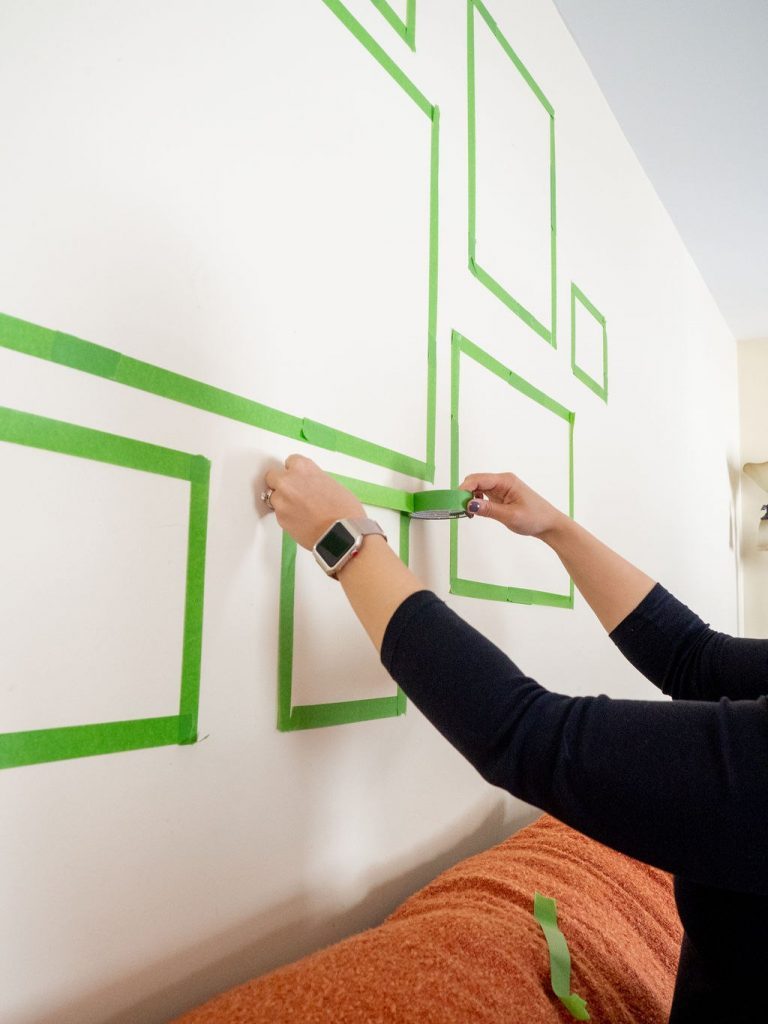
One of our favorite ways to plan where your frame will hang is by using painter’s tape. Because of its versatility, painter’s tape is our favorite tool to keep in our home decor arsenal. From measuring to blocking, it can be used in a variety of ways to turn you into a picture-hanging hero.
If you don’t have a measuring tape or don’t trust your eye when it comes to such things, you can always use painter’s tape to measure your art.
Essentially, you just take a piece of painter’s tape, put it on the back of your frame, and use that as a measurement to see how far the D-Rings are from each other. Then, simply place the tape on the wall, and hammer the nails in correspondingly.
You can also use painter’s tape to block out or plan where to hang your frames.
When planning where you will hang your frames, you will also need to consider how you will space your frames. Framing 101 is that you have to be able to see your art to enjoy it, and if it is too high, too low, too close, or too far, it can be difficult to view.
Try using this formula to make sure your spacing is mathematically sound:
- (Width of the wall – Width of all wall art combined) / (total # of art + 1) = distance needed between frames in inches!
- Example: The width of the wall I want to hang my art is 120″, I have 4 frames I want to hang, and each frame is 25″ wide. so my formula should look like this: (120 – (4 x 25)) / (4 + 1) = 4″ apart.
- Or just use this handy calculator!
Especially if you’re creating a gallery wall with multiple frames, hanging everything too close together can make it look busy, just as making everything too far apart can make it look disconnected.
While it ultimately comes down to personal preference, plan for picture frames to be hung at least 1” apart from each other, and if you’re framing above furniture, make it at least 3”-6” above it.
Step 2: Gather Your Hanging Hardware

Making sure that you have all the proper hardware to hang your picture is also another important step.
Not all hanging hardware is created equal, especially given all the different shapes and sizes picture frames have these days. For example, a large wood frame shouldn’t have the same hardware as a small metal frame.
Ideally, any picture frame you purchase will come with the proper hanging hardware needed for that particular frame, but we have an in-depth guide on the different types of picture framing hardware.
Here at Frame It Easy, we include appropriate hanging hardware with each assembled frame, and we make sure to attach any additional supports that might be needed for larger frames.
Step 3: Make Sure Your Picture Frame is Level

The “Did you plug it in?” equivalent of framing, making sure your frame is level is perhaps the simplest yet most important thing you can do when hanging a frame. Whatever hardware you use or how well-spaced it is, you’ll likely be dissatisfied if your picture frame is crooked.
You’ll want to make sure that your hanging wire is on the upper part of your frame. You won’t want it dead center or too low, otherwise, it will appear top-heavy and can even flop over. It’s helpful to get this right the first time — since some hanging hardware requires a screwdriver to remove and reinstall, a few extra minutes of thoroughness can save you extra trouble down the road.
A way to make sure you always have level frames is to equally distribute the weight between both sides if you are using a hook and nail to hang your frame. The hook and nail— the other half of hanging your frame— are just as important as the brackets and wire. The hook is the fulcrum off which your wire — and the rest of the frame by proxy — will hang.
If you position the frame in such a way that your hook is too far to the left, it will appear lopsided in that direction. The inverse is true for the right side. Hence, it’s important that your hook be as centered as possible along the wire of your frame. A good way to see if there is an even distribution of weight between both sides of your frame is to use a ruler—measure to see that your nail will be as close to the center of the frame as possible.
Using a level is also the easiest way to see if your frame is straight, and if you have a smartphone there are often apps to use. (iOS even has a level built-in!)
We’ve included some frame patterns for home and work to give you a few creative ideas:


For more tips, check out our post on how to keep your frame hanging level.
Step 4: Measuring is Key
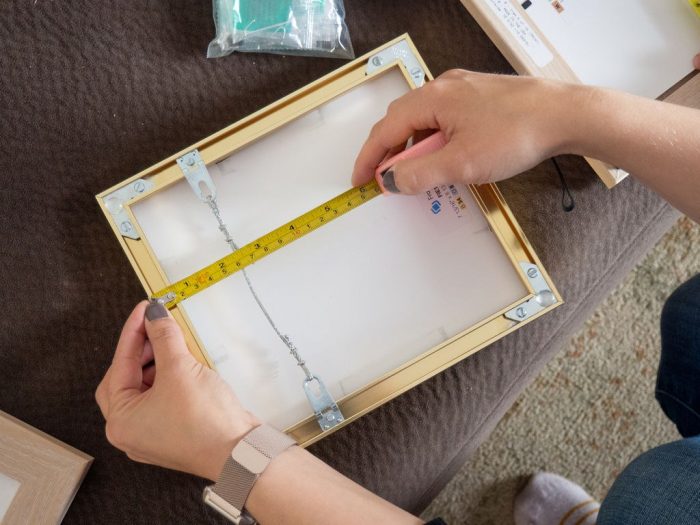
To make sure your frame hangs exactly where you want it to go, measuring the distance between the top of your frame and the hanging wire/bracket is important. (If, for example, you expect wherever you hammer in your nail to be where the top of the frame will be, you could end up being off by a number of inches.)
Another good tip on how to hang a picture is to make sure you pull the hanging wire up toward the top of the frame before measuring, as this will help mimic the “give” it will have once the frame’s own weight pulls on the wire & nail.
Wherever your nail will hook onto your frame, that’s the distance you want to make sure you’ve got nailed. (Pun intended!)
If you order a metal frame from us here at Frame It Easy you can adjust the hanging wire tabs up and down the back of the frame rail by loosening a half-turn with a screwdriver.
Our wood frames, however, cannot be adjusted, as we screw the hanging hardware right into the frame to save you an extra (laborious) step.
Step 5: Hang Your Frame At The Right Height
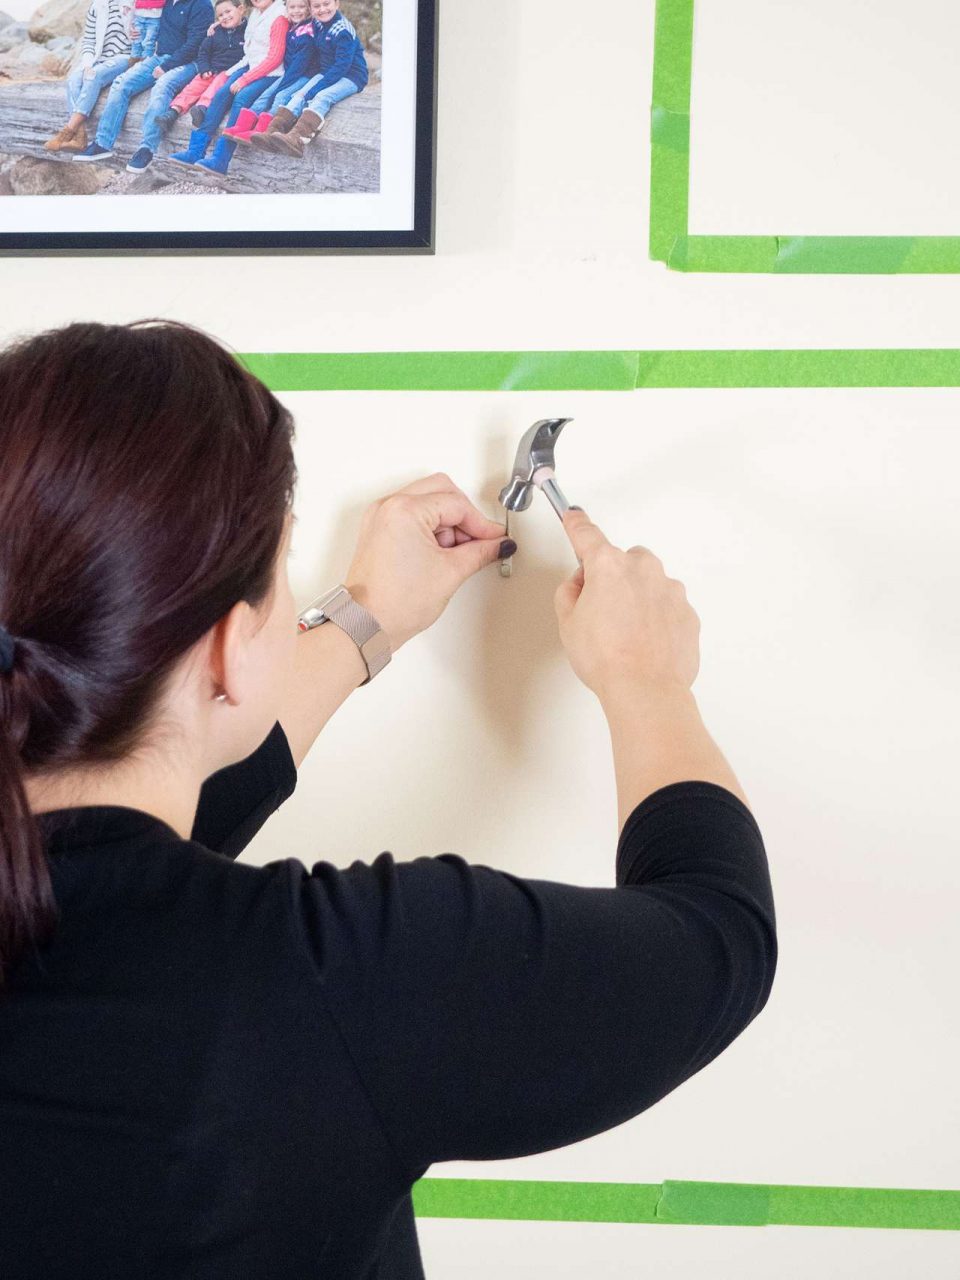
Hanging your frame at the right height is another important step to hanging your frame like a pro. As we mentioned before, you don’t want your frame to be too low or too high where you aren’t able to properly see it.
Of course, home decor is always a personal preference, so it only really matters what you think will look best in your space, but we do have a few suggestions, so let’s go over those.
The most basic suggestion for what height to hang your frame at is eye level. What is eye level you may be asking yourself? Someone who is 5 feet and someone who is 7 feet can’t possibly have the same eye level. Well, a good rule of thumb is to place the center of your art about 57 inches from the floor. That’s the average human eye level and it’s used as a guideline for most art galleries.
Now that height will work as long as you don’t have any furniture pieces that you are hanging over. Maybe you are planning on hanging photos or artwork over a couch, bed, or any other furniture piece. If this is the case, just make sure that the piece of art is about half a foot to a foot (6″ – 12″) above the piece of furniture.
Step 6: Occasional Maintenance
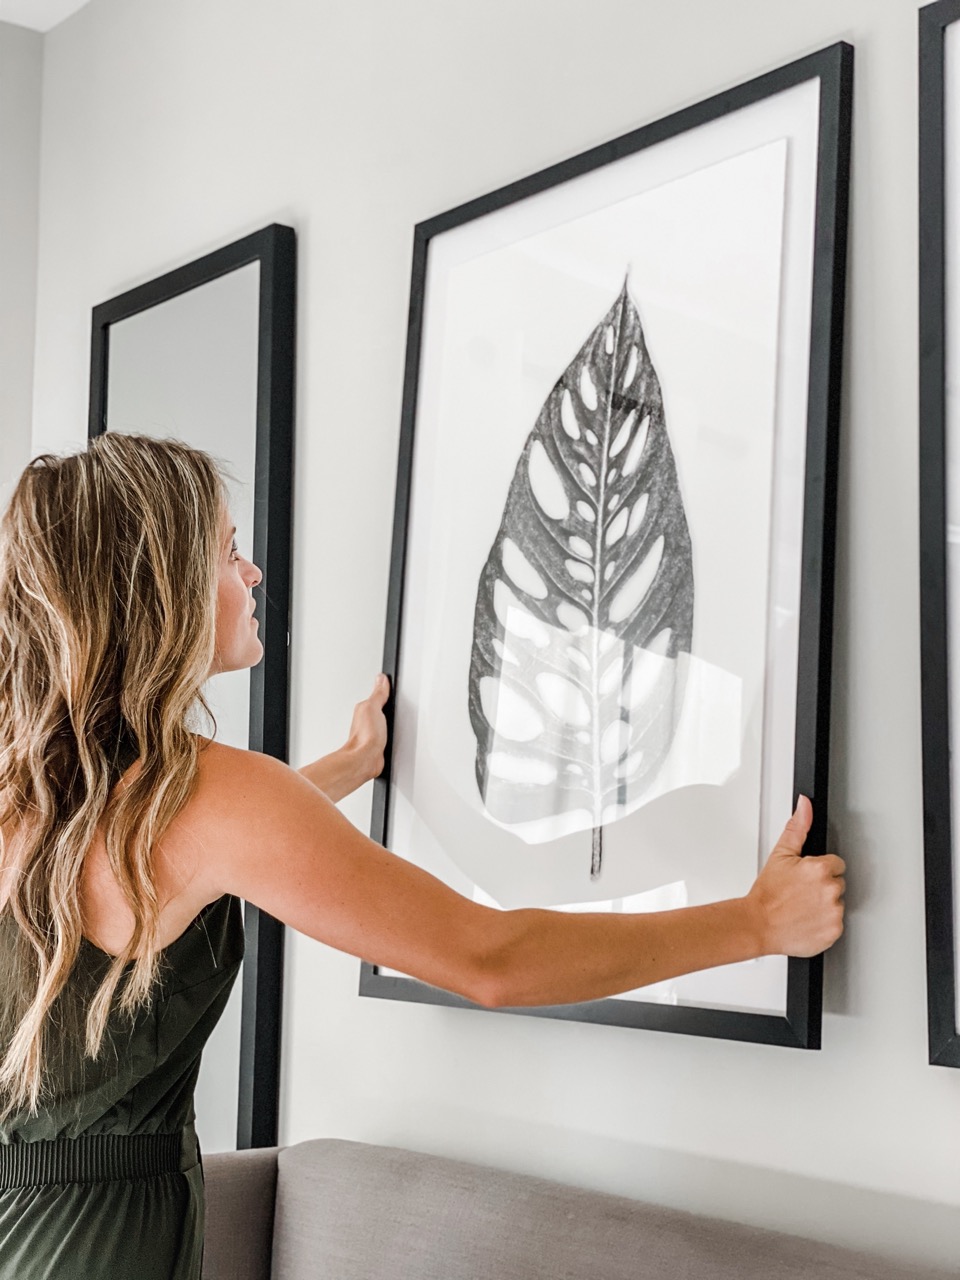
Of course, as many precautions as you take when hanging your frame, nothing is ever perfect. Due to everyday life, your frame may become uneven again, but don’t worry, that’s totally normal! Every now and then you may need to take a quick glance at your frame and adjust it if it is not hanging straight. Maybe someone closed the door too hard or your kids ran really fast by the frame, causing it to slightly move. Hey, it happens, right? Simply pull out your level or as we mentioned earlier, if you have an iPhone, use the measure app on your phone and switch to the level feature. It shouldn’t take more than a few minutes to do and will ensure things are kept in tip-top shape.
Final Thoughts

When it comes to your wall decor, you want it to look its best for years to come! Creating that perfect frame and getting it hanging on your wall may take a little extra time, but it will all be worth it in the end. Let’s recap everything we went over in this post on how to hand a picture:
- A level frame is a happy one. Make sure it’s not tilted.
- You can use painter’s tape to either measure or plan how you’re going to display your frames.
- Make sure you’re using the proper hardware.
- Don’t make everything too close OR too far apart.
Hanging your art is often the final part of your framing journey, where you get to see the culmination of all your planning and measuring. It’s when you get to make your home just a little more your own, so taking a few extra minutes to make sure your frame is hung perfectly will allow you to enjoy it for years to come. If you ever find yourself struggling to hang your frame properly, check out our Learning Center for more tips on hanging frames. Of course, you could also reach out to our support team who is always standing by to help you with whatever framing questions you may have.
