When it comes to hanging picture frames, some walls are for sure easier than others. Some walls seemingly can’t take the weight of a large frame, some are almost impossible to nail or screw into, and others are just too pretty to even think about puncturing!
With this handy guide, we guarantee you’ll not only be able to Frame It Easy but hang it easy too! (See what we did there? 😏) Already know what you’re looking for? Use the links below to jump to your guide of choice and learn how to hang a frame on any wall!
P.S. Be sure to check out our Professional Hanging Guide for a more in-depth look at how to hang with the best of ’em!
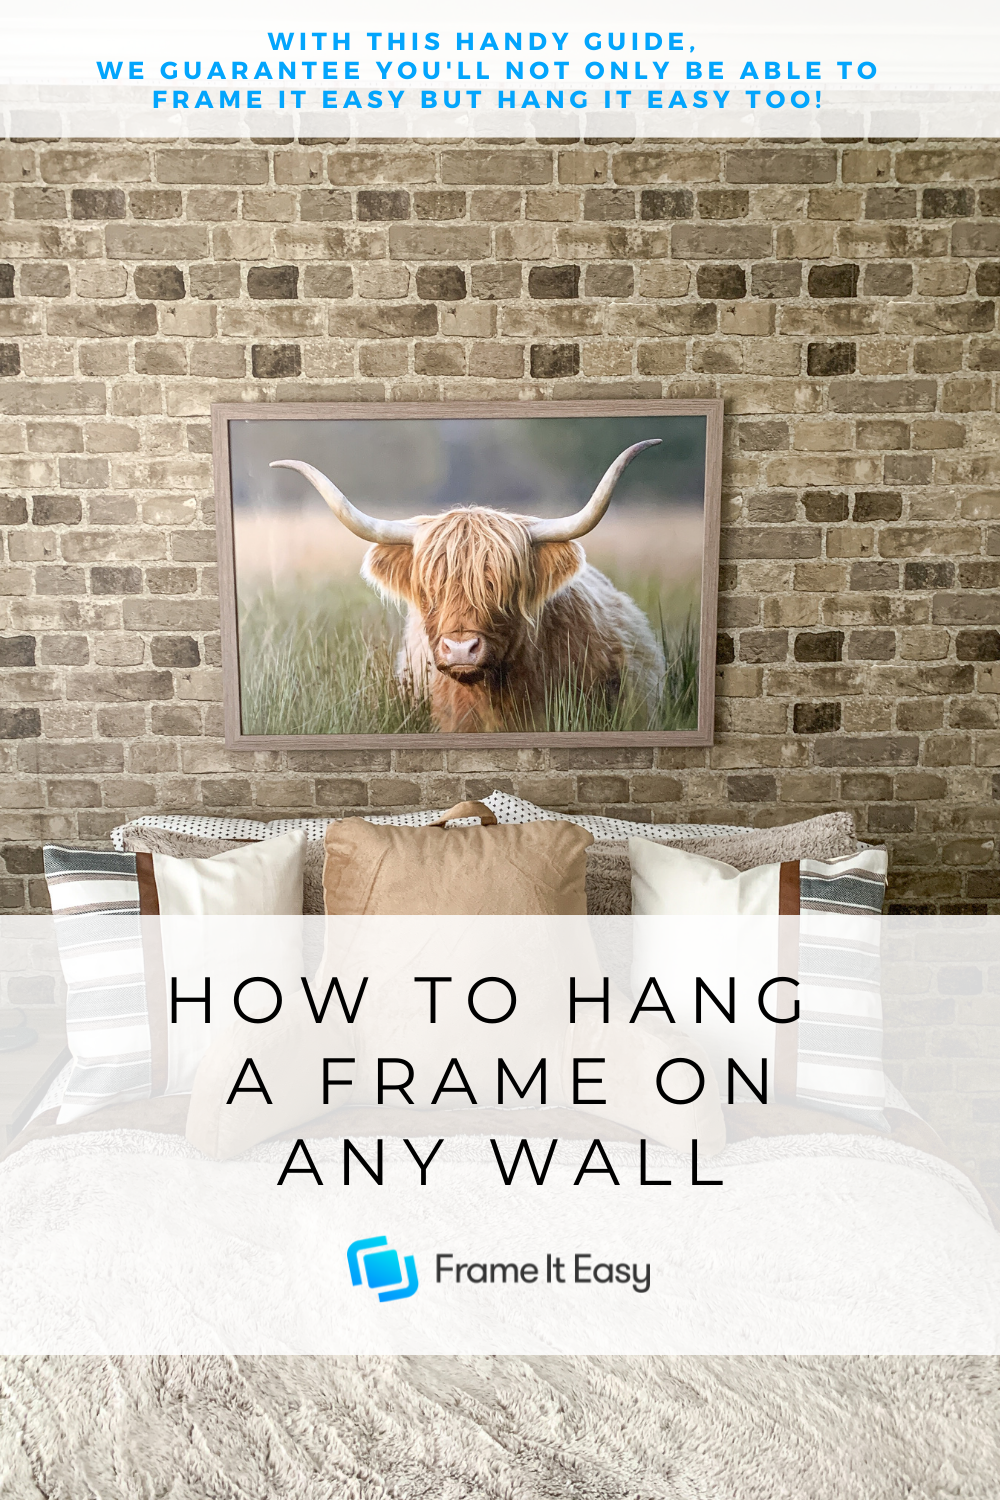
🧱 Brick
If your home contains some walls made out of brick, no worries. You can still hang some great wall art, it just requires a few extra steps. Brick walls create a simple, rustic, yet beautiful aesthetic, and while they don’t necessarily need anything extra, wall decor can make them even more appealing.
Pounding into brick may seem scary at first since you don’t want to do any damage, but it is safe as long as you do it the right way!
The following steps will show you how to hang a frame into brick; With a drill or without.


Drill: Step 1: Grab Your Tools
So you’ve determined you’re gonna need a drill to bust this bad boy open – your hammer and nail aren’t working! Even if you are not familiar with a drill, it’s all good, we can walk you through it!
Here’s what you are going to need:
- Power Drill
- Hammer
- Mansory Drill Bit
- Wall Anchor (make sure this matches with your drill bit!)
- Hanging Hardware (Hanging Wire)
- Screwdriver
- Painters Tape, Marker, Pencil, or Chalk
Drill: Step 2: Prep Your Area
As we mentioned, hanging something on a brick wall might require a little extra work. Once you have received your frames, it is time to start hanging them. For this, you’ll want to make sure your area is well-prepped.
Lay down a tarp or newspaper to lessen your clean-up afterward and ensure that any fragile items or other wall decor are taken down. Expect some dust in this project, so safety glasses or goggles are a good idea too!
Drill: Step 3: Plan Your Wall
Next, you will want to plan out your wall. Are you hanging a gallery wall or just one or two frames? Either way, it helps to plan where you want to hang your piece(s). Using painter’s tape or craft paper to try multiple layouts is a great way to see what your wall will look like before you start making holes in the wall.
Drill: Step 4: Time To Drill
Once you’ve figured out where your frames will go, it’s time to start the hanging process. For this, grab your drill, as the brick will be tougher to get through. You’re going to want to attach your masonry bit, which will make it easy to get through the brick. Make sure you have marked exactly where you want to drill with your chalk or pencil.
Drill a pilot hole about 1″ deep. You’re going to want to drill into the mortar (that’s fancy talk for the cement holding the bricks together 😉) not the brick itself. If you do drill into the brick you could risk it fracturing and cracking the whole brick face.
Be sure that you are drilling exactly where the hanging hardware will go and place a wall anchor for more support.
After your wall anchor is snug, screw or drill in your nail from your hanging hardware set.
Drill: Step 5: Clean up & Hang!
That’s it, clean up your space and hang those frames!
Use a level to keep them looking 🖼 picture-perfect!

Hammer: Step 1: Grab Your Tools
Drills are your #1 fear, and you’re not gonna use one – we hear you loud and clear! Trust in ole’ reliable, the tried and true, the hammer!
Here’s what you are going to need:
- Hammer
- Hanging Hardware
- Painters Tape, Marker, Pencil, or Chalk
Hammer: Step 2: Plan Your Wall
Time to plan out your wall. Sketch it out with some paper or map out your ideas on the wall with painter’s tape. Even if you’re just hanging one frame, it’s better to be safe than sorry!
Covering up holes in brick and mortar is much more difficult than drywall – keep this in mind before you start swinging that thing! 🔨


Hammer: Step 3: It’s Hammer Time!

After marking out where to hang your frames, grab your hammer. You’re going to want to drive the nail into the mortar, not the brick itself, doing so could crack the brick facing. No one wants an ugly brick, right? Take your time with this process as driving the nail in will take firm and precise strokes.
Hammer: Step 4: Hang it!
Whew, what a workout! Time to hang your frames! (be sure to use a level for frame-hanging perfection!) Great job, now go get some ice cream 🍦 – you deserve it!
🖼 Drywall
You just moved into your new place, you’re excited to get settled, and, of course, hang a frame or two. But you run into a slight issue; the place you just moved into has drywall. Sometimes the walls can’t hold the screw or the weight of the frame.
Even if you have the most brittle of drywall, here are some tips to ensure your frames hang securely!

The following steps will show you how to hang a frame on drywall.
Drywall: Step 1: Grab Your Tools
Drywall can definitely be challenging. It’s not the strongest material, and if you aren’t careful, it can cause a frame avalanche, which is no bueno!
Here’s what you’re going to need:
- Stud finder (optional)
- Hammer
- Hanging Hardware
- Painters Tape, Marker, Pencil, or Chalk
- Dry Wall Anchors (optional)
- Tape Measure (optional)
Drywall: Step 2: Find The Stud 💪
Drywall needs a foundation, a series of wood or metal panels called “studs” act as the wall’s frame. Drywall isn’t very sturdy on its own – it needs something to lean on so it won’t collapse.
So how do we find the stud?
There are two options, you can buy a stud finder online, at your favorite hardware shop or you can even download an app on your phone. If you go with the stud finder, just run it along the wall and the device will indicate when you are hovering over a stud. From there, just mark the location, and you are good to go.

If you want to go at it the old-fashioned way, there are a few different ways to go about it:
- Take a better look at your baseboard. Check out your trimming and see where it’s been nailed down, this is your stud.
- Check your outlets. Light switches and electrical outlets are mounted to studs.
- The “Knock Test”. A hollow sound means there’s nothing behind the drywall, a solid and more dense sound indicates you’ve got some framework behind that drywall!
- Measure out 16″ from a corner. Rule of thumb: studs can range anywhere from 16″ to 24″ apart. So the “knock test” is a good way to make sure you’ve found the right place.
- Use a magnet. While this won’t help you locate a wood stud itself, it will help you find the metal screws that were used to attach the drywall to studs!
- The “Flashlight Trick”. Shine a flashlight on the wall and look for any bumps or irregularities. These tend to be caused by screws that fasten the drywall and stud together.
Drywall: Step 3: Nailed It!
Once you find your stud, drive the nail into your drywall through the stud; then hang your frame! After you’ve found one stud it’s not to difficult find others. Use a measuring tape for spacing and try some of the tricks listed above.
rve it!
🪵 Wood
Wood panel walls are gorgeous! You may be warry of hammering into them for fear of ruining your retro wall. (Totally understandable!) We’ve got a few damage-free options for hanging frames on any type of wood wall.

The following steps will show you how to hang a frame on wood walls.
Wood: Step 1: Grab Your Tools
Deep breaths here, your wood walls are in good hands! You’ve got the “How To Hang Heroes” on your side. You’ll only need a few things for this installation!
Here’s what you are going to need:
- Hammer
- Hanging Hardware
- Painters Tape, Marker, Pencil, or Chalk
- Wall Anchor, Molly Bolt, Toggle Bolt (optional)
Wood: Step 2: Find The Sweet Spot
When installing on wood your number one priority should be minimizing damage and the appearance of holes. There is nail putty if this does occur! For wood panel walls, we recommend nailing into where the two panels join rather than the wood itself. If you have board and batten, beadboard, plank, or flat panel walls – the only way is right in the wood itself.
Wood: Step 3: How Much Wood Could A Woodchuck Chuck?
Grab your hammer and hanging hardware and start chucking (or just hammer your nail in). Keep in mind the weight of your photo frames and use a wall anchor for extra support if you’re worried about the weight. For extra heavy items consider a molly bolt or a toggle bolt. Now step back and enjoy the view, good work!

🔨 Getting The Hang Of It

If you have drywall, wood walls, brick walls, (or even all three!), you’re now a frame-hanging hero! Just remember to find your studs in drywall, drill into the mortar on brick, and hang your frames in the joints of wood paneling. Now go forth and hang some wall art!
Need help on how to hang a frame? If you have any questions, feel free to reach out to us; we’d be happy to do our best to help you out.
Be sure to share your fantastic photos with us on social media – we wanna see those walls! Be sure to tag us @frameiteasy and use the hashtag #frameiteasy for a chance to be featured!