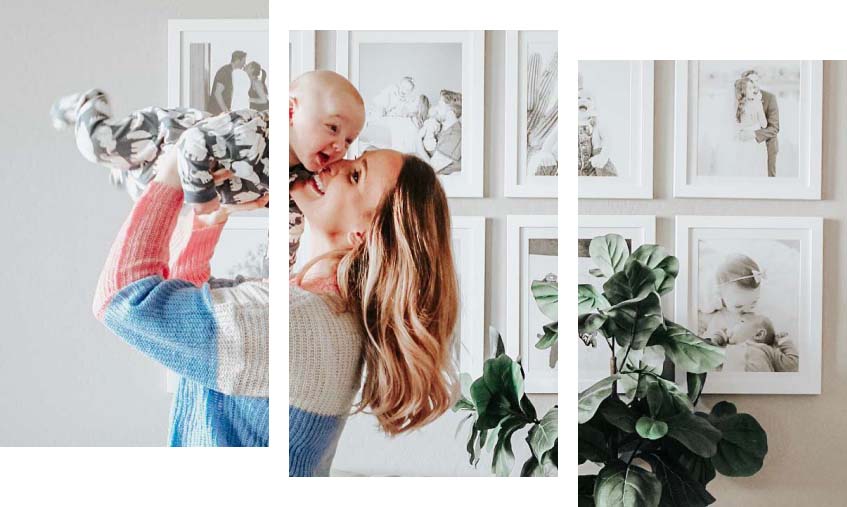
Placing a picture frame near a window is a perfect place for your art. It will capture the natural light for all to see. But, it can be difficult to hang frames around fixed objects in your home. Windows are pretty set where they are, so you will have to do some maneuvering around them, but that shouldn’t be a big problem! Our Learning Center is filled with tips and tricks and home decor inspiration and this is just another thing we can help you with!
When you move into a new place, whether that be a house or an apartment, one of the most exciting parts is decorating your own space. You can make this place your own and really let your personality shine through. For the most part, you will have free range when it comes to decorating, however, you may run into some trouble when it comes to framing around fixed structures in your house.
So let’s get into how to frame near a window and other fixed structures.
Step 1: Measure, Measure, Measure
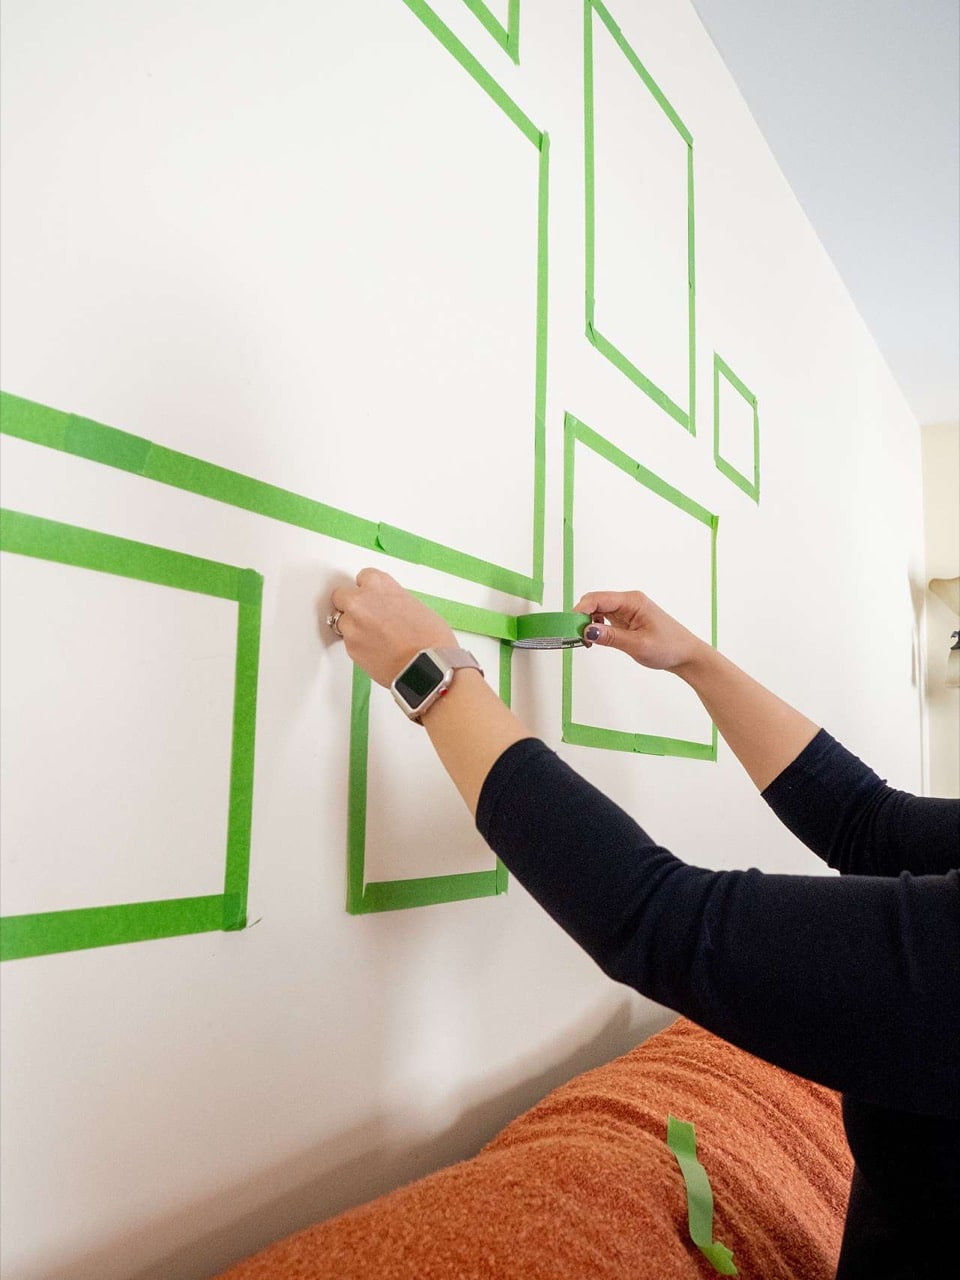
If you’ve been to our Learning Center before, you probably know how important this step is. If you are not measuring your wall space correctly, your frames will not fit your space. It is exceptionally important now that you are framing around objects that do not move. Be sure to keep in mind the size of our frames after you add your art size. The “Art Size” represents the size of your photo inside the frame, however, if you hover over “Details” next to art size, you can see the measurements of the outside of your frame — just be sure you have chosen the frame style you want to get the most accurate measurements.
Step 2: Design Your Frames With Placement In Mind
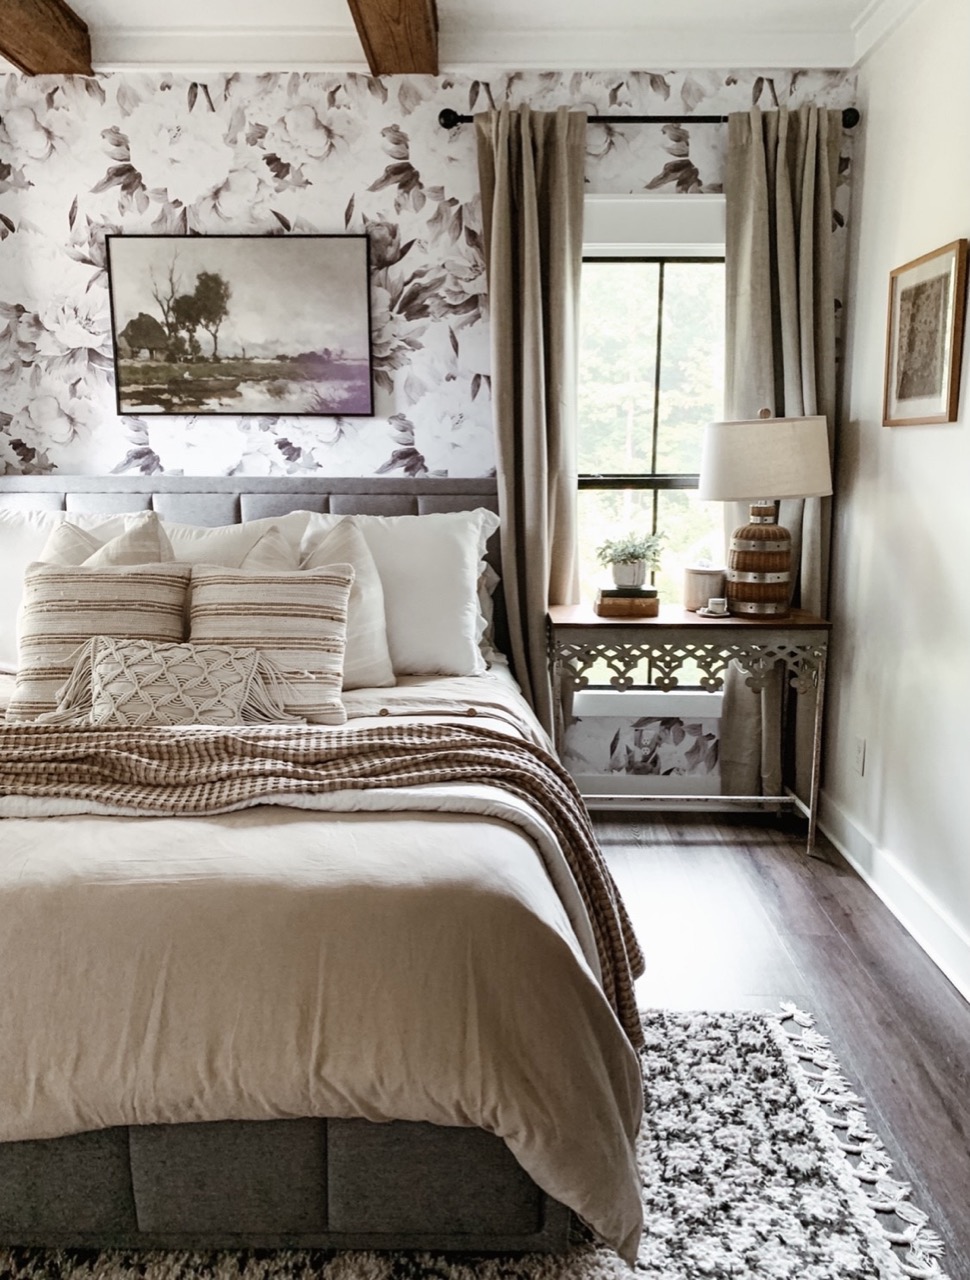
Your next step will be to design your frames, however, be sure to keep the placement in mind. Since these photos will go near your windows, you will probably want to choose our non-glare cover. Our non-glare acrylic cover is a great option for anyone who wants to hang frames near windows or doors that will let the sunshine in and otherwise obscure your art.
Our non-glare acrylic does what it’s advertised to do — diffuse glare from the sun or other light sources. In order to do that, there’s a translucent coating on the front of the acrylic. We recommend using this for photos with little to no colors in them. Because of the translucent coating on the front of the acrylic, the colors in your photo may be softened a bit. For this reason, we don’t suggest you choose the non-glare cover for any colorful art pieces you are looking to frame.
Step 3: Hang Your Frames Last
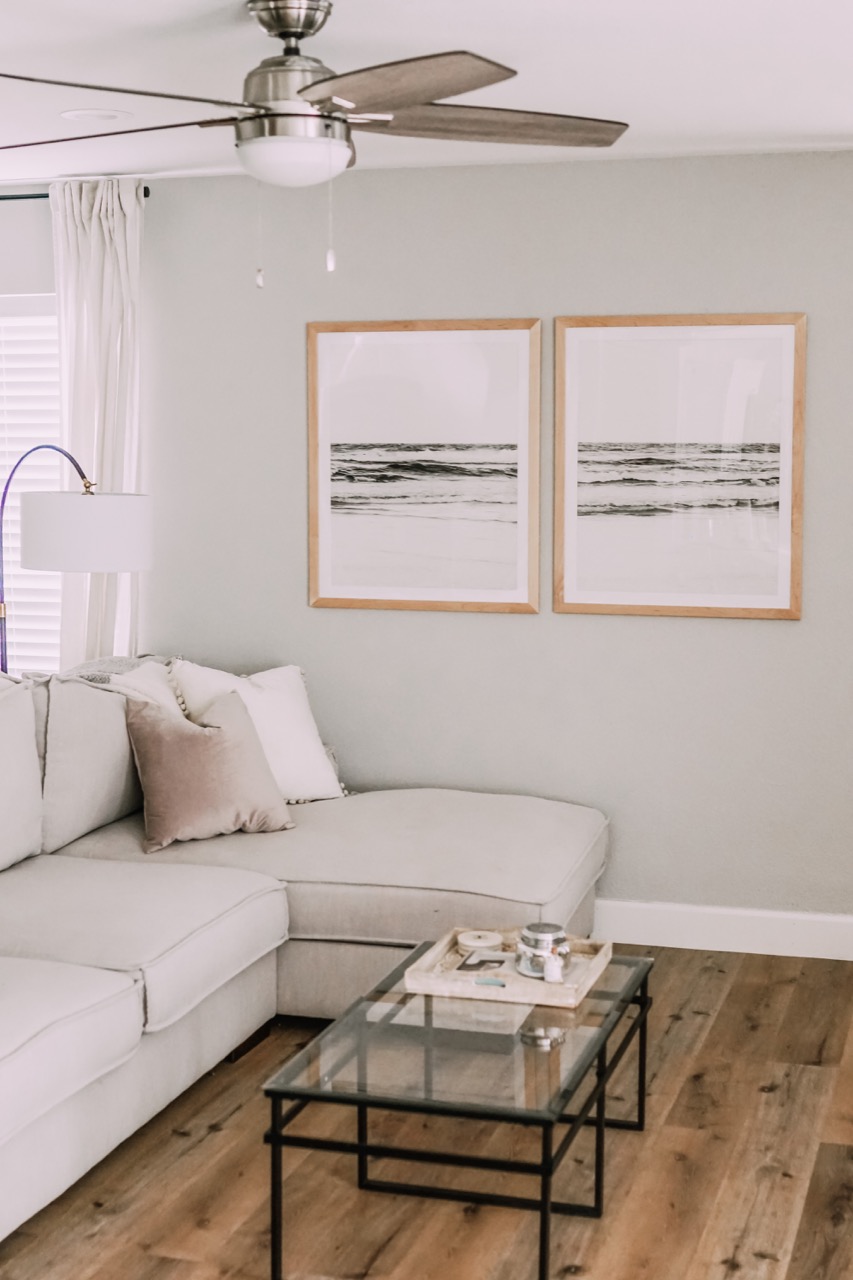
This step may be one of the most important steps. You will also want to take this step into consideration before you start steps one and two. As we said earlier, we understand how excited you are to start the decorating process when you first move into a place or decide to update your current home. However, you will need to account for the other items that you will hang around these areas of your home first. If you are hanging around your window, make sure you are first hanging your curtains and drapes, as those will cover your picture frames if not measured correctly. If you are hanging near a door, be sure to test how far the door will swing open, so that you won’t damage your frames every time you open the door.
Step 4: Consider The Height
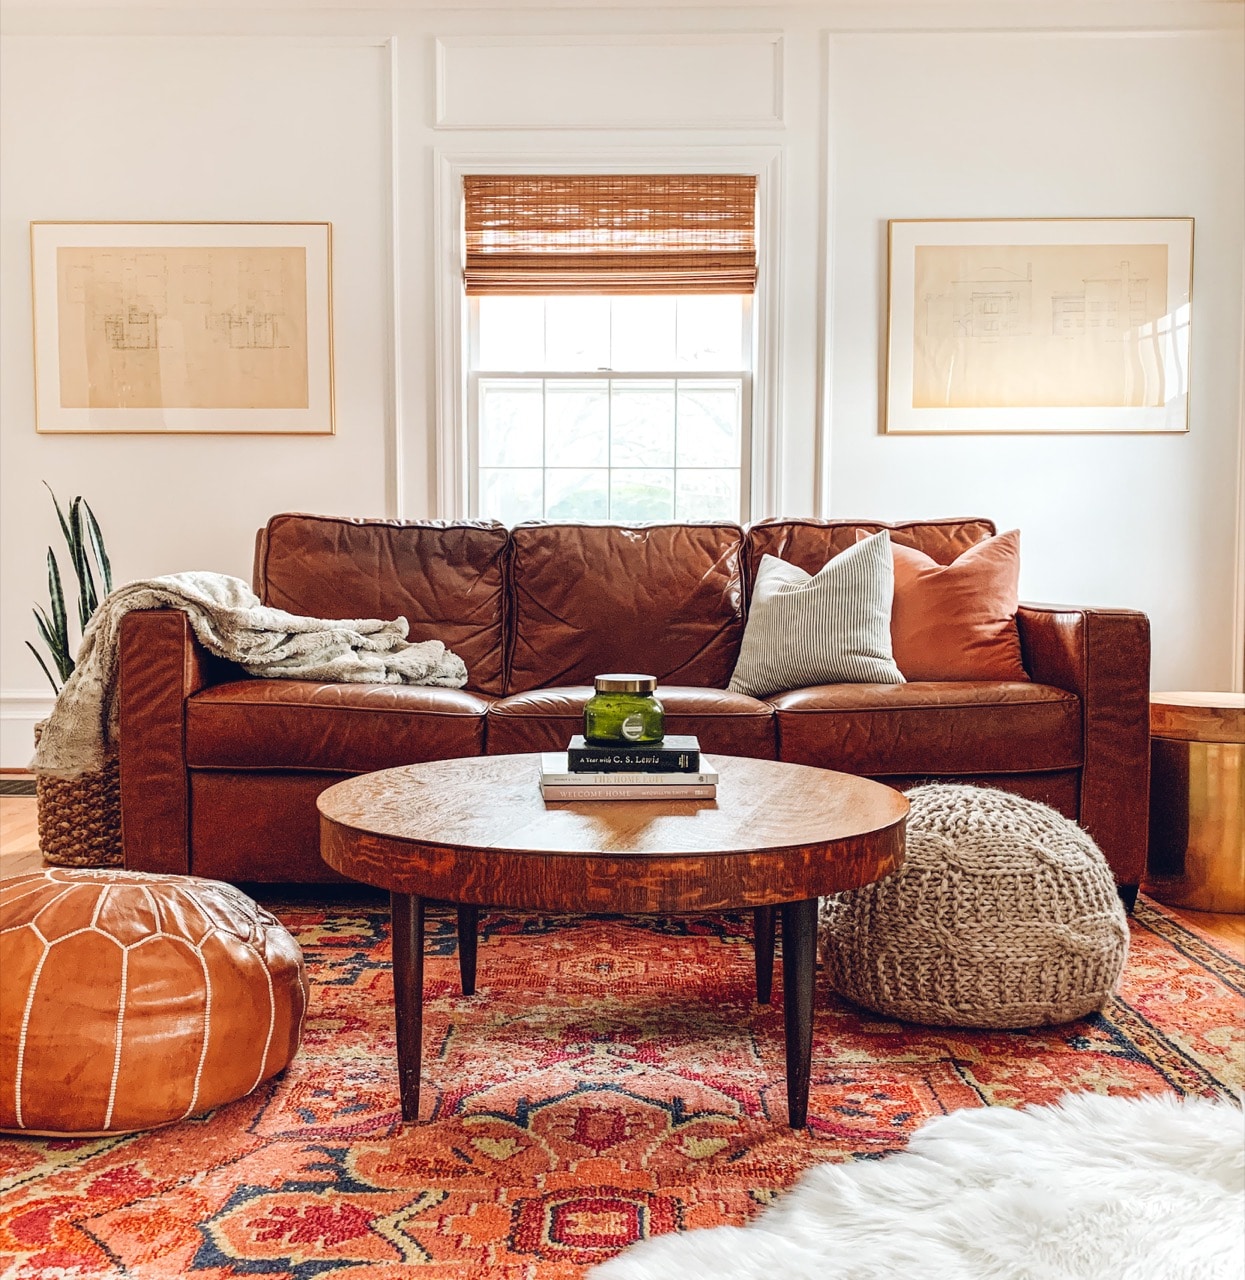
You will want to consider the height of your windows when it comes to framing around or near them. If you are framing on the wall next to your window, you can hang your frames a bit higher than the window. This will give the perception that the ceilings in your room are much higher than they actually are, in turn, making your room feel bigger than it is.
With that being said, if you have floor-to-ceiling windows, consider creating a gallery wall on a nearby wall to create a focal point. Gallery walls are eye-catching enough, but are sure to create a standout display near a full-length window!
Hanging Art Between Windows
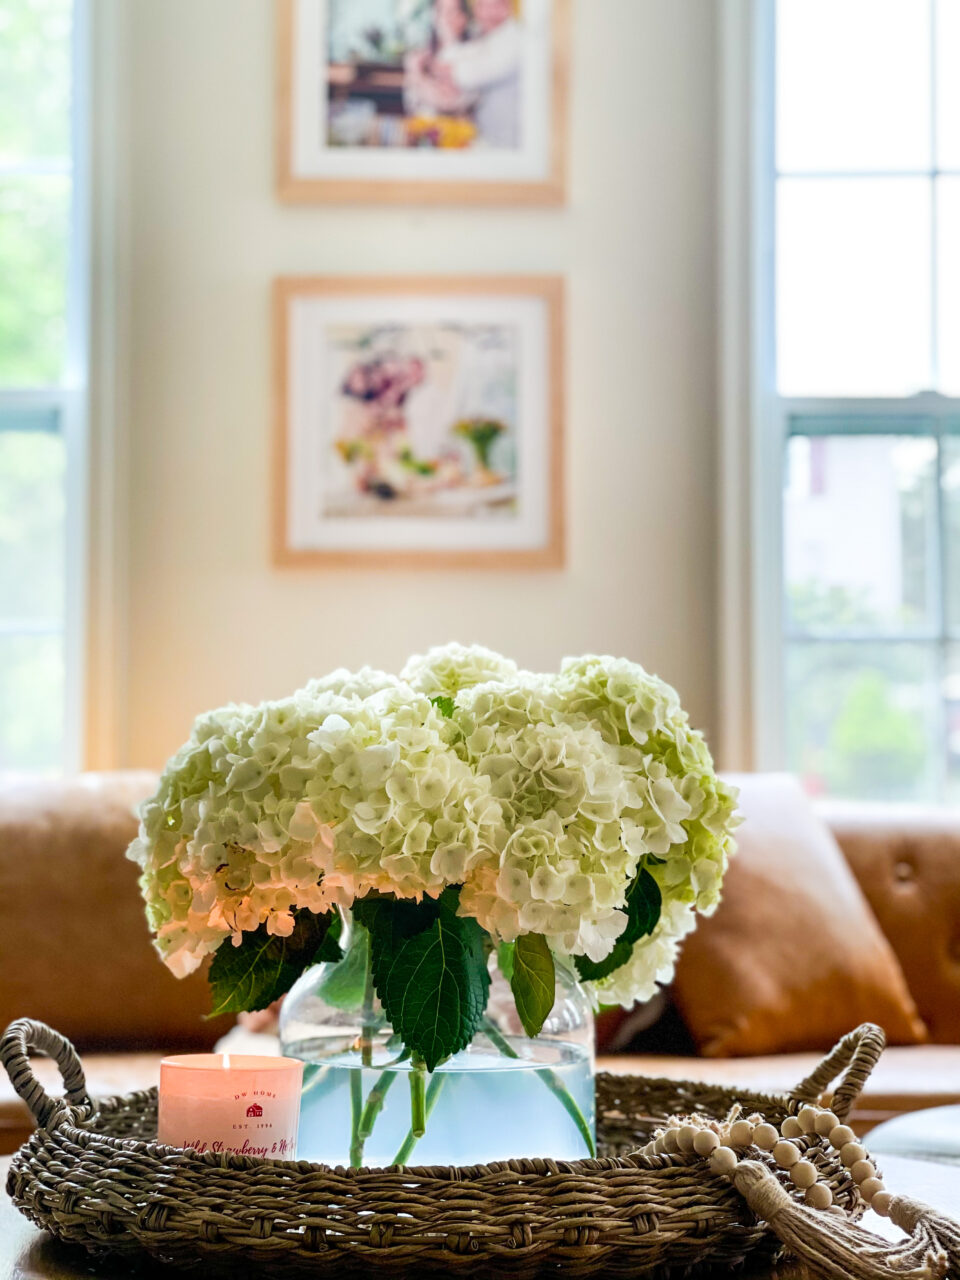
Alright, picture this: you’ve got these two windows, and they’re just begging for a little art action between them. Well, let’s make it happen! First things first, grab your favorite piece of art—it could be a funky print, a movie poster, or a series of botanicals and frame it! Once you’ve received your beautifully designed custom picture frames, it’s time to measure. Measure the space between your windows to find the perfect spot for your masterpiece. And voila! You’ve turned that boring space between your windows into a mini gallery that’s sure to spark joy every time you look at it. Who knew adding a frame near a window could be so much fun?
Got The Hang Of Things?
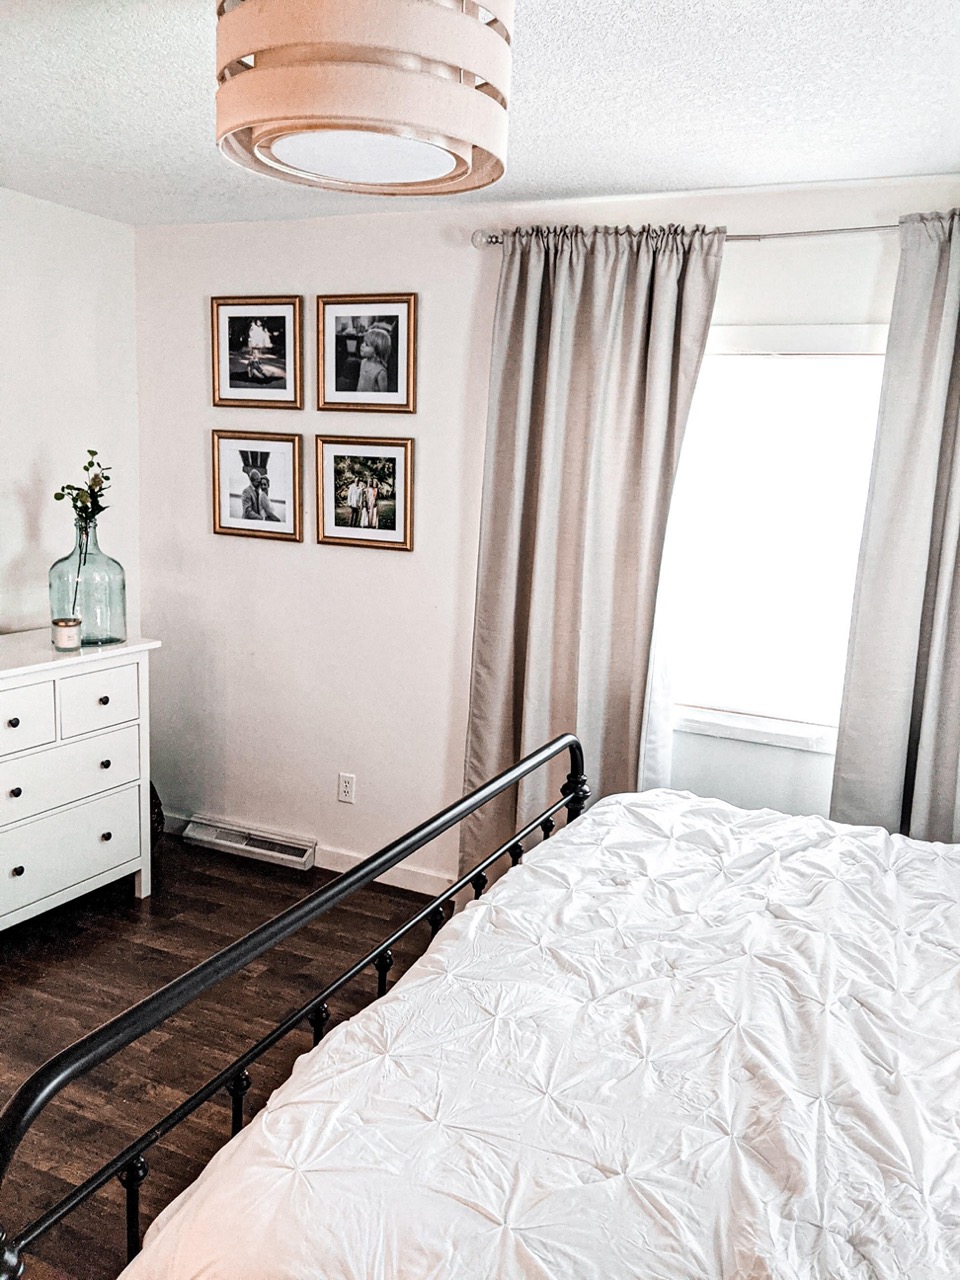
Now that you have considered all things before starting to frame near a window or other fixed items in your house, we are sure you got the hang of things! Of course, if you still have questions, be sure to head over to our Learning Center where we share decor tips, designing tricks, how-to’s and all things custom framing. Still haven’t found your answer? Reach out to our support team who is always around to help!
Ready to start framing? Be sure to share before and after photos with us on social media, we love to see what our customers create in their homes!
