Creating a gallery wall may seem like a large task to take on as it requires pre-planning, measuring, and then finally installing — all with the goal of making your wall space more appealing and personal. Choosing frame sizes for your gallery walls is just a single step in this process.
However, this step is probably the most important! After all, the frame sizes for your gallery wall have an immense effect on the visual appeal of your display. Choosing your frame sizes requires calculations, planning, and your own creative opinion.
To help you through the process of creating your framed display, we’re sharing three simple steps to choosing the best frame sizes for gallery walls.
1. Measure Your Area
Measuring your area is an essential step in choosing frame sizes for gallery walls. This allows you to get an idea of how many frames you will need and how big they can actually be.
Keep in mind, this step allows you to plan a centered display as well. For example, if you want your gallery wall to be centered between two windows, measure the space between the windows, then mark off the space between them you’d like to use for the gallery, and be sure that it’s equidistant from the two different windows. This process can be applied to any area you hope to have a centered gallery wall.
In addition, you’ll typically be leaving space between your gallery wall frames. These spaces don’t have to be uniform, but if they are, make note of a reasonable distance for the frames to be spaced apart based on the measurement of your area.
Just remember, there should always be uniform spaces between each frame, and this will impact how much space you should plan on using for your gallery wall.
Tip: If you have a huge open wall, you will want to work around your furniture using the general rule of covering 2/3 to 3/4 of that area with your artwork. But if you have a small bare wall (like in a hallway or between two windows), you can keep the space a little more open by using the next step.
After measuring, perhaps mark off the space you’d like to create the gallery wall in. This will help you with the next planning portion of choosing frame sizes for gallery walls.
In general, if you have a huge open wall, consider covering about half of that area with picture frames. This will add character to the space while leaving enough room for the area to not feel crowded. Whereas for a small bare wall you’ll want your gallery wall to leave quite a lot of space on the wall to make the room feel a bit more spacious. Check out our post on styling small spaces with custom picture frames for more tips.
2. Plan Your Layout and Frame Sizes For Gallery Walls
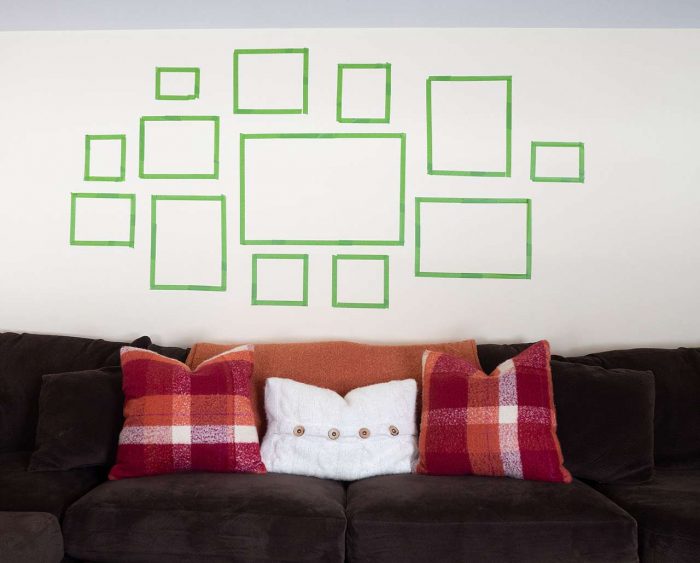
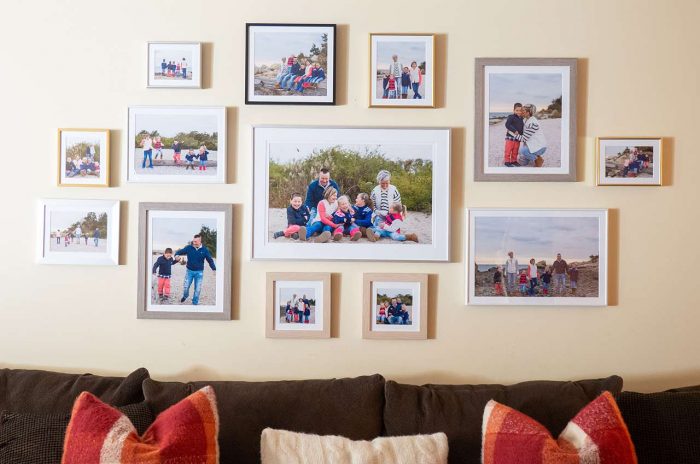
The next essential step to choosing frame sizes for gallery walls is planning. We definitely suggest planning your frame sizes before ordering them to ensure you create the gallery wall of your dreams.
Therefore, you can take various approaches to plan your frame sizes. For starters, you can use paper and cut out pieces in the sizes you’re considering. Then tape these pieces on the wall for a visual of how your gallery wall will actually look size-wise. On the other hand, you can use painter’s tape to plan your frame sizes as well. Similarly, you’ll mark off rectangles in the sizes you plan to order your frames in.
By planning your frame sizes before ordering, you have the freedom to experiment with different orientations and sizes without yet being committed. Perhaps you’re caught between using two oversized picture frames vs. a gallery wall of many small frames. Creating a visual of how they’ll actually look in your space by using tape or paper is a great way to help with your decisions.
Lastly, here at Frame It Easy, you can frame any item from 5″ x 5″ to 42″ x 62″ in increments of 1/16 of an inch. So when planning, keep in mind you don’t have to fit any standard-sized requirements. If you like how a certain frame size looks no matter the dimensions, go ahead and order it!
Free Zodiac Star Sign Art Prints!
🏹 Download Free Star Art Here! ⚖️
Subscribe to our mailing list for exclusive goodies, fun quizzes, framing tips and tricks, and so much more!
3. Keep Your Gallery Wall Style In Mind
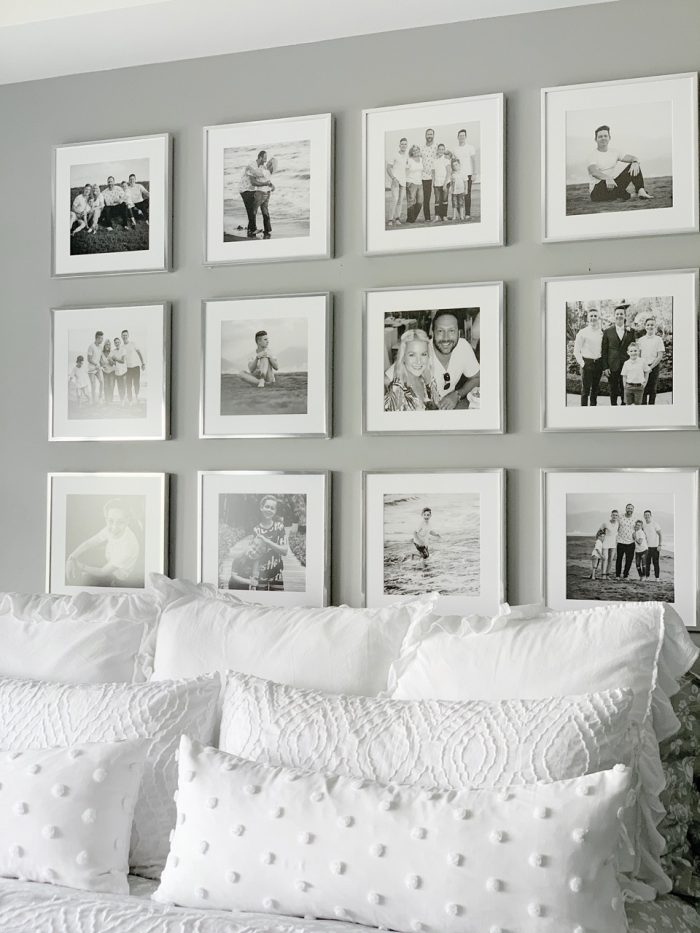
Choosing frame sizes for gallery walls can be restricted by the type of gallery wall style you’re going for. For example, for symmetrical displays, your frames will have to be uniform in size.
There are many types of gallery wall arrangements and themes to explore. However, with the different types of arrangements come certain suggestions for frame sizes.
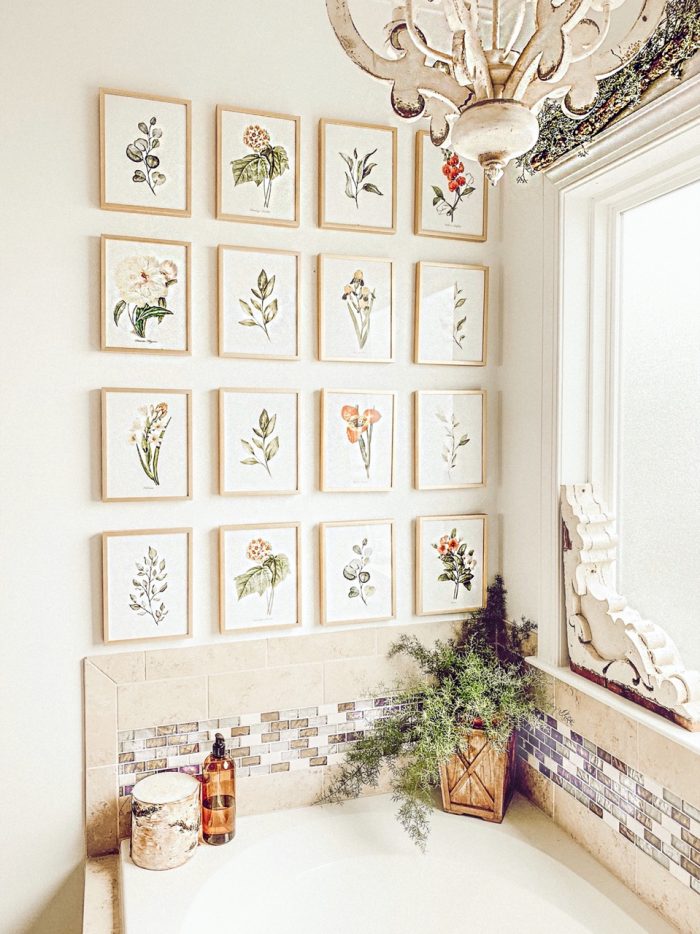
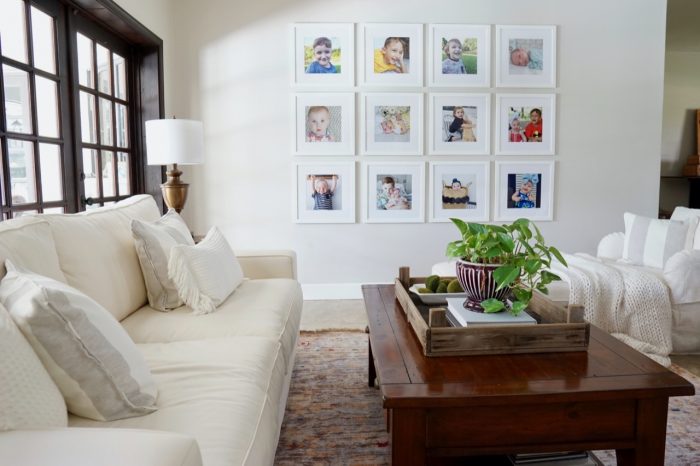
For grid style or triple frame gallery walls, each frame should be the same size and potentially designed with uniform mat board sizes as well to achieve a clean and precise look. Choosing this size depends on the space you have (step 1), and the design you’re going for (small frames, floor-to-ceiling, etc.). One option is to create your grid or triple-frame gallery with oversized frames. Check out our post on large picture frames for some ideas and inspiration.
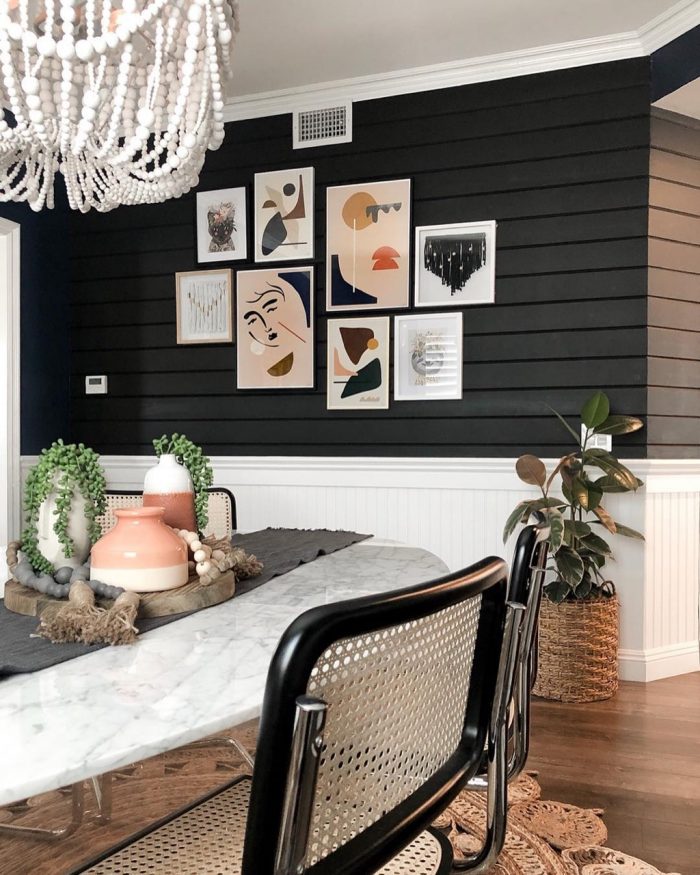
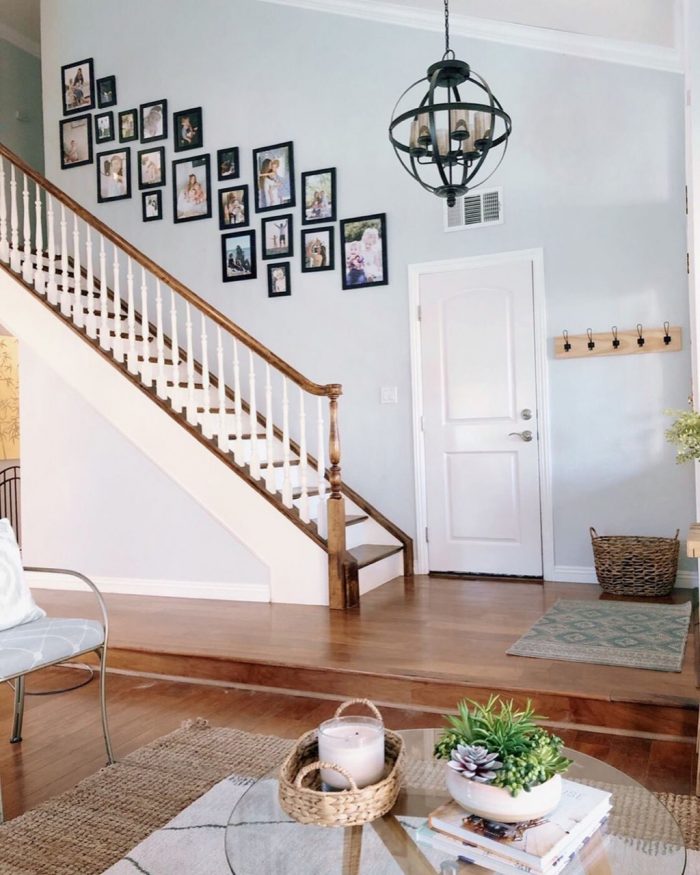
On the other hand, for asymmetrical gallery walls, you’ll have a lot more freedom. However, there’s a general rule of thumb to keep in mind when planning out your asymmetrical gallery: choose at least one larger framed piece.
If the frames are all too small or about the same size, the gallery wall will look chaotic and have no focal point. Instead, the larger frame within the gallery wall will command your space. Then, scatter other frames around the bigger one.
However, using frame sizes for gallery walls that are all about the same size can work for some people. It could create a mosaic-type feel about the display, which is definitely appealing! In general, though, most people look to have a focal point for their asymmetrical gallery wall.
Ready, Set, Hang
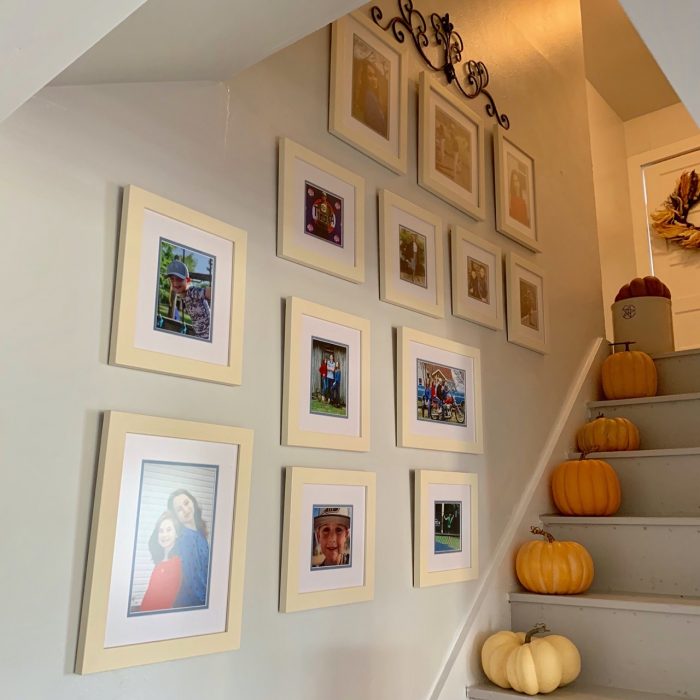
Now that you’ve finally received your frames, it is time to hang your wall art! All you need to do now is to grab a hammer and start marking your nails. We have some tips on how to properly hang your frames to keep them looking great for years to come.
The most important thing is that your frames are hung level and even. You can use either a standard bubble level or a level on your phone to be sure that your frame is hung straight! When hanging a gallery wall, your center frame should be hung at eye level. You may be asking yourself, what is eye level, if everyone is at different heights.
A good rule of thumb is to place the center of your art about 57 inches from the floor. That’s the average human eye level – the safest bet. From there you can hang the rest of your frames around your center frame for a perfect gallery wall!
Final Thoughts
Choosing your frame sizes for gallery walls can be an exhausting task. However, by following these three steps you’re sure to create an amazing final product on your walls.
Remember, first measure your area so you can get an idea of where to put your gallery wall, and how many frames you can include. Then, the most important part — plan away! Use tape or paper to plan out your frame sizes, and remember you don’t have to worry about using exact or specific sizes. With custom framing, any size can be accommodated. Lastly, keep your gallery wall style in mind. Certain styles might require you to plan your gallery out differently. For instance, a grid-style gallery wall should be composed of uniform-sized frames.
Your very own gallery wall awaits you. So let’s get framing!
Looking for more tips from the experts? Check out our 10 favorite home decor blogs for ideas and inspiration. Or get hanging, and read up on how to hang your pictures like a pro.
