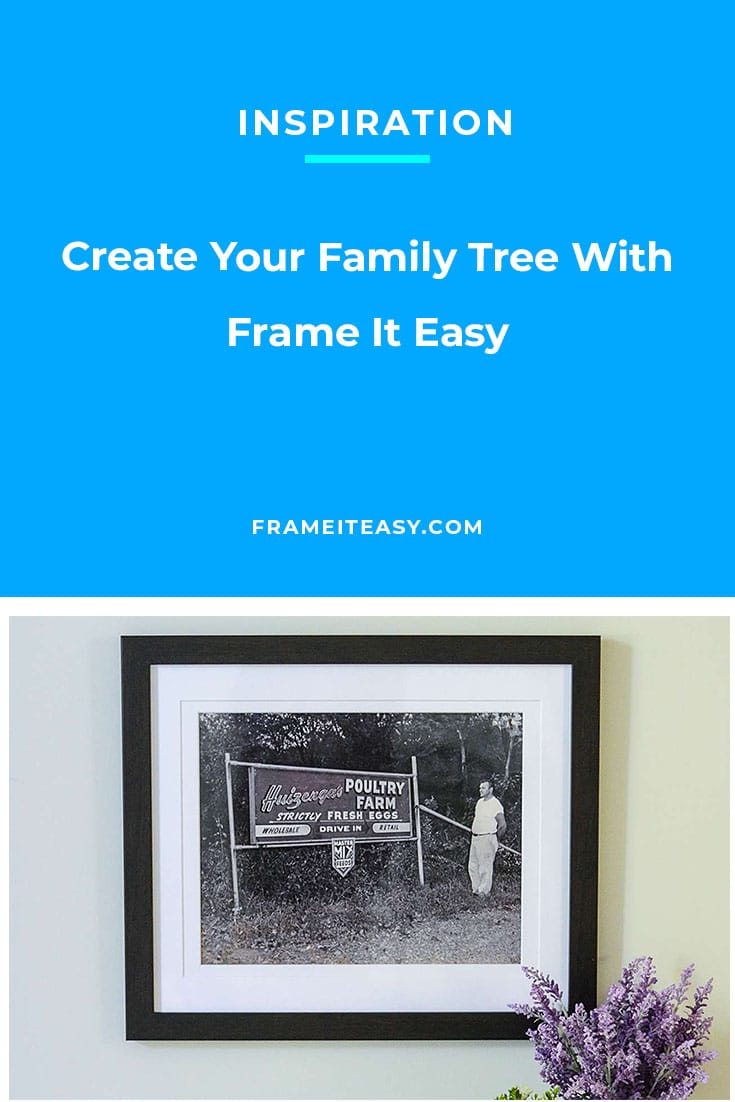
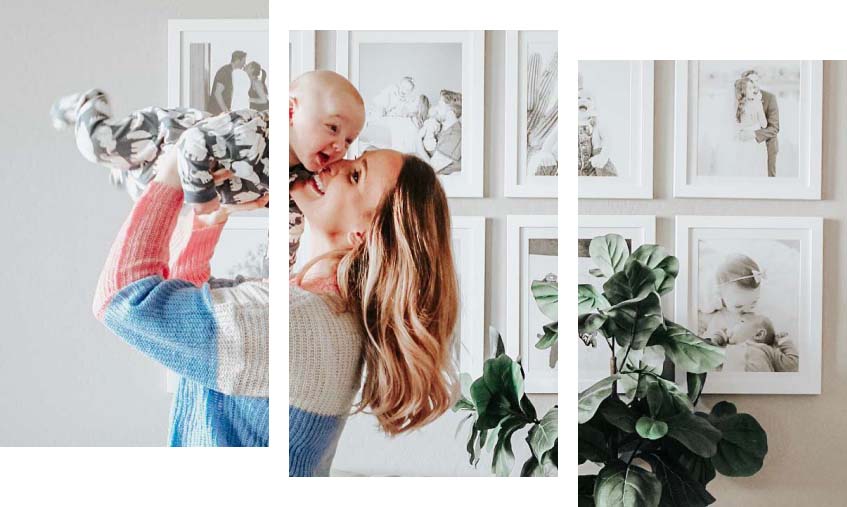
Creating a family tree is not only a great way to look back on memories but also a great way to represent each person in your family in a special way. Family trees can also be great for children to see the history of their family and where they came from, as well as helping them to remember certain family members. While of course, you can make your normal family tree using an online template, why not spice things up a little and create a family tree gallery wall in your home.
Choose Your Photos

This first step is going to be the hardest. You must first choose which photos of everyone you want to include. Try to find the best photo of each person individually or one you can easily crop to make it look like they’re alone. School photos of kids work great, portrait photos or even a high-quality cellphone picture can work as well. Make sure that the photo portrays each person’s personality, while still looking professional. If family members have passed away, try to choose a picture that you love to remember them by, maybe grandma at the beach enjoying the sun or your uncle sitting in his favorite chair in the house.
Choose Your Location
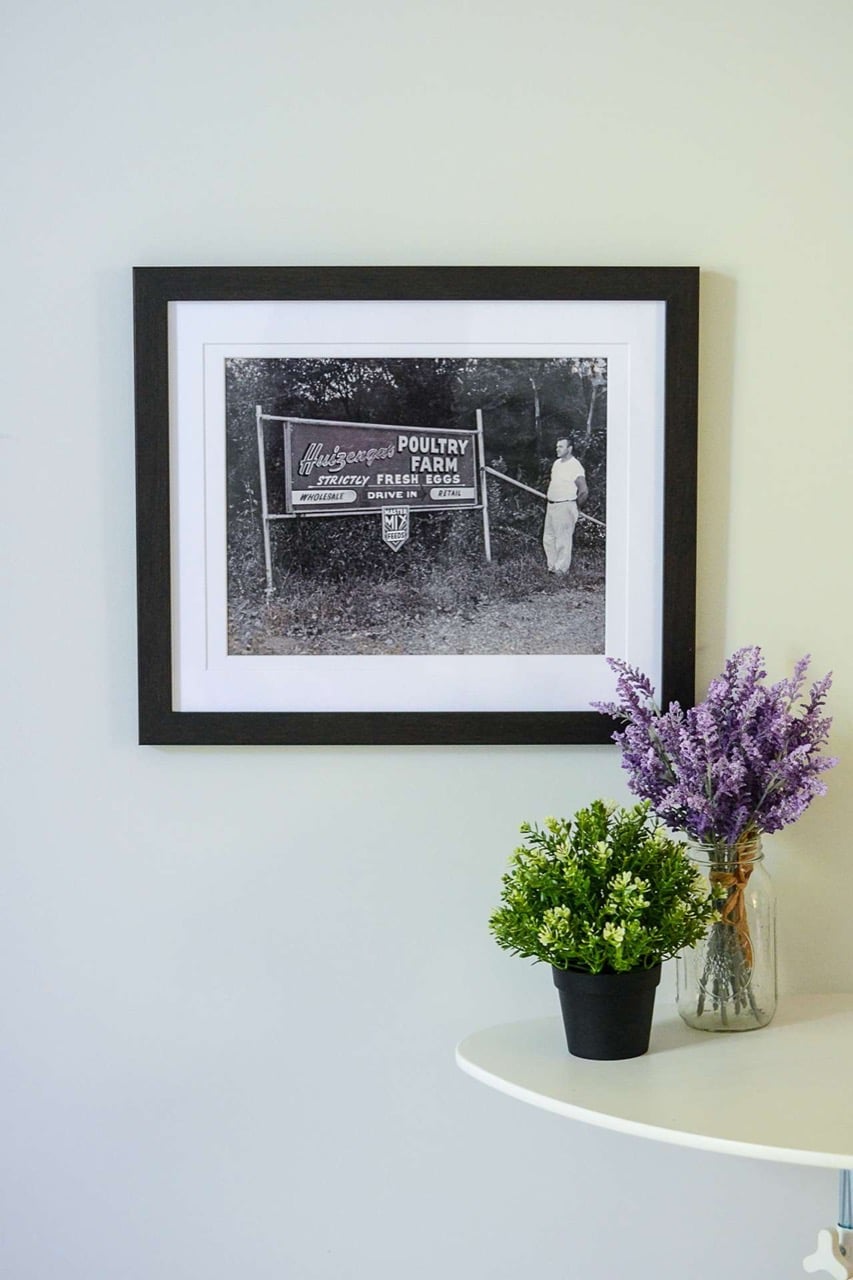
Now that you have all the perfect photos of your family, it is now time to choose where you want to hang your frames. This makes the next few steps a lot easier as you will be able to coordinate your frames with your other decor pieces. However, remember what we always say — the design process is completely up to you! That’s the best part about custom framing, we customize our frames to your needs, so you don’t have to change your art to fit our frames! Finding your location though can guide you in choosing the style, color, and size you will need for your frames. Then take a look at our different frame styles and figure out which works best with your other decor pieces. Y
Lay Out Your Photos
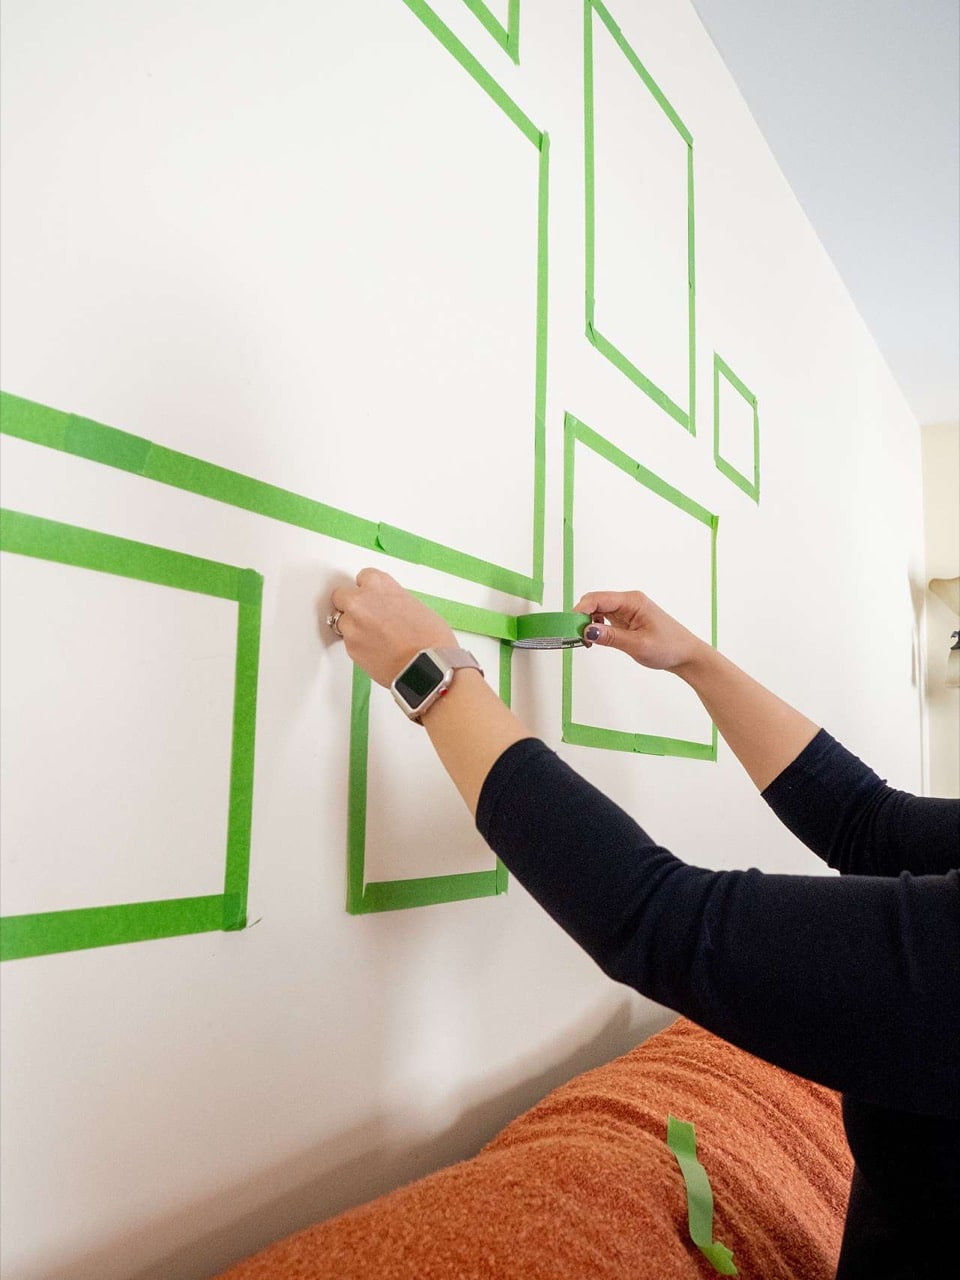
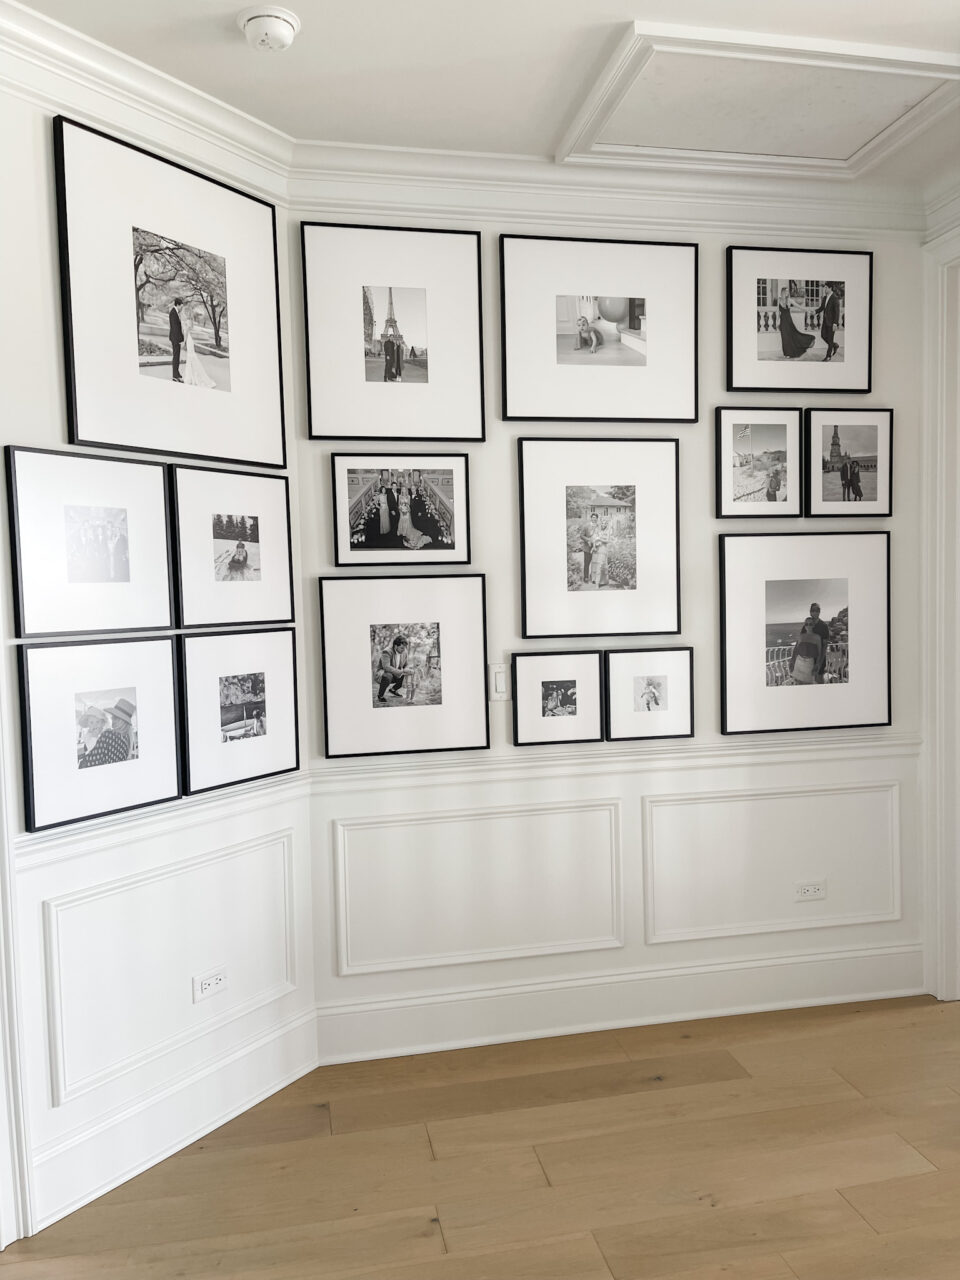
Once you have your photos and where you want to hang them, the next step is to lay all your photos out and start to design your family tree display. This will also help for the next step of designing your frames so you know the size you can do. The most common way to design a family tree is to start with the oldest generation and work your way to the newest. Once you have the order, make sure they all will line up on your wall properly and measure to see what frame sizes you will need to order.
Design Your Frames
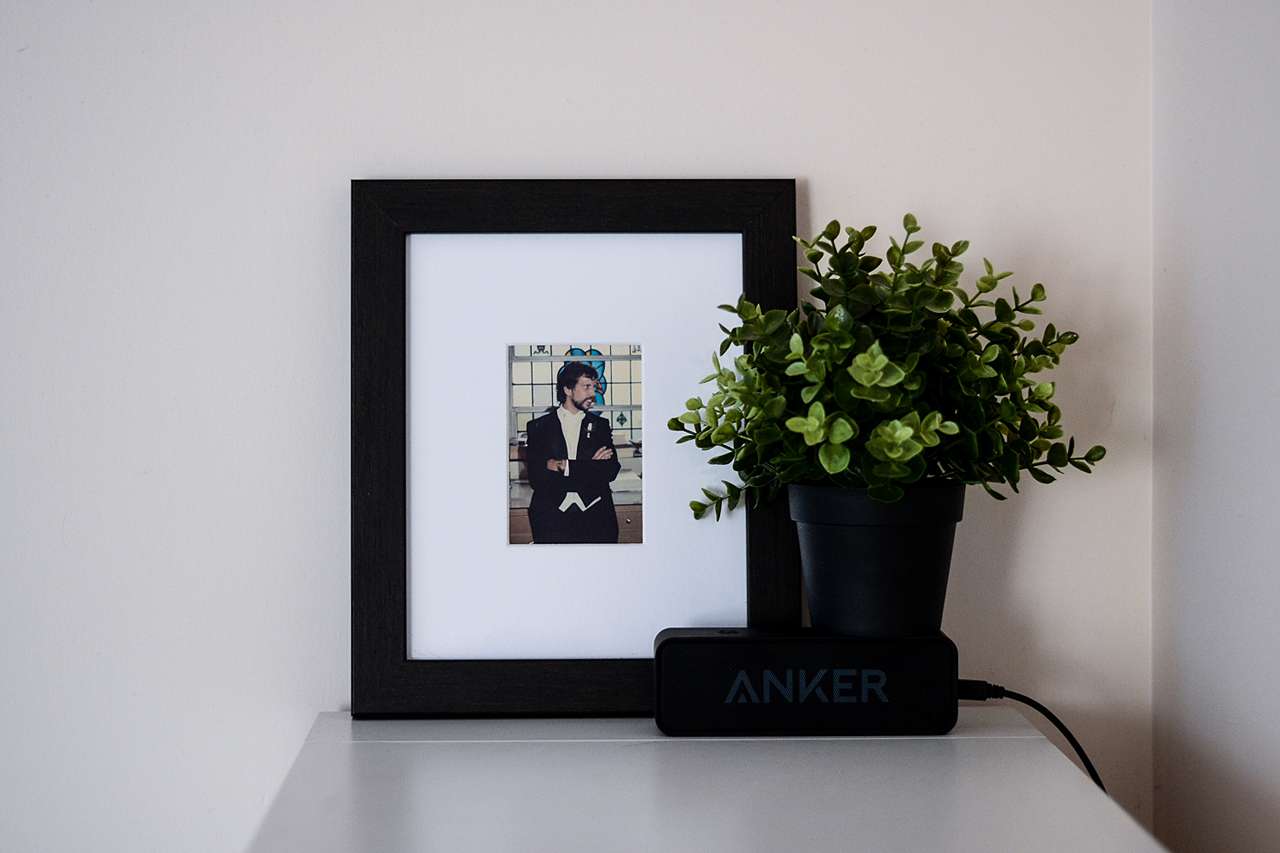
Your final step is going to be to design your frame. Our Frame Designer has four easy steps.
1. Enter your “Art Size” which will be represented by the size of your photo. If you are uploading your photo, we will print, mount, and frame your photo so that your frame will arrive ready to be hung. If you are uploading your art to our site, you will also need to choose the type of paper you would like us to print on. We offer both Photo Paper and Art Paper. If you already have a physical copy of your photo, simply measure the photo and add in the Art Size on our site.
2. Choose your frame style. We have 8 frame styles, 5 metal frames, and 3 wood frames with over 18 frame colors. Remember — go with what works with your style!
3. To mat or not to mat? A matboard (also referred to as a photo mat, frame mat, or matting), is a cardboard-like material that serves two purposes: to protect your artwork from damage and to enhance the look of it. You have the option to add a single or double matboard, or none at all. We suggest if you are adding a matboard to add a color that is going to enhance your picture. Look for small colorful details in your photo, such as an accessory, an article of clothing, or even something in the background of your photo that will give your photo that extra POP it was looking for!
4. Finally, your cover! Last but certainly not least is choosing your cover. We have two options for covers, our clear acrylic which is most conventional and almost like looking through glass. If your art is colorful, clear would be the best option, as it would not soften any of the colors in your photo or artwork. However, the clear finish is reflective, and it could cause glare if placed near a window, where the sun would shine through. The other option is our non-glare acrylic. This will soften the color of your artwork, so we recommend using it if your overall piece doesn’t have bright colors, or is entirely in black and white. Non-glare acrylic will also diffuse sunlight that hits it, which would make your artwork more viewable if it’s near a window.
Left Wanting More?
If you’d like a way to take this family tree to new heights, consider adding a tree to your wall. Say what? Add some extra pazazz to this concept by either adding a family tree wall decal to place your frames upon or even painting one yourself (more budget-friendly!) This will definitely take your family tree display up several notches. What a conversation starter! The visual appeal of a tree on your wall will surely get the convo flowing, and invite guests to peruse your photos and admire all the time spent curating this ancestral masterpiece.
Enjoy

A family tree is a special way to display the many generations of your family that make you, well, you! It can capture each person’s unique and individual personality and bring so much light into your room. Plus, it’s a great learning experience for kids wanting to learn about their family history.
If you took any of our suggestions and created your own great display, we would love to see them, so don’t forget to share them with us. Subscribe to our email list and your photos could even be featured!
