The quarter-inch overlap is a key part of custom picture framing, but it is often either unknown or overlooked which can cause some confusion. It can be frustrating if you have important key pieces in the corner of your photo that you don’t necessarily want to be covered. So what is the purpose of the 1/4″ overlap? Is there a way to get around it? Let’s go over that today and hopefully by the end it will make more sense to you!
What is the 1/4” overlap & why do we need it?
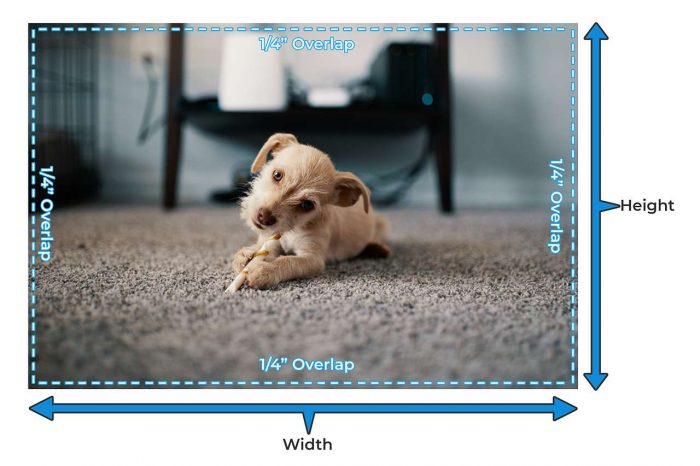
In custom picture framing, the 1/4” overlap is the measurement of your art that will be covered by its frame or matting. The photo will be overlapped by the frame on all four sides. Without this necessary overlap, your art would fall through the opening of its frame — it needs to be held in place by some sort of material.
Let’s put that into perspective — have you ever tried holding something in your hand, but didn’t have a good enough grip on it? If you have, most likely you recall the object you were holding falling to the ground. The principle is the same with the overlap; it has to grip enough of the photo in order to keep it in place, or else the photo will slip through the opening of the frame, which is not a result anyone wants!
How do you know when the 1/4″ overlap is applied? We automatically apply the 1/4” overlap to all of our frames here at Frame It Easy, which is achieved by removing 1/2” from the “Width” and “Height” of your “Art Size.”(So, if you entered an “Art Size” of 8” X 10”, your actual opening of the frame or matboard would be 7 1/2” X 9 1/2”.) So you won’t need to do any extra work to be sure that your picture will be secure within your frame.
In other words, your 8″ x 10″ artwork can be inserted perfectly, but only 7 1/2″ x 9 1/2″ will be visible because of the 1/4″ overlap holding your artwork in the frame
In most cases, you don’t even need to worry about the overlap when measuring your art, other than acknowledging it exists and understanding the purpose it serves.
Thanks to our interactive Frame Designer, you are able to see what your frame and art will look like before placing your order. When designing your frame, a virtual copy of your frame will be visible on the righthand side. To get a closer look, hit the middle “Zoom” button and you can get a better frame preview! This will allow you to clearly see what you can expect when you receive your frame.
“But I have important details near the edge of my art!”
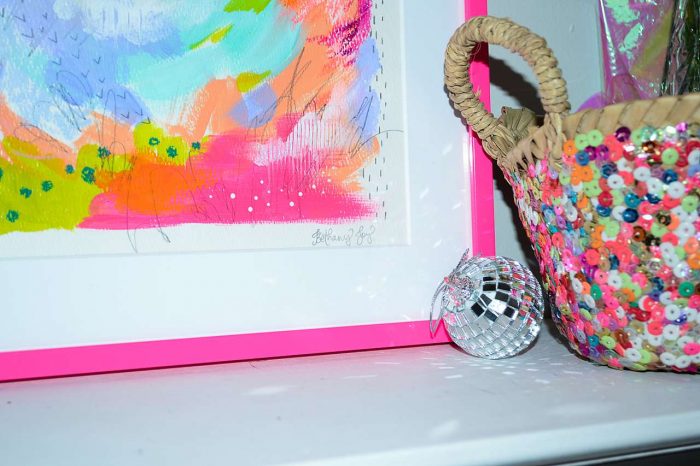
This is a common concern we hear as concealing a signature or detail at the edge of your print could ruin the overall appeal. Thankfully there is a solution that may be able to help!
A way to lessen the overlap is to add 1/4” to your “Art Size,” making the overlap 1/8″.
What exactly do we mean by that? So, let’s say you have an 8” X 10” print, and want to make the overlap only 1/8”, you would enter 8 1/4” X 10 1/4” as your “Art Size.” This will make the exact opening of your frame 7 3/4” X 9 3/4”.
Just note that since this gives a little less margin for positioning, you will need a way to secure the artwork to the backing so that it’s positioned within the frame the way you want. We suggest using Framer’s Tape, which won’t hurt your artwork because it is acid-free, and can be removed easily when slight heat is applied. When securing your artwork to your backing, we suggest using the H-Mount Method to float your art in the frame, to keep it centered and secure.
“Can I add more than just a 1/8” overlap to my art size? 1/8” is the smallest overlap that we recommend, otherwise, you run into the risk of having your art fall through the gap.
“One-Eighth of an Inch Is Still Too Much. I want no overlap!”

Sometimes, art encompasses the entirety of a surface, and some people don’t want any overlap. We totally understand!
This, however, isn’t conducive to making a functional frame, and it essentially reduces it to being a decorative border around your artwork that you’ll have to find a creative way to work around.
If you acknowledge that, and still want to go this route, you would add 1/2” to the “Width” and “Height” of your “Art Size” on our Frame Designer. This would negate the overlap. If you have an 8” X 10” print, and order an 8 1/2” X 10 1/2” “Art Size” frame, the exact opening will be 8” X 10”.
Keep in mind, however, that you would likely need Framer’s Tape to secure your artwork in place if you decide to do this, but be aware that even with these suggestions, it’s very likely that you’ll see the backing peeking around the artwork despite securing it in place — it will be very difficult to position acceptably with no margin for error, thus we don’t recommend doing this. We just want you to be aware of what may happen if you do choose to do this with your artwork.
“I want a matboard with my frame. Do I still need an overlap?”
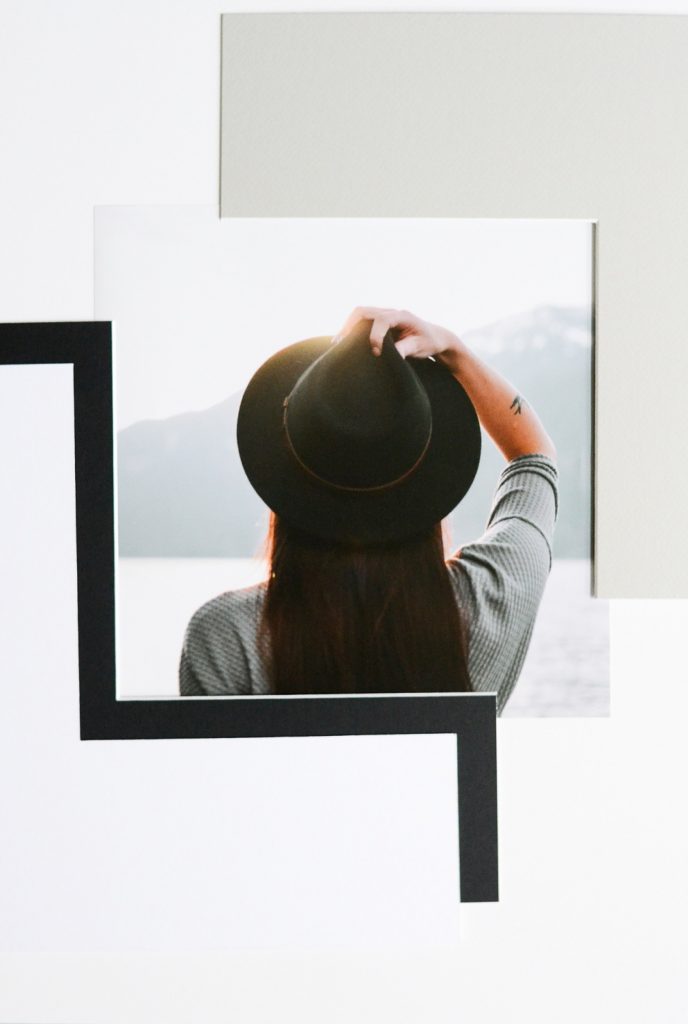
Matboards can slightly change the necessity of the overlap but don’t negate the need altogether.
Matboards themselves don’t always hold artwork in place, but since they accent your art you want to make sure it still lines up properly. Framer’s Tape is usually recommended to secure art in place for frames with matboards. When securing your artwork to your matboard, we recommend using the T-Hinge Method to keep your artwork centered and secured.
We still recommend an overlap for frames with matboards because, if there is none, there tends to be a gap between the edge of the artwork and the matboard. This would expose the backing slightly, creating issues.
Art That Has A Border
If your art has a border around it, you have a bit more flexibility in how you want the overlap to look with your matting:
- You can include the border so you see it in your final frame
- You can have the matboard cover the border plus 1/4″ of your art
- You could have the matting cover the border with no overlap on your art.
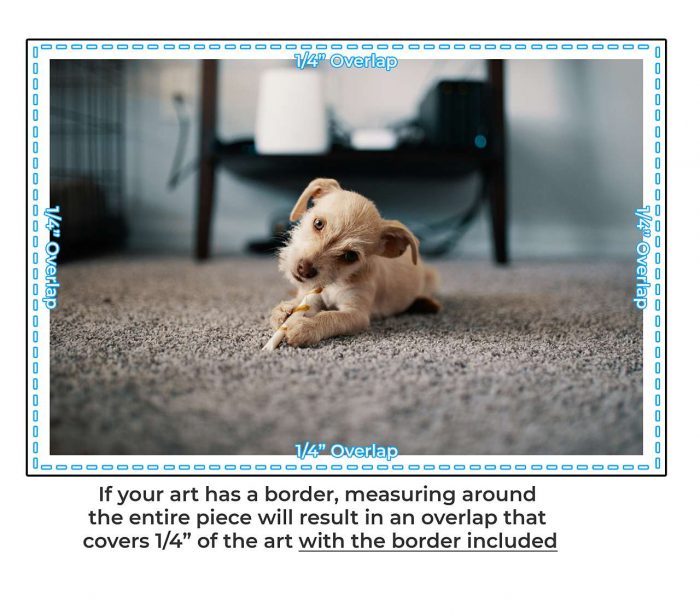
If you want your border to be visible with your art, simply measure the entire piece of art — border included — and acknowledge it will have the regular 1/4″ overlap on the outside edge.
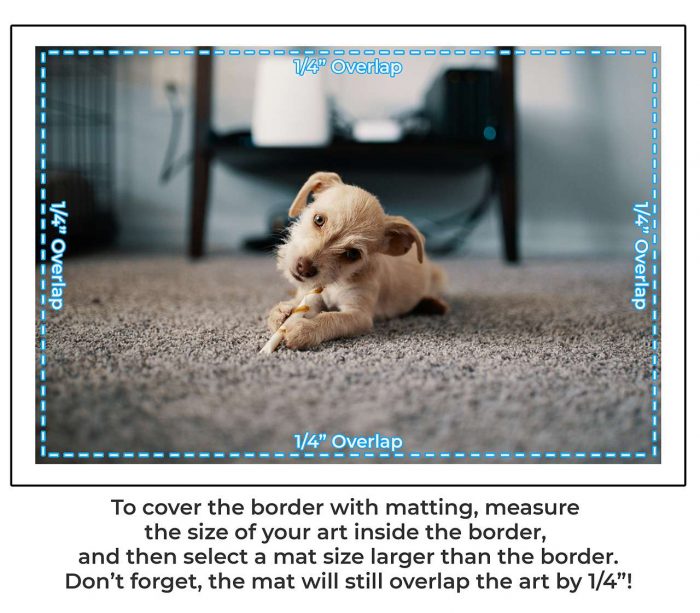
If you don’t want to see any of your borders and don’t mind the 1/4″ overlap on the art itself, measure just the size of your art excluding the border, and choose any size matting as long as it is larger than the border width.
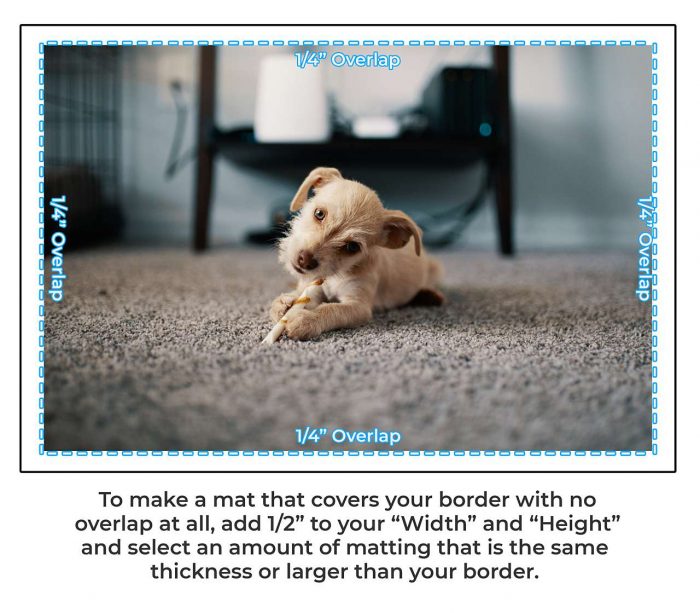
If you want the matting to cover your border but not overlap your art itself, you would measure the size of the art itself (no border), add 1/2″ to the art size, and select your matting in any size larger than the border width. That way you will still get the full picture included, with no overlap to your art itself, but the frame will still have that necessary “grip” to keep your art secure in place! Win-win, right?
For example, let’s say your print has a complete measurement of 16” X 20”, but the actual art on it that you want visible is only 12” X 16”. You could negate the overlap in this case because you can add a mat board in the frame, and enlarge the frame so it will be big enough to fit your print, while still having a matboard that will display the image alone.
To do this, you would enter an “Art Size” of 12 1/2” X 16 1/2”, then you would go to the “Matting” section, and specify that you want 1 3/4” of “Matting.” This will make the opening of the matboard 12” X 16”, and the opening of the frame 16” X 20”. Your print would be fully displayed, and still held securely in place!
Final Thoughts
The overlap in custom picture framing is a necessity, for the most part, because it serves as a “grip” that the frame will have on your art to keep it secure inside the frame, otherwise, it would just fall out. However, there are ways to navigate around it — and even one exception where you might not need it at all. Still, for most frames, it is necessary. Just remember the following, and you should be overlap ready:
- Unless you specifically alter your Art Size dimensions to account for overlap, assume there will automatically be a 1/4” overlap applied to your frame.
- You can lessen the overlap to 1/8” by adding 1/4” to the “Width” and “Height” of your “Art Size.”
- You can negate the overlap, but you 1. Run the risk of seeing your backing through the edges and 2. Would need Framer’s Tape to hold your print securely in place.
- Most matboards need an overlap, too, but for more aesthetic reasons.
- If your art has a border, it might not need an overlap.
