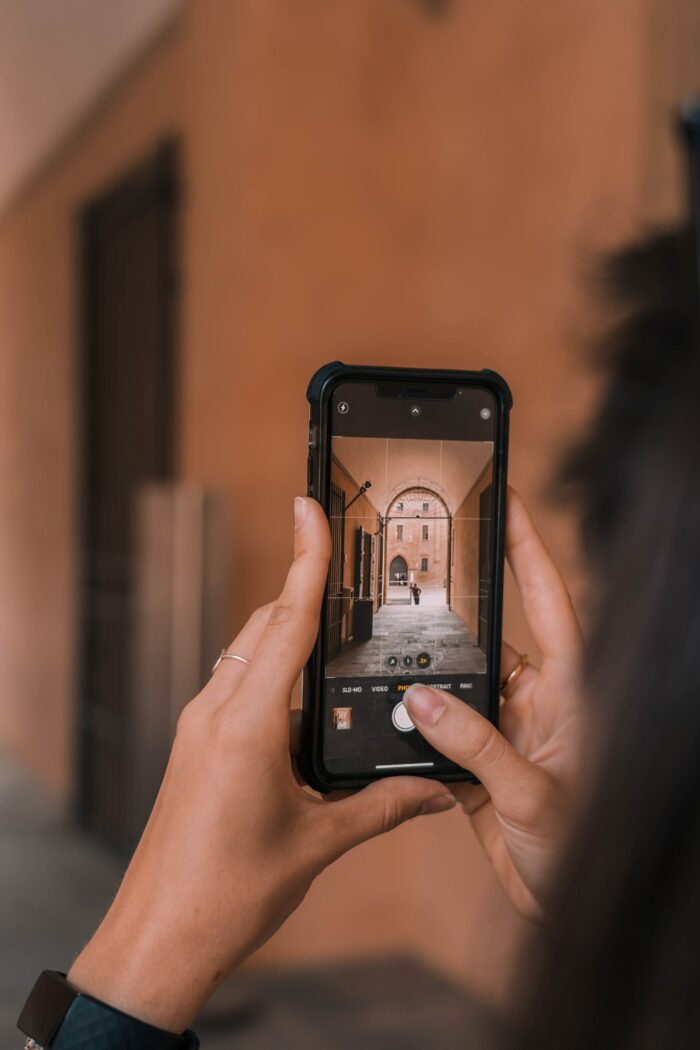
Having professional headshots of your team is essential. Not only will clients appreciate being able to put a face with a name, but they’re a great way to visually present your organization. Although it may seem time-consuming and expensive to hire a professional photographer, the good news is that with a little planning and practice, you’ll be able to capture the best business headshot using your phone’s camera!
Keep reading for our must-have tips and tricks for getting the perfect professional photographs of your team!
Take Professional Headshots: Setting & Lighting
- Both indoor and outdoor locations are acceptable. Ideally, you’ll look for an indoor space with lots of natural, indirect lighting. Avoid excessive fluorescent lighting, as it tends to cast unflattering shadows on subjects. If outdoors, you’ll want a spot where the sun is shining behind your subject. Refrain from shooting on rainy or overcast days when you’re outdoors.
- The background of your location should be simple, clean, and generally free of distractions and movement. A blank wall indoors is perfect, and outdoors, a background without moving traffic or eyesores (like dumpsters or construction sites) is crucial.
- Mark the spot where your subjects sit/stand with masking tape in case you have to shoot on multiple days. This ensures you’ll get the same general background and placement each day you shoot. The goal is consistency with every photograph.

Take Professional Headshots: Equipment & Technology
- Turn on and adjust your phone’s camera to HDR mode. High Dynamic Range, or HDR, forces the camera to take multiple photos at different exposures. The result should be a photograph that mimics what your eye sees (a more realistic, higher-quality picture).
- Make sure your lens is clean and clear from any smudges or dust. Remember, a dirty lens will translate to distorted photos. Most manufacturers recommend microfiber cloths to gently wipe away debris, and caution against the use of tissues or paper towels.
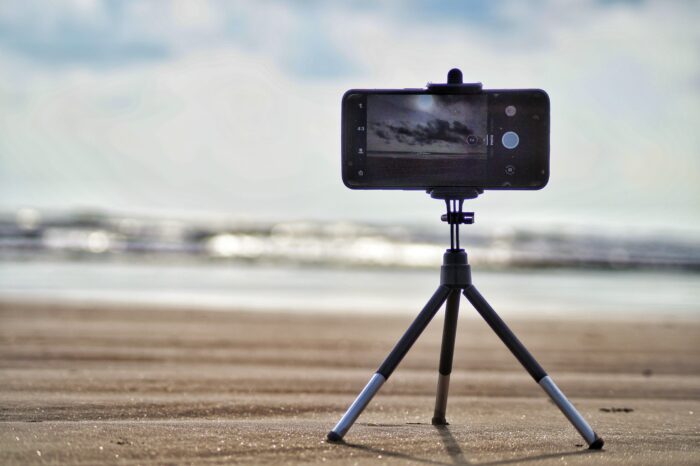
- Consider a phone tripod if shooting with your cell phone. It helps prevent any blur from involuntary movement and ensures consistency in the angle and height of your shots. There are plenty of excellent and affordable phone tripods available for purchase online and in-store.

Take Professional Headshots: Technique
- You should plan to stand 3-5 feet away from your subject. Refrain from using your camera’s zoom function as it tends to pixelate photographs.
- Capture at least 3 photos per subject. This will ensure that you’ll have a variety of images to choose from.
- Decide between portrait or landscape-oriented photos. Remember, consistency is key, so once you commit to an orientation, stick to it!
- Each of your subjects should be seated, with their knees and shoulders facing slightly away from the camera, and their face pointed directly towards the camera.
- If possible, avoid using your device’s camera flash. They may oversaturate an area with light or wash out your subject.

Take Professional Headshots: Editing
- Although not necessary, you may want to edit your photographs before using them. Many professionals use desktop software like Adobe Photoshop and Adobe Lightroom for editing, however, there are other photo editing programs available.
- Many excellent photo editing apps are available for your phone, too! For those using their phone, this may be the easiest and most streamlined process to quickly edit images. Try to keep your images as natural looking as possible – over-processing photographs leads to inconsistent and unprofessional-looking photos.

Take Professional Headshots: Finishing Touches
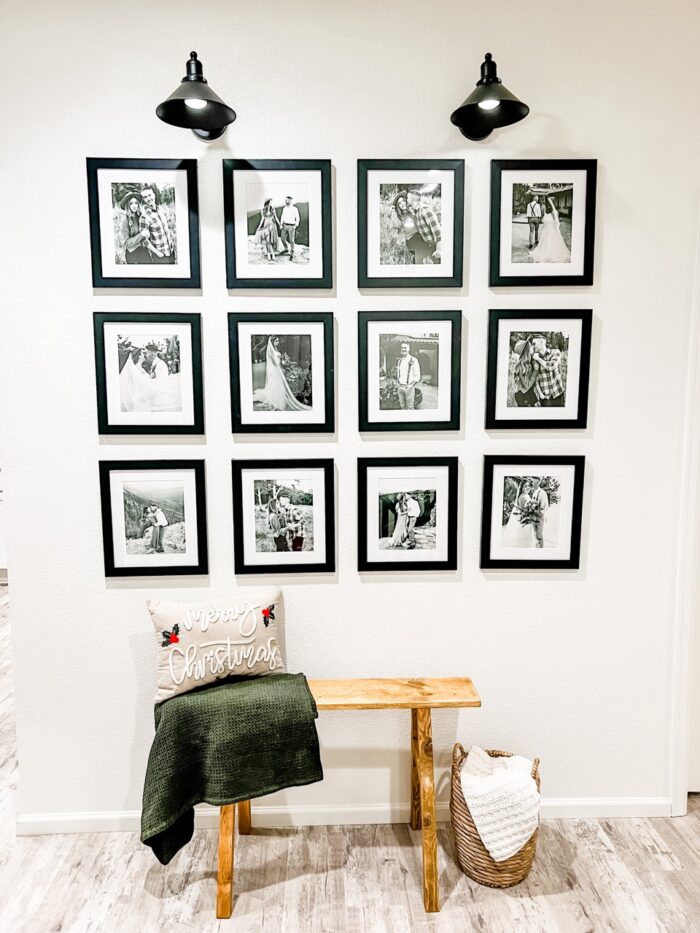
- Nothing makes a better first impression than a gallery wall with your team’s framed photos! The easiest and fastest way to begin is to simply upload your image to our interactive frame designer, pick your frame and mat, then we’ll send you ready-to-hang pictures right to your doorstep! We have a variety of exciting frame styles to choose from, so get creative!
- Find a high-traffic area in the office to display your gallery wall of framed professional headshots. Remember, staff photos help build a sense of community and team, so the more both employees and visitors see your headshots, the better. We recommend areas of the office like your conference room, break room, entrances and exits, or your reception area.
- Don’t forget the matboard to help draw your eye to each photo, and add a designer touch sure to impress everyone! If you have a brand color, try selecting a matboard in the same color family. And if you can’t decide, a white matboard is always a classic choice. Or, if you’re feeling really creative, try a double matboard to really amp up the design! Head to our frame designer to start experimenting with different combinations.

Take Professional Headshots: Final Thoughts
Although the idea of capturing professional headshots of each of your employees may be intimidating, it doesn’t have to be! With some planning and forethought, taking professional headshots can be quick and painless. We hope this has been helpful, and don’t forget to share your creative framing project with us on social media!
Still have framing questions? Explore our guide on how to hang frames on any wall type.
Join Us
Join our mailing list for design tips, freebies, and product news!

