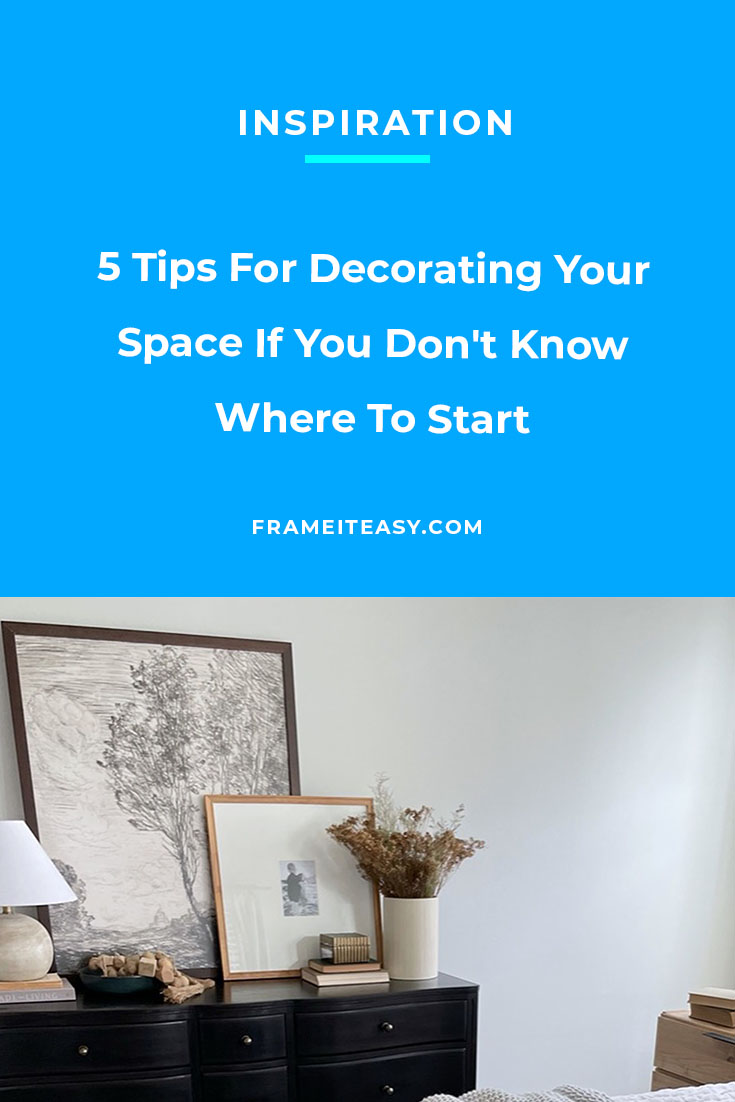
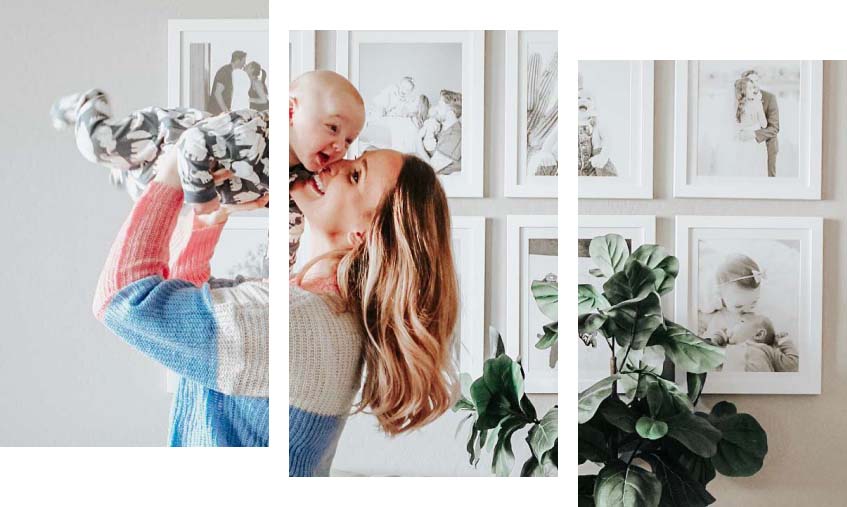
Did you just move into a new home or apartment and are not sure where to start decorating? Or do you just feel stuck on how to give your home the update it needs? It’s normal to not know exactly where you want to start when it comes to home decor. It may seem like a daunting task, to plan and create your dream home, but with the right steps, it doesn’t have to be. That’s why we’re here to help! We’re going to be walking you through our tried and true steps to help make this process go as smoothly as possible.
So let’s get into our 5 tips for decorating your space if you don’t know where to start!
1. Choose a Design Style
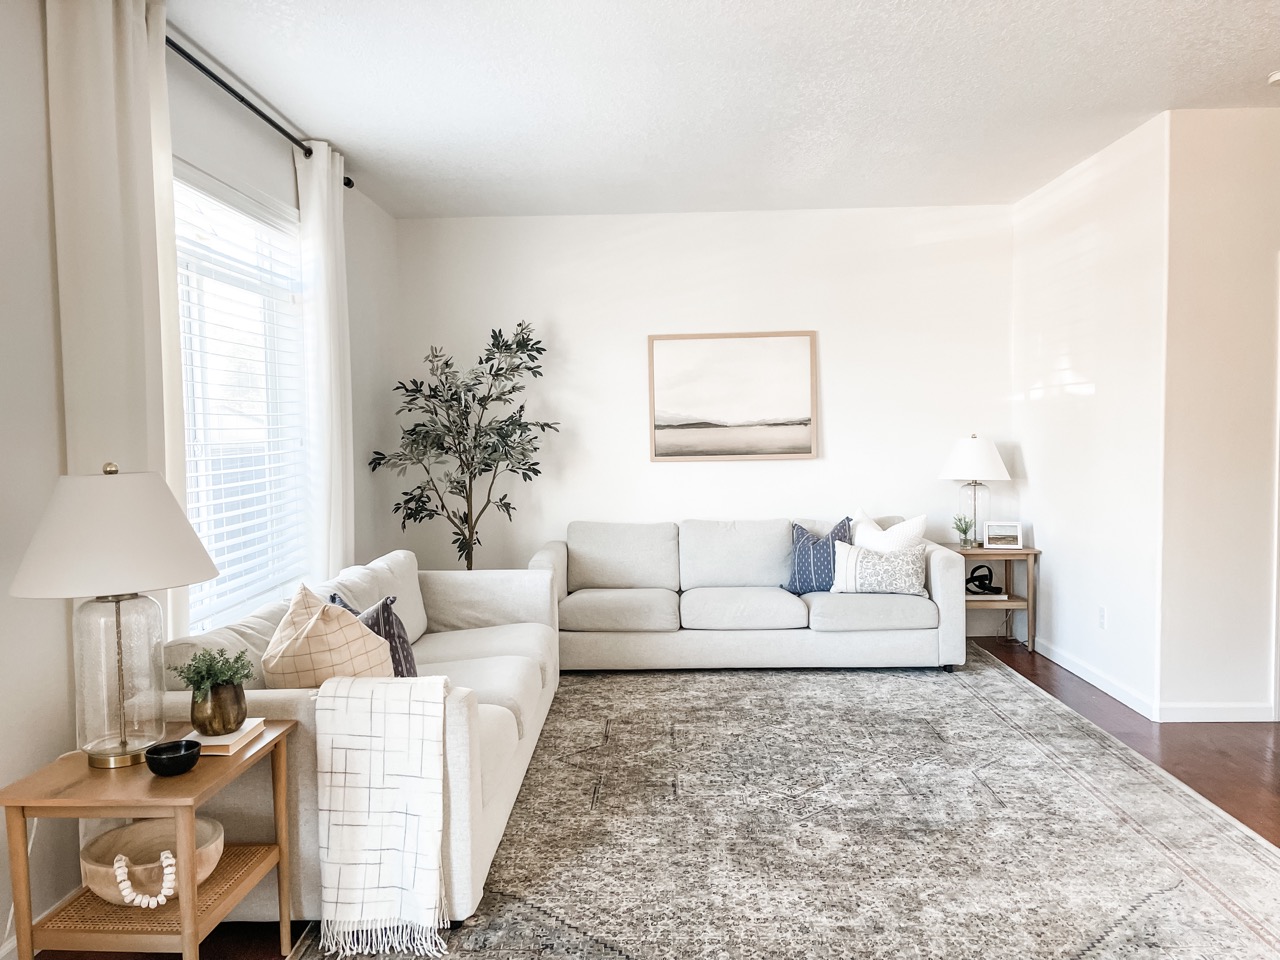
The first step will be to choose a design style. There are tons of different styles to choose from, you just have to find the perfect style for you. Remember, your home decor should reflect your personality, so if you’re a simple person that likes neutral colors, the Bohemian decor style might not be the right fit for you, instead try the minimalistic decor style.
If you want to know which style you should do, well, there really isn’t a clear answer to that. It’s your project. You should do what you think is best (remember our golden rule, after all)! So be sure to do some research on the different decor styles to see which one fits your style the best. You could even take an online quiz to find out which style best represents you!
2. Color Palette
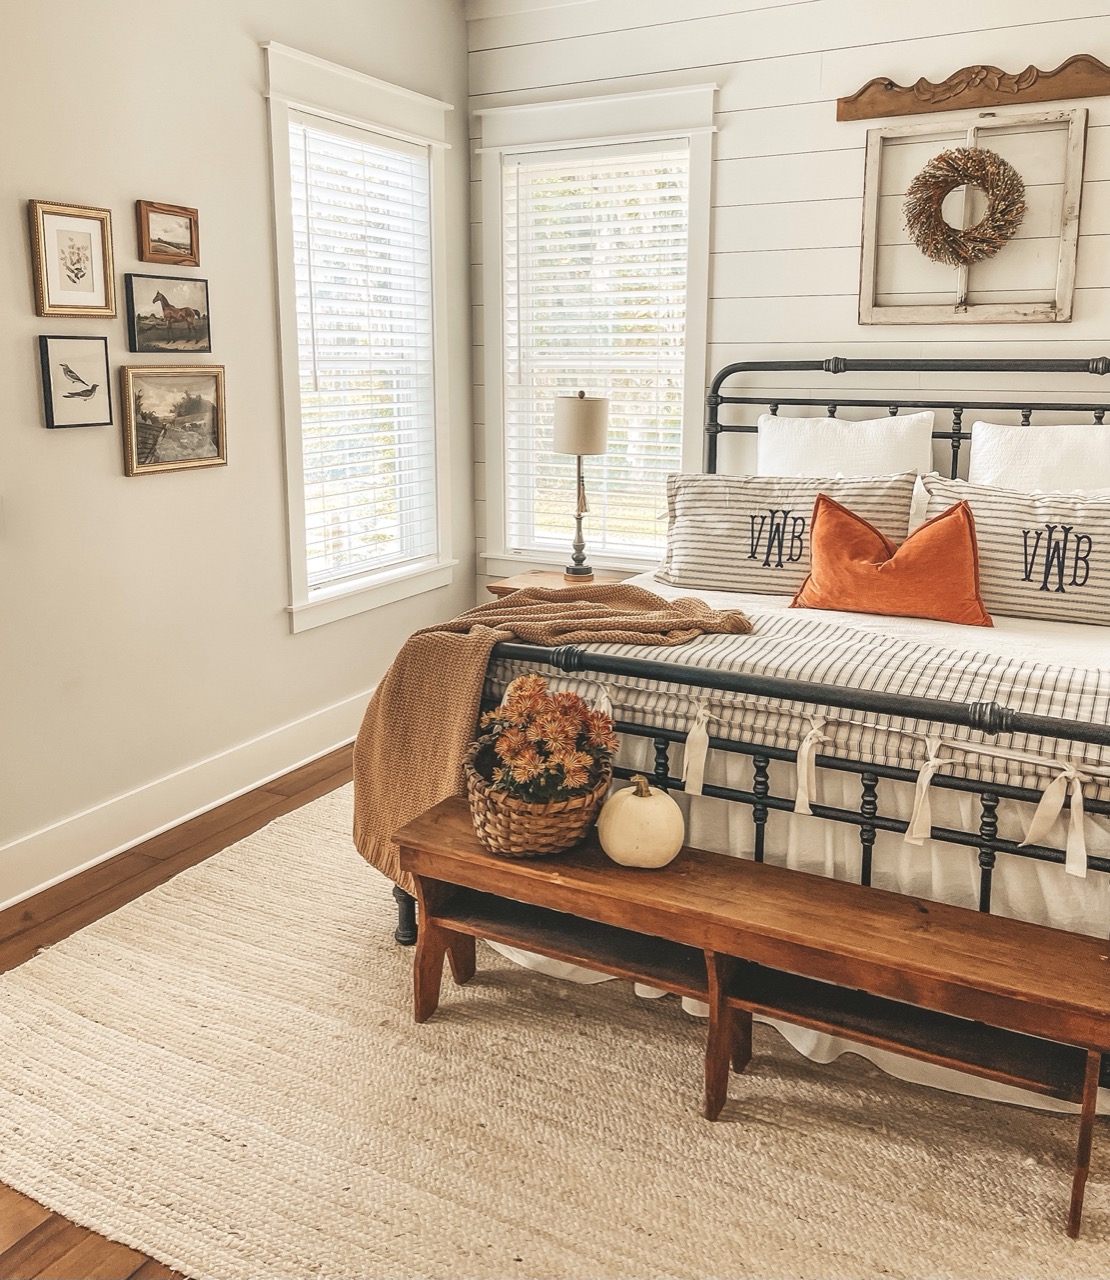
Once you have your decor style chosen, you will want to come up with a color palette for your room. Remember, your color palette should reflect the decor style you are going for. The minimalistic design style often has white, black, and neutral colors while Boho has lots of jewel colors such as ruby, sapphire, and emerald. The best way to start when creating a color palette is to figure out if you want to add warm tones or cool tones to your space. Warm tones are those orange and yellow tones that you see a ton of while cool tones lean towards the blues and silvers.
Your color palette can be the same throughout your entire home or can differ by room. The easiest way to create a color palette is by following the 60-30-10 rule. We’ve talked about this before in our Learning Center, but if you’ve never heard of the 60-30-10 rule, let us tell you a little bit about it. It’s a classic home decor rule that helps create the perfect color palette for your room. This is how it is split — 60% of your room should be your dominant color and be applied with things such as your wall colors (accent walls being the exception) and large decor pieces such as your sofa or rug. 30% of your room should be a secondary color. This color should be different enough from your dominant color, but they should still complement each other. This color can be used in other furniture pieces, curtains, and linens. The last 10% of your room should be your accent color. This can be used for accent throw blankets or pillows, framed artwork, and other little trinkets around your space.
3. Find Out What the Vibe of the Room Is
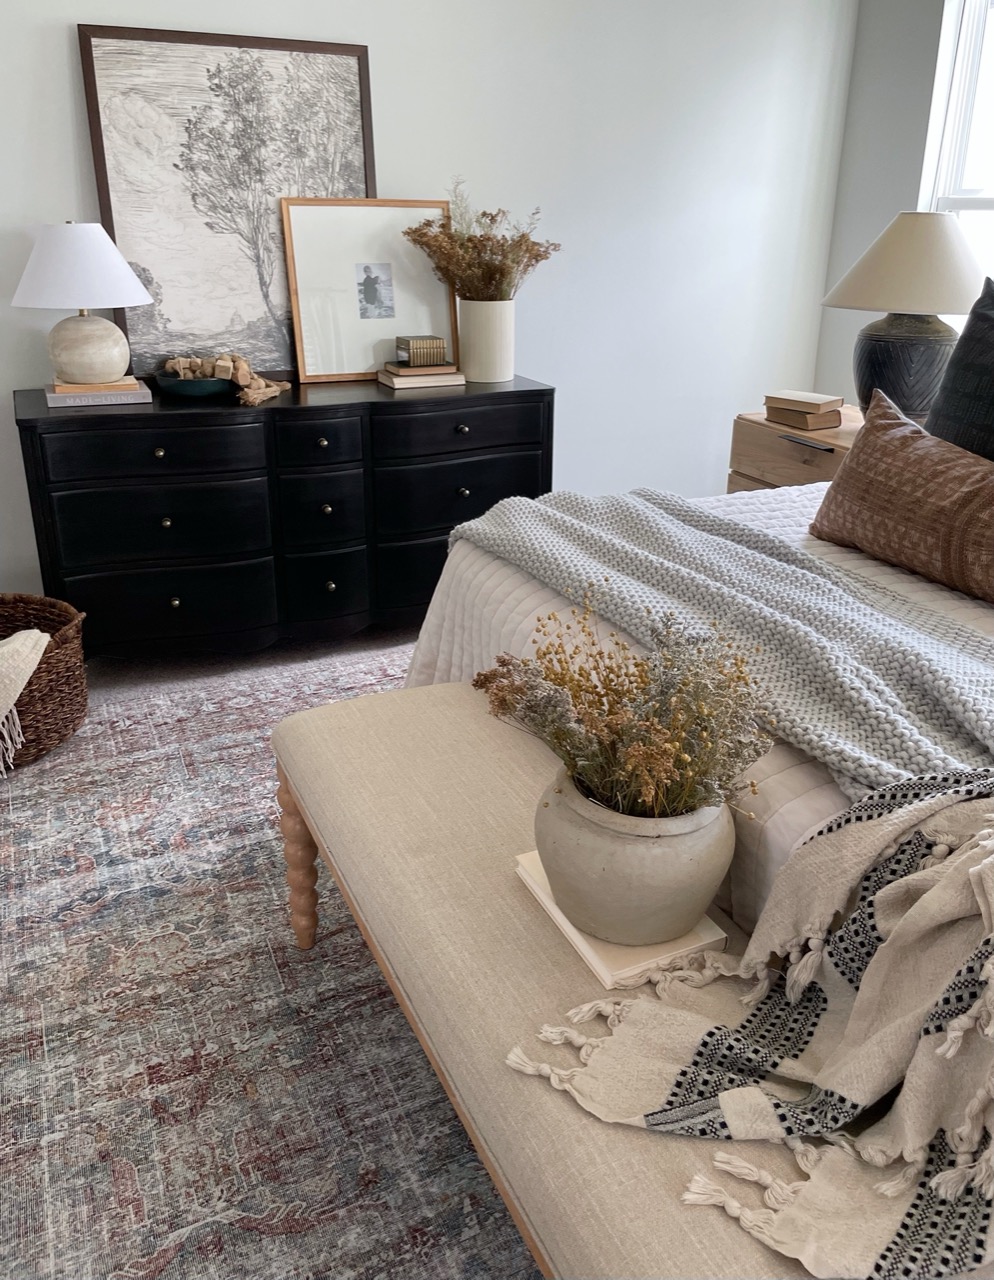
You may have not given this much thought in the past, it’s a living room, right? What do you mean what does it feel like? But this step is actually very important. Consider what you want the mood of the room to be when you are in it. Maybe you want your living room to be upbeat and energetic so you can always entertain your guests while you would probably want your bedroom to feel relaxed and soothing so you can unwind after a busy, hectic day.
This will make your decorating process easier because you will know what you are looking for when shopping for furniture.
4. Create a Pinterest Board
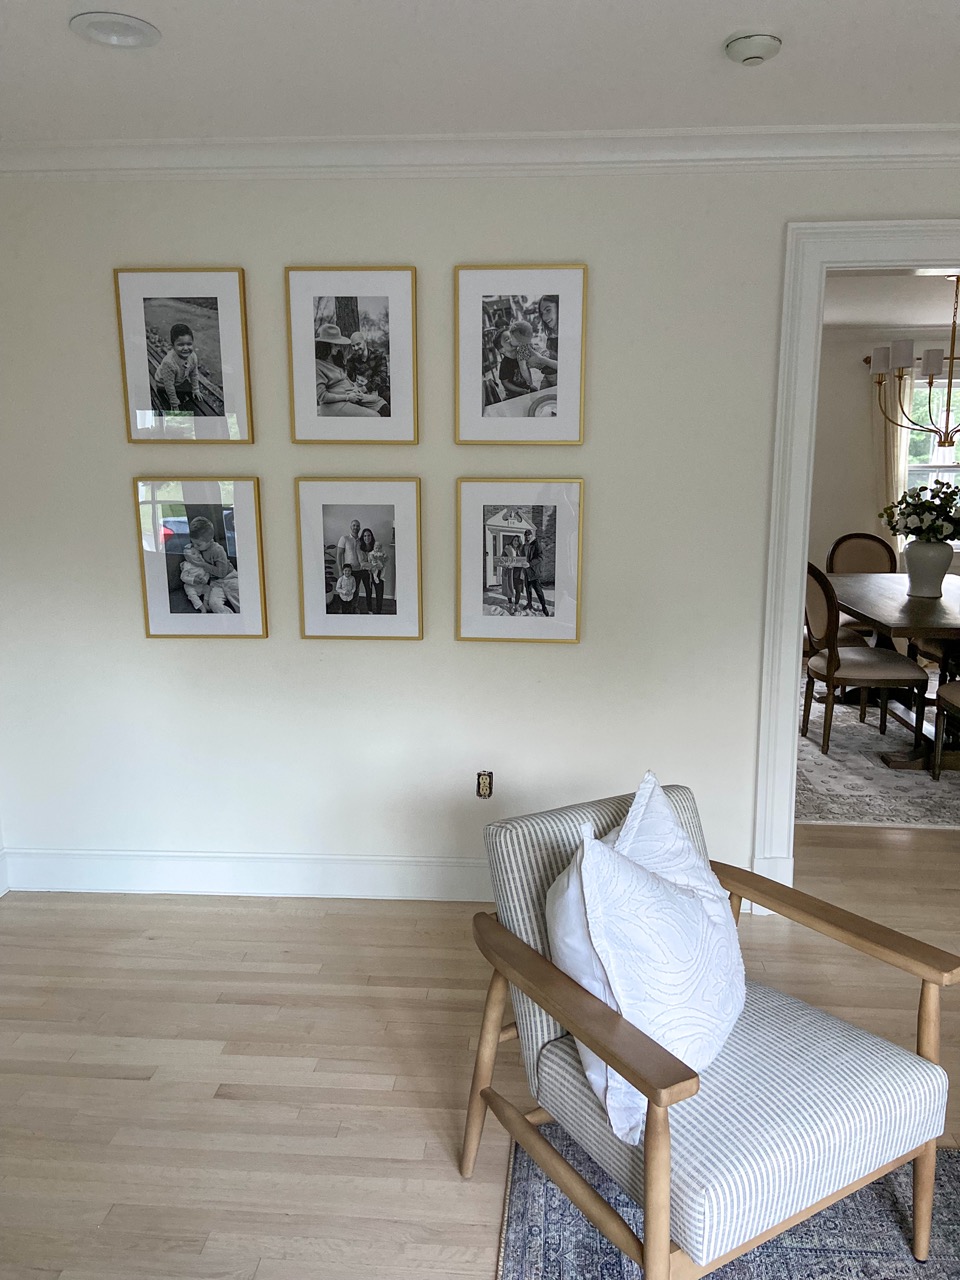
Creating a Pinterest board for your decor will help you to plan everything out before you actually start purchasing items. Pinterest allows you to search for ideas, inspiration, and products that you can add to your space. Look up the design style that you have chosen for your home to get some inspiration on what you will want to create in your own home. You can copy one image or take one idea from a hundred different photos. Be sure to write names and descriptions for your Pinterest boards to make them easier to refer back to. You can even share your boards with other people if you are working with others on this project.
As you spend hours scrolling through Pinterest photos you probably dream of bringing those photos to life within your own home. Some of these boards look like they are straight out of a magazine. They probably make you want to get right to work and re-create them in your own home, right? So, let’s get to work!
5. Decorate With Your Large Statement Pieces, First
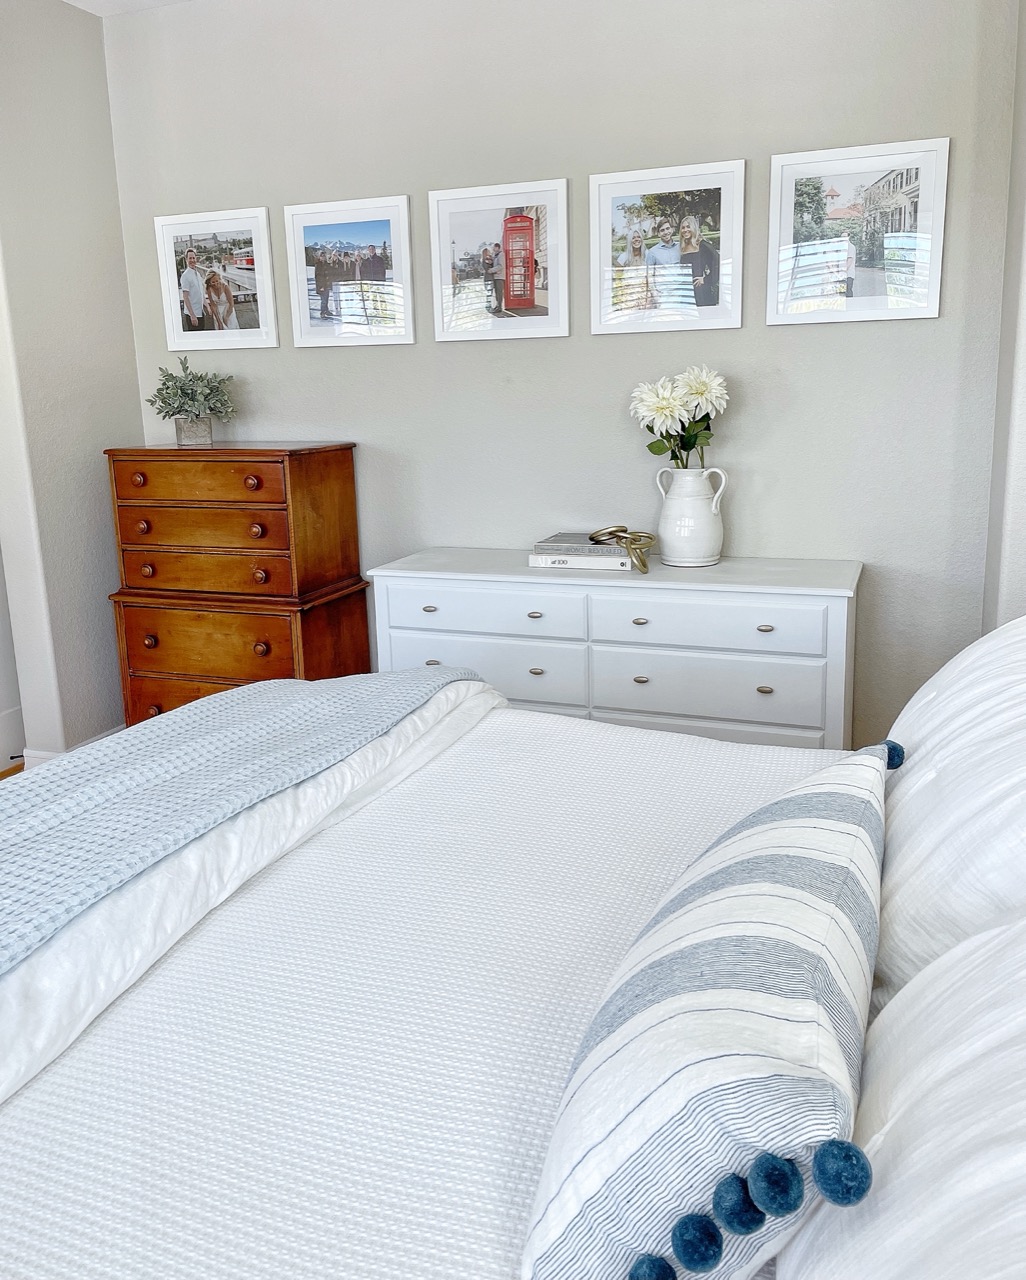
You will want to decorate with your large pieces or statement pieces first. Get your bed frame, sofa, and dining table in the room first before you start adding all the other decor pieces. This will make it easier for you as you continue to decorate so you know where you need to add what. If you have a special plant you know you want in the corner of your living room, be sure to put that in before adding your wall art so it won’t interfere later on.
Time to Start Decorating
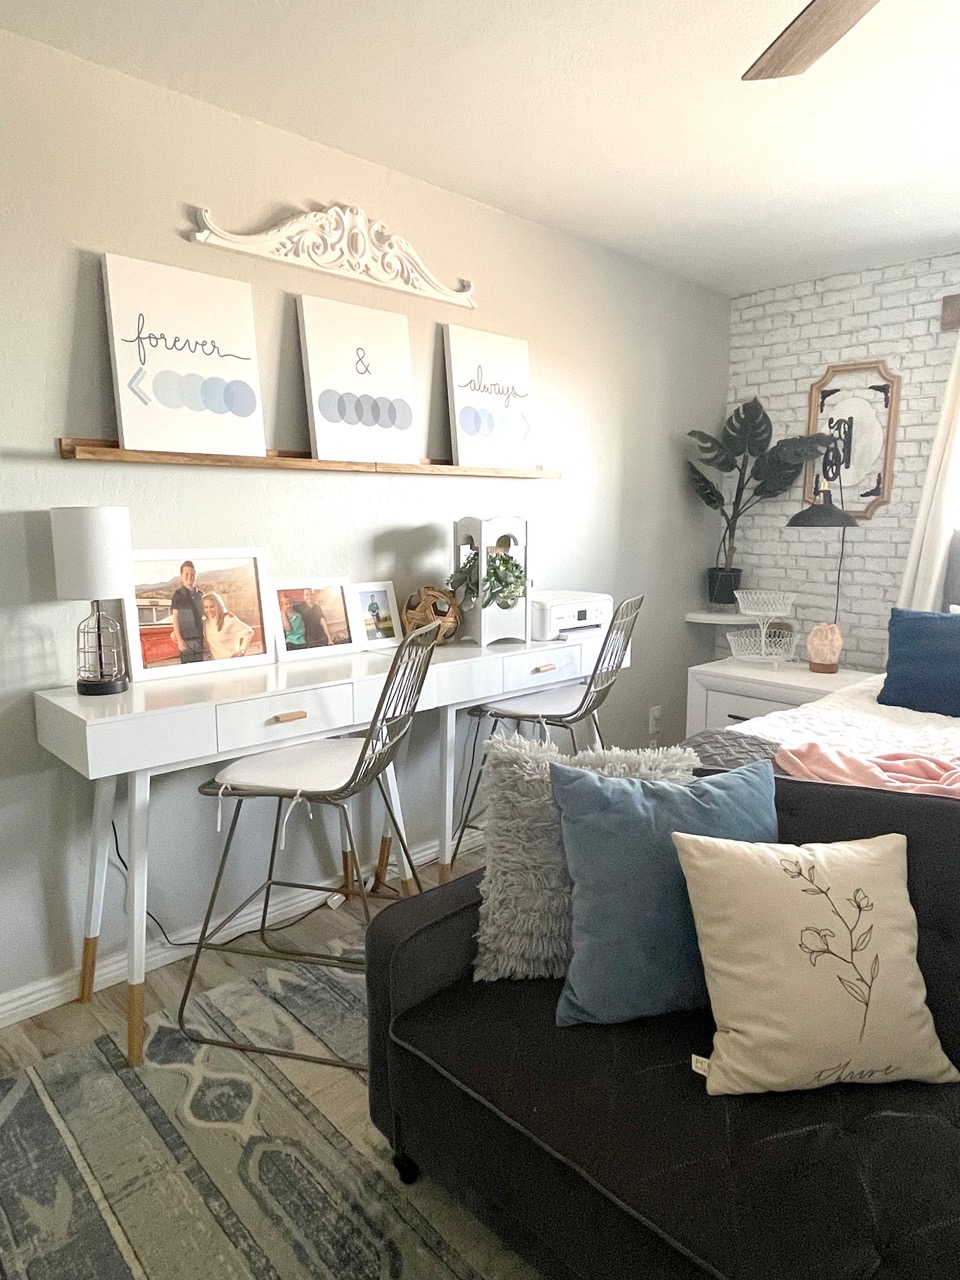
Once you have completed these 5 steps, you will be in a better position to start decorating the rest of your home. This doesn’t mean that your decor needs to be finished overnight. The best decor happens naturally and grows over time, so don’t stress it too much! Of course, if you know exactly what you want to do with every inch of your space, go for it.
Of course, don’t forget the most important part of home decor (in our unbiased opinion 😉) — picture frames! Once you have your photos or art, head over to our Frame Designer to start creating your custom frames in four easy steps!
1. Enter your art size.
If you are uploading your portrait, we will print, mount, and frame your photo so that your frame will arrive ready to be hung. If you are uploading your art to our site, you will also need to choose the type of paper you would like us to print on. We offer both Photo Paper and Art Paper. If you already have a physical copy of your portrait, simply measure the photo and add in the Art Size on our site.
2. Choose your frame style.
We have 8 frame styles, 5 metal frames, and 3 wood frames with over 18 frame colors.
3. Matting or no matting?
A matboard (also referred to as a photo mat, frame mat, or matting), is a cardboard-like material that serves two purposes: to protect your artwork from damage and to enhance its look. You have the option to add a single or double matboard, or none at all. We suggest if you are adding a matboard to add a color that is going to enhance your picture. Look for small colorful details in your photo, such as an accessory, an article of clothing, or even something in the background of your photo that will give your portrait that extra POP it was looking for!
4. Finally, your cover!
Last but certainly not least is choosing your cover. We have two options for covers, our clear acrylic which is the most conventional and almost like looking through glass. If your art is colorful, clear would be the best option, as it would not soften any of the colors in your photo or artwork. However, the clear finish is reflective, and it could cause glare if placed near a window, where the sun would shine through. The other option is our non-glare acrylic. This will soften the color of your artwork, so we recommend using it if your overall piece doesn’t have bright colors, or is entirely in black and white. Non-glare acrylic will also diffuse sunlight that hits it, which would make your artwork more viewable if it’s near a window.
Final Thoughts
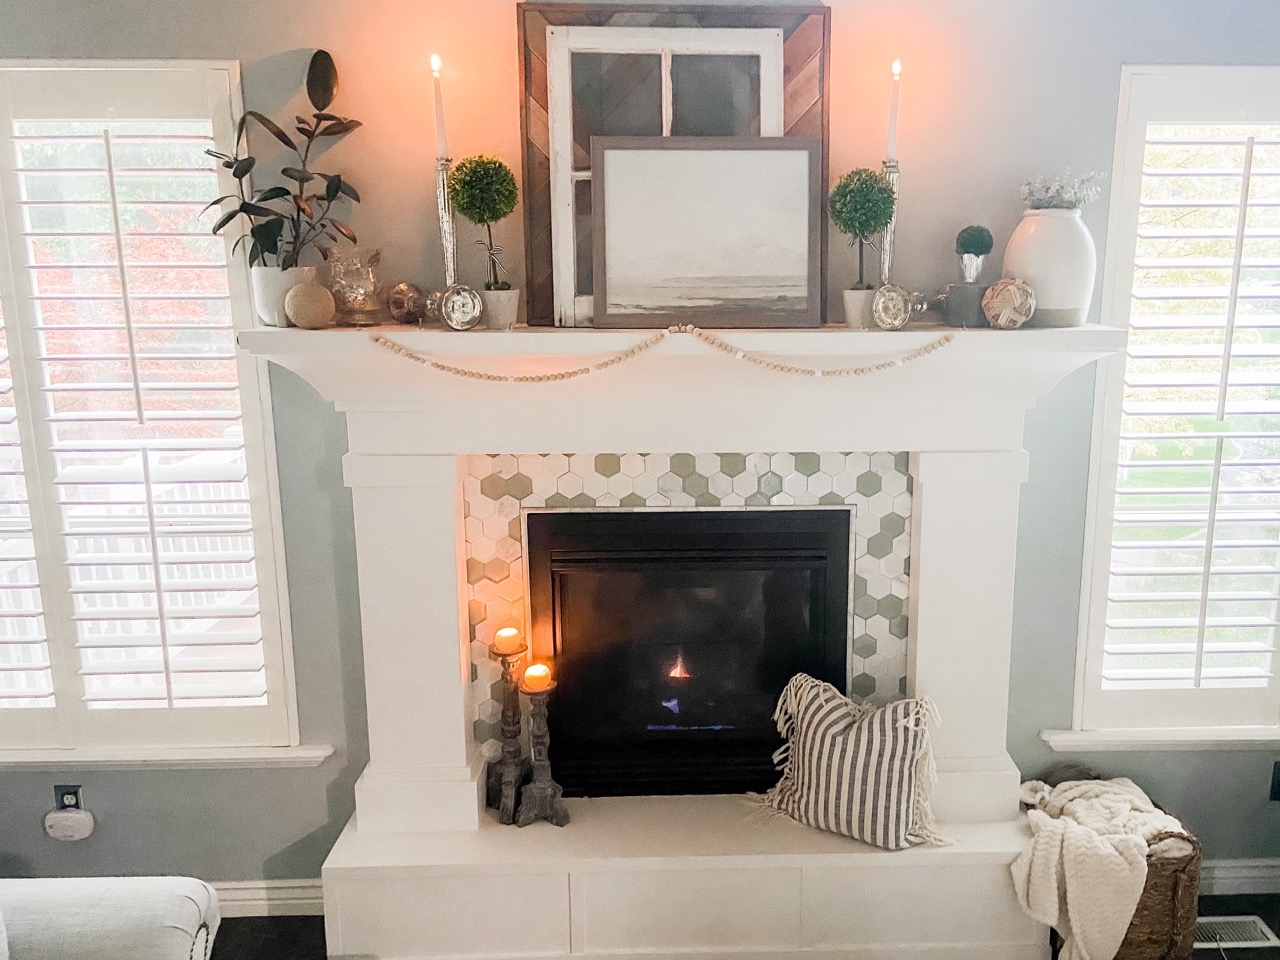
We hope that you found some inspiration throughout this post to start decorating your home. It may seem like a daunting task, but with the right steps, it doesn’t have to be! Just follow these 5 steps if you are feeling stuck and hopefully these will put you in a good place to get started.
Have any further questions? Just reach out to our support team. We are always around to help you out. Be sure to share your finished projects with us on social media so we can see what you created!
